One of our most frequently asked questions from aspiring model railway builders is how best to ballast the track. George Dent describes a tried-and-tested approach.
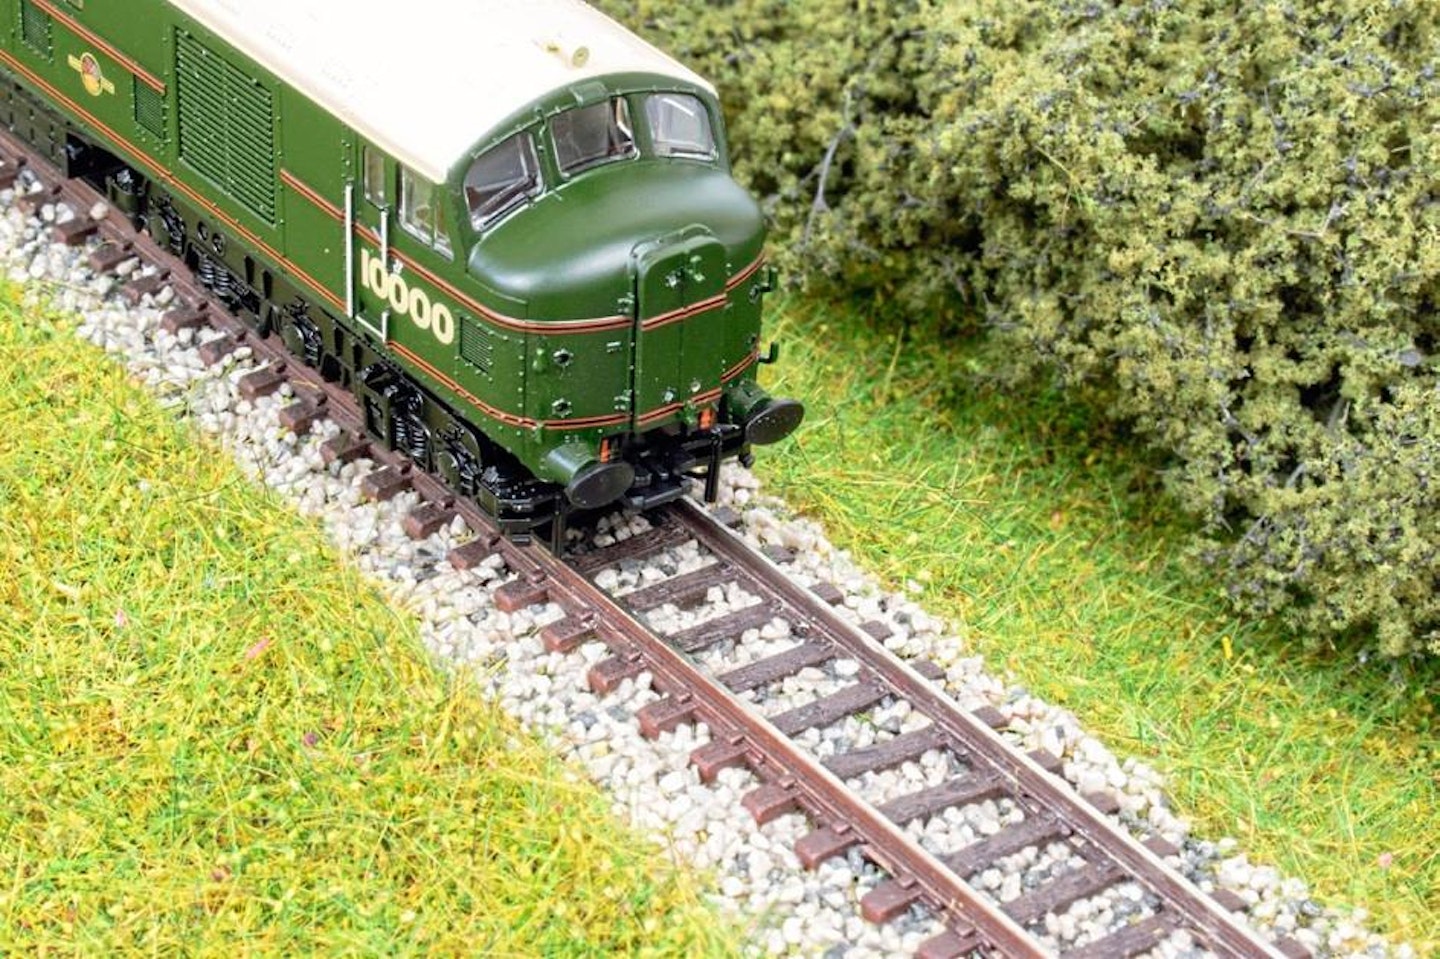
The ‘N’ gauge ballast pack provides a finer blend of stone chippings, which would also be ideal for ‘TT:120’ layouts.

Ballasting – it’s definitely a ‘Marmite’ kind of endeavour. Some modellers have told me that they find it extremely therapeutic, whereas I used to despise it, treating it as a necessary evil. But then, after trialling a few different methods to those I’d grown up with, I soon found it much less onerous.
Like many practical tasks, it helps to use good quality products, in terms of the ballast itself and the adhesive employed to bond it together. Happily, compared to when I started out in the hobby, there’s now plenty of choice among modeller-friendly scenic materials and glues. Furthermore, once I’d learned to employ Isopropyl Alcohol (IPA) as a wetting agent before applying the glue, ballasting became far less of a chore.
Practice also makes perfect, and ballasting is a task that gets easier with repetition, so
I heartily recommend trialling techniques on small dioramas or test pieces before tackling your layout. Glueing offcuts of track onto a scrap of plywood or sheet of foamboard creates a cheap and simple workpiece.
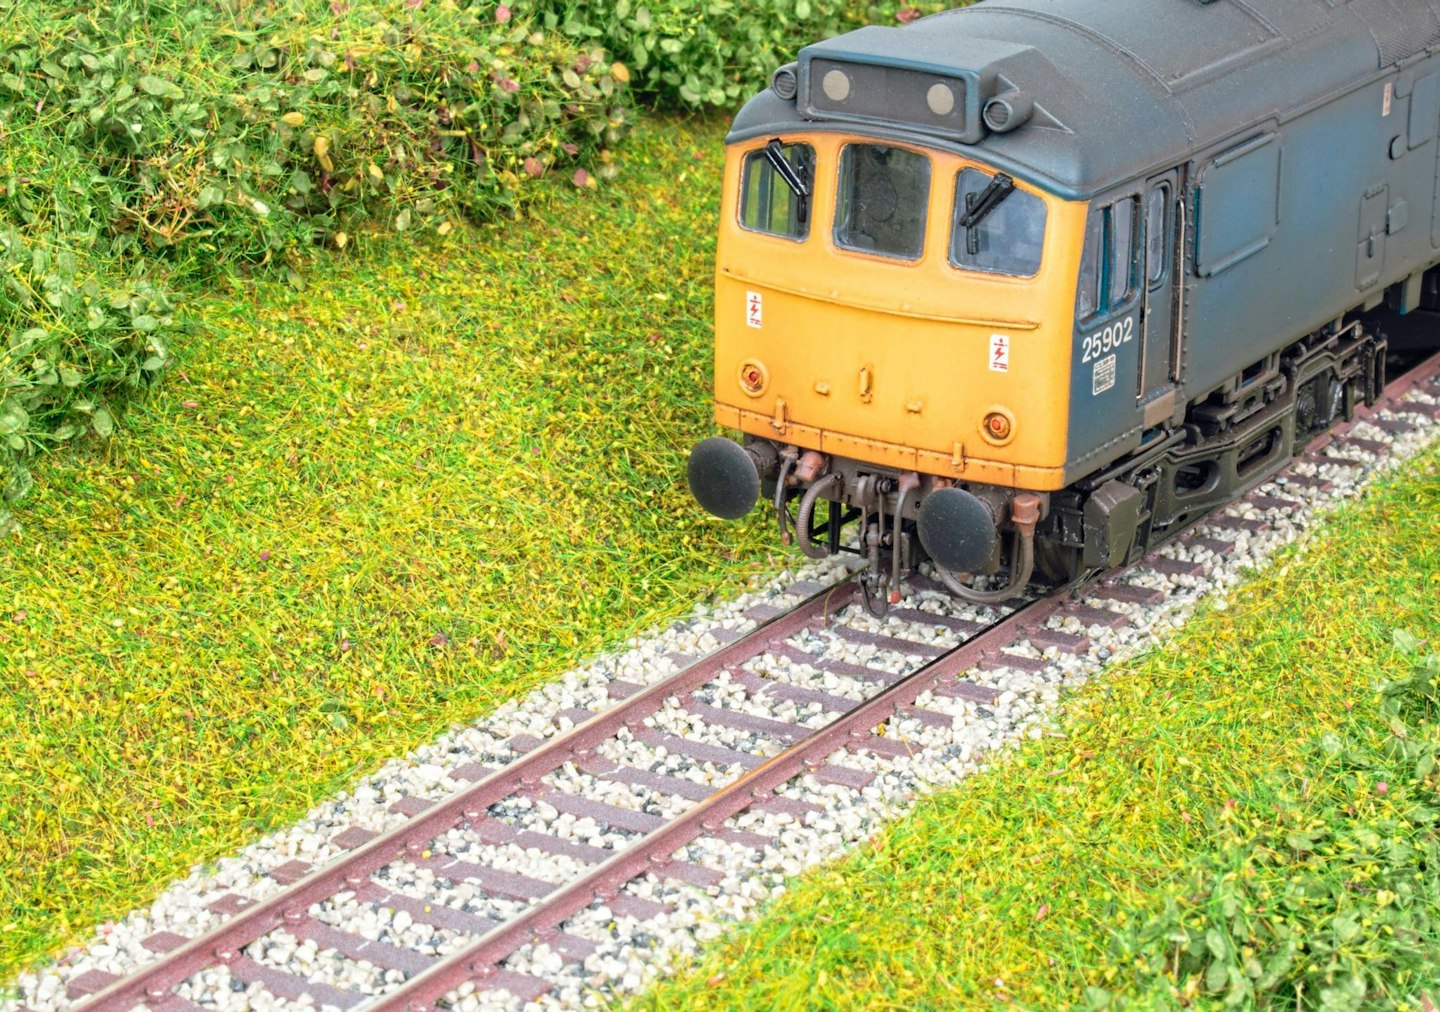
For this demonstration, I treated a pair of dioramas, in ‘OO’ and ‘N’ gauge, both about a metre long. The application of the ballast took less than an hour on each diorama, and that includes stopping to take the step-bystep images. That said, I was only treating single lines of plain track, and working around points and crossings requires more care to ensure the moving point blades are not hindered.
We’ll look at ballasting in more detail in a future issue, but the basic principles are laid out here. I’ve trialled some new packs of blended stone ballast from Geoscenics, featuring a slightly aged appearance that’s suitable for steam and modern ‐era layouts. It has been graded into packs branded for ‘N’ and ‘OO’ gauges, with the former naturally featuring a finer grade of chippings.
I’m really pleased with the finished results, with the ballast presenting a slightly lived-in appearance, but still presenting well maintained permanent way. I’d suggest that the ‘N’ gauge pack would also be perfect for ‘TT:120’ layouts, as well as for ‘OO’ scenes depicting quieter branch lines or within sidings or stations.
What you will need
SHOPPING LIST
◆ Deluxe Materials Pinpoint Applicator Tips
-
Availability: Model shops or Gaugemaster
◆ Isopropyl Alcohol (rubbing alcohol), 1 litre
-
Availability: Pharmacies or Amazon
-
Web: www.amazon.co.uk
TOOLS
◆ Teaspoon
◆ Flat paintbrushes
◆ Pipettes
◆ Track rubber
STEP BY STEP
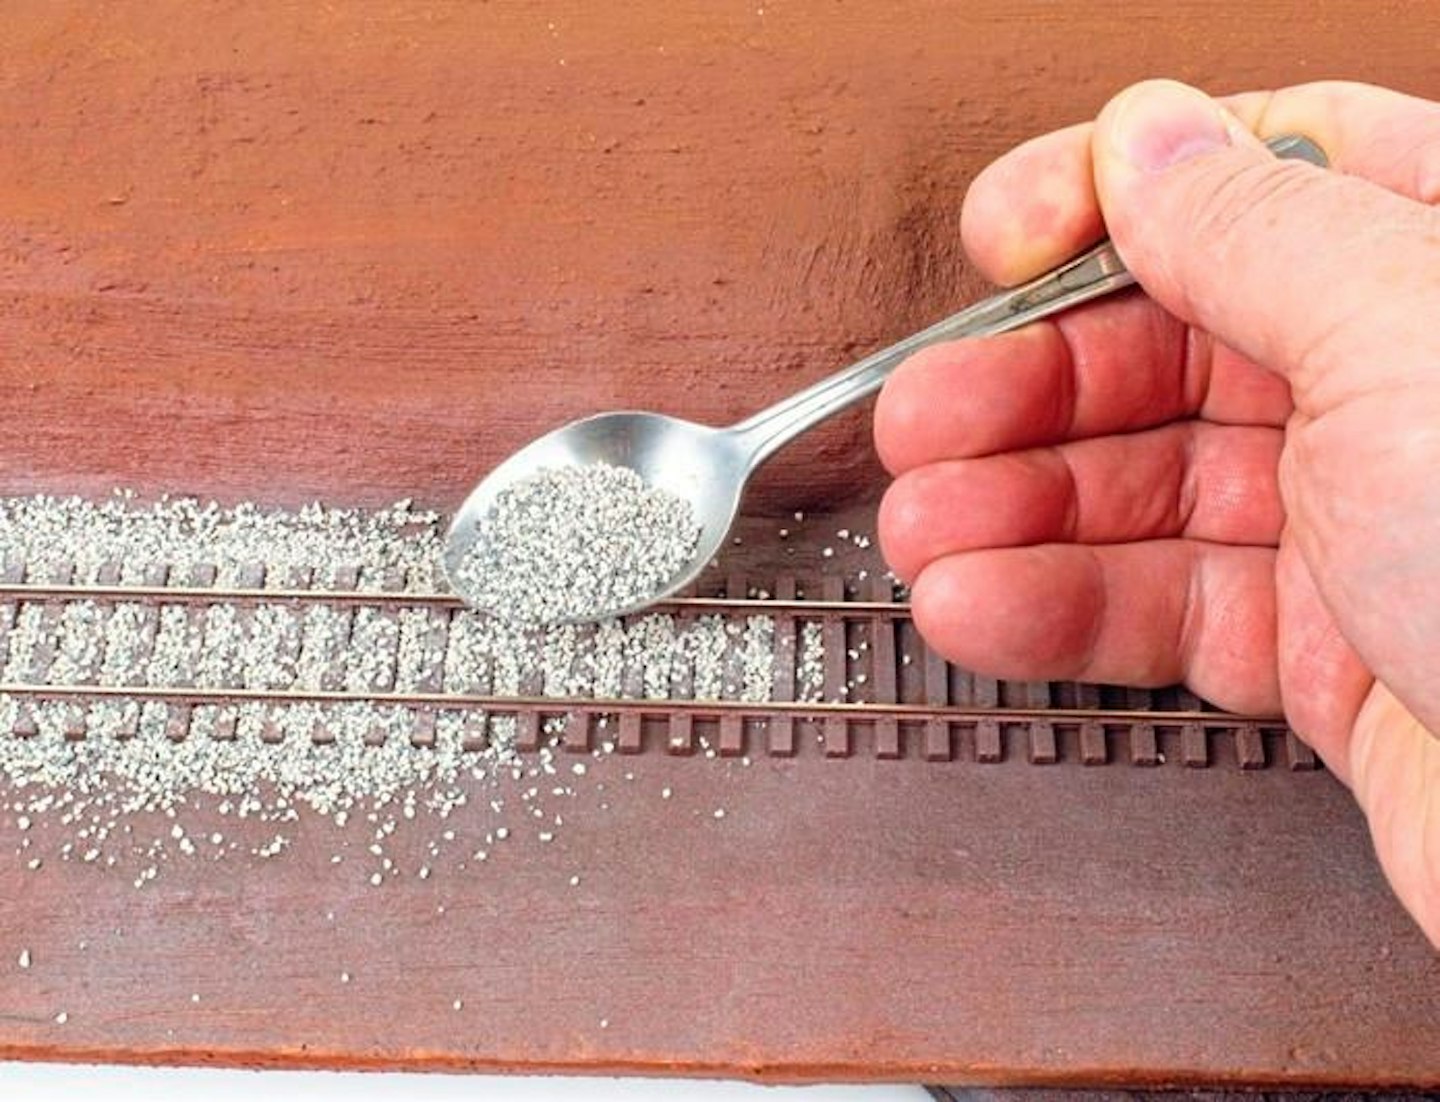
1 Having fixed the track in position, use an old teaspoon to gently sprinkle the ballast into place, working it between the rails and along the outer sides. Apply it sparingly to begin with, rather than creating a deep layer.
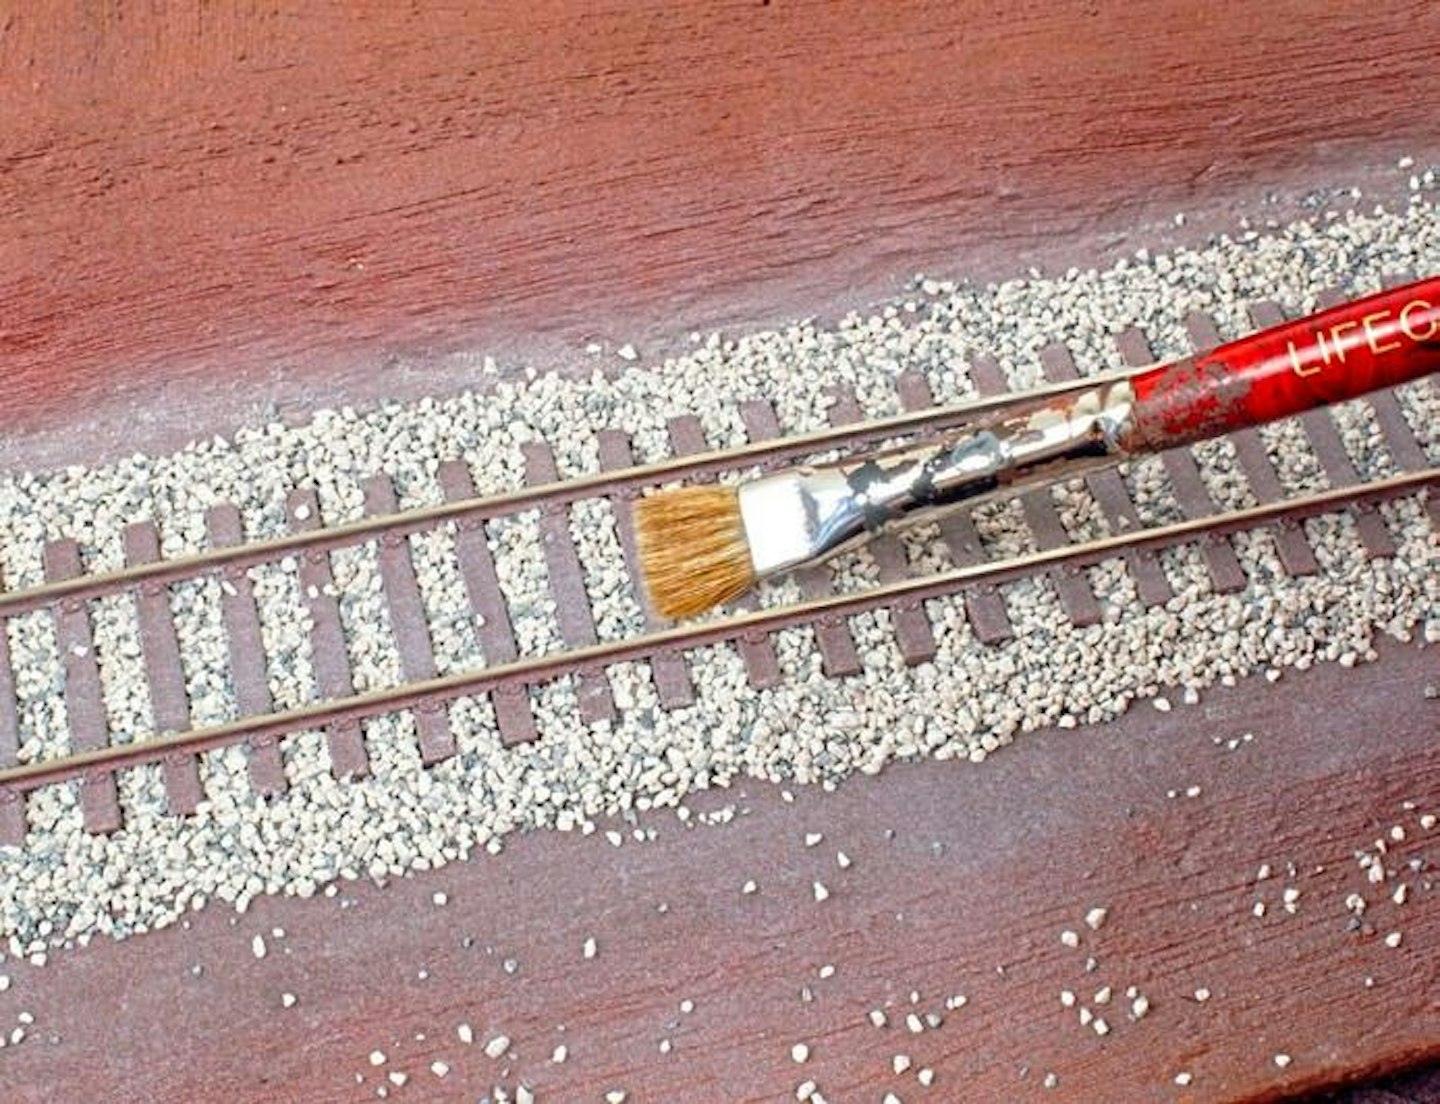
2 The most time-consuming stage is tidying loose ballast, although a soft-bristled flat brush makes the job easier. Work the ballast into gaps between sleepers and under rails, then tidy the edges too. Sweep up the excess for later re-use.
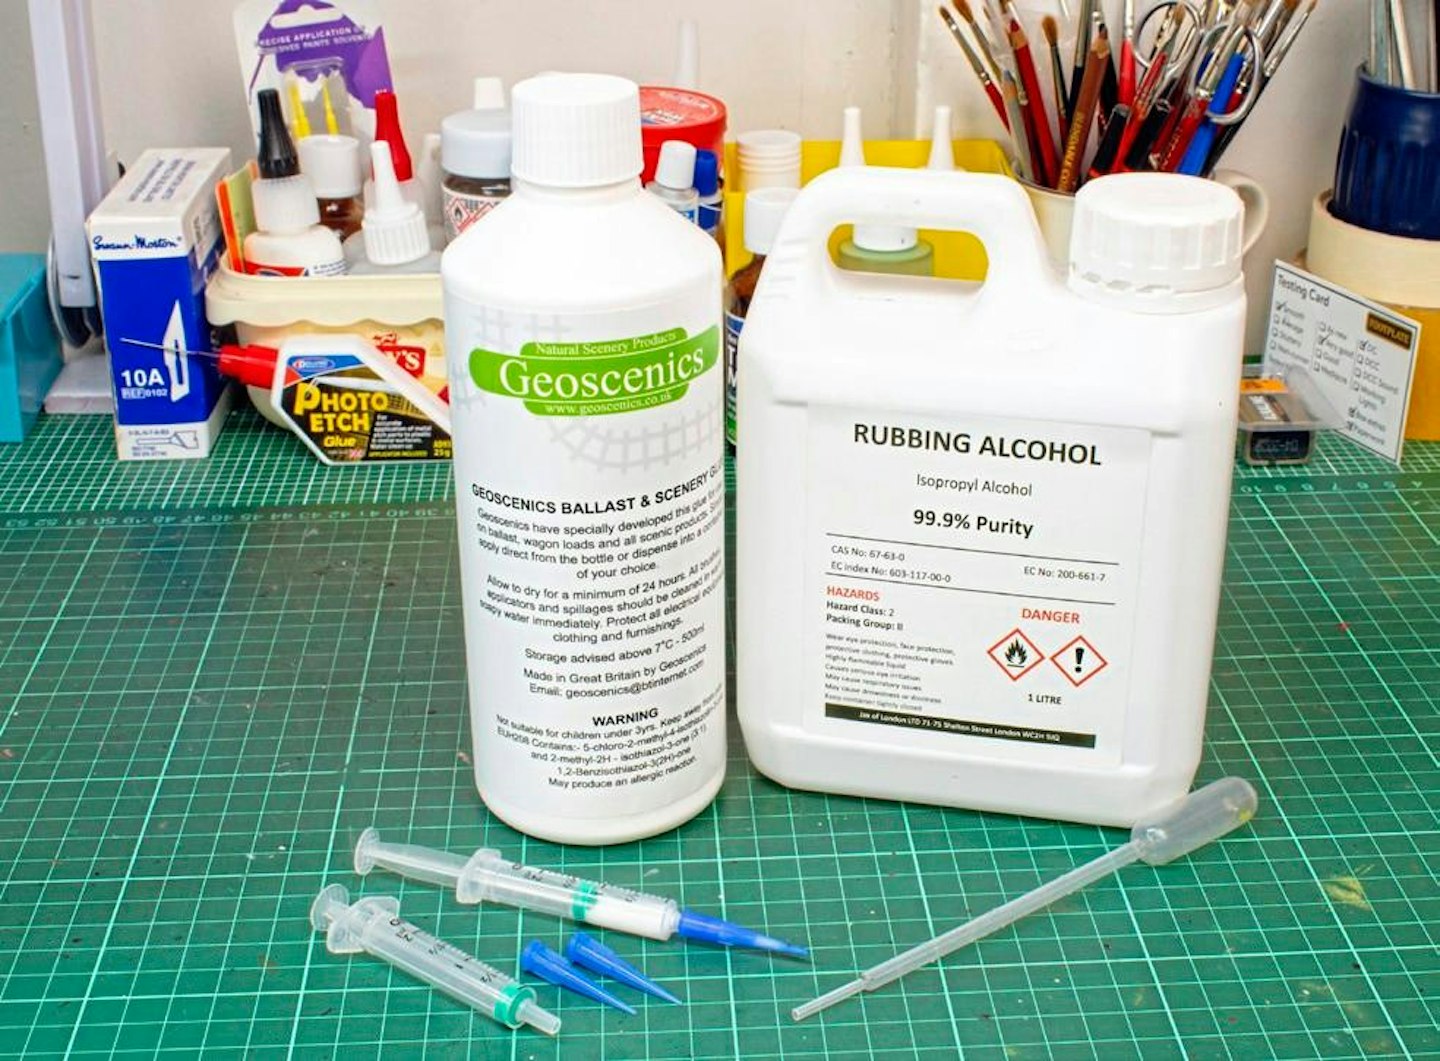
3 To bond the ballast in place, we need a thin PVA-type glue that can penetrate between the individual chippings. Geoscenics’s Ballast & Scenery Glue is effective and can be used neat or thinned with water and a syringe is supplied in the special ballast packs to make application easier. Extra pinpoint applicator tips, a pipette and a bottle of Isopropyl Alcohol are also extremely helpful.
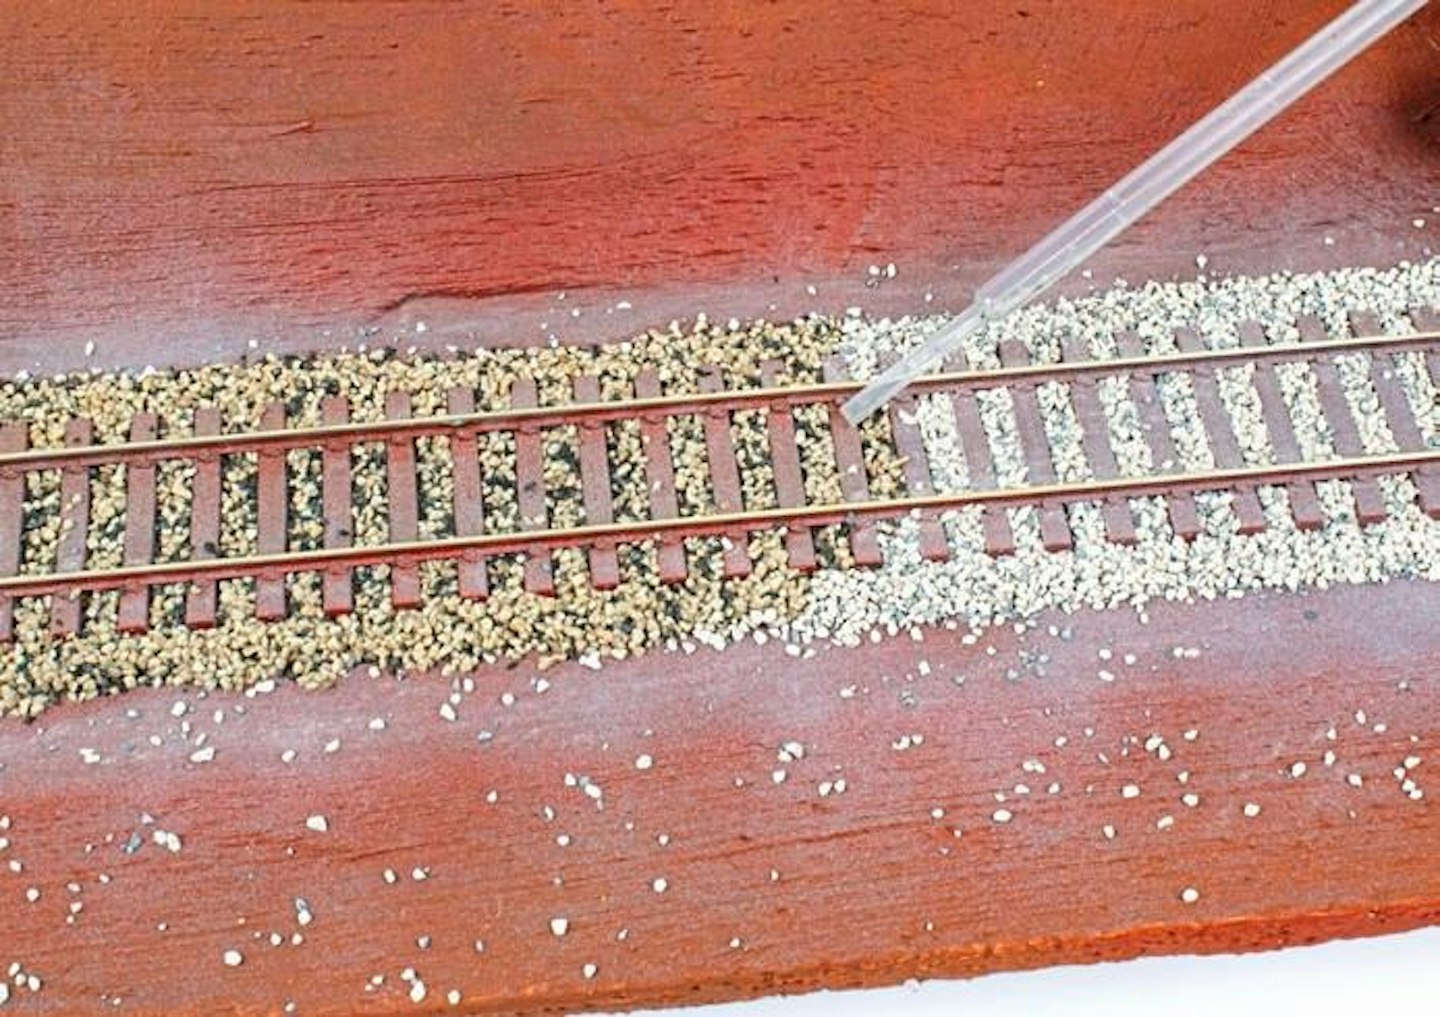
4 Working on about 20cm of track at a time, gently wet the ballast with Isopropyl Alcohol, applied with a pipette. Only a small amount is needed – just enough to turn the ballast a uniformly darker shade of grey, revealing that the fluid has spread evenly.
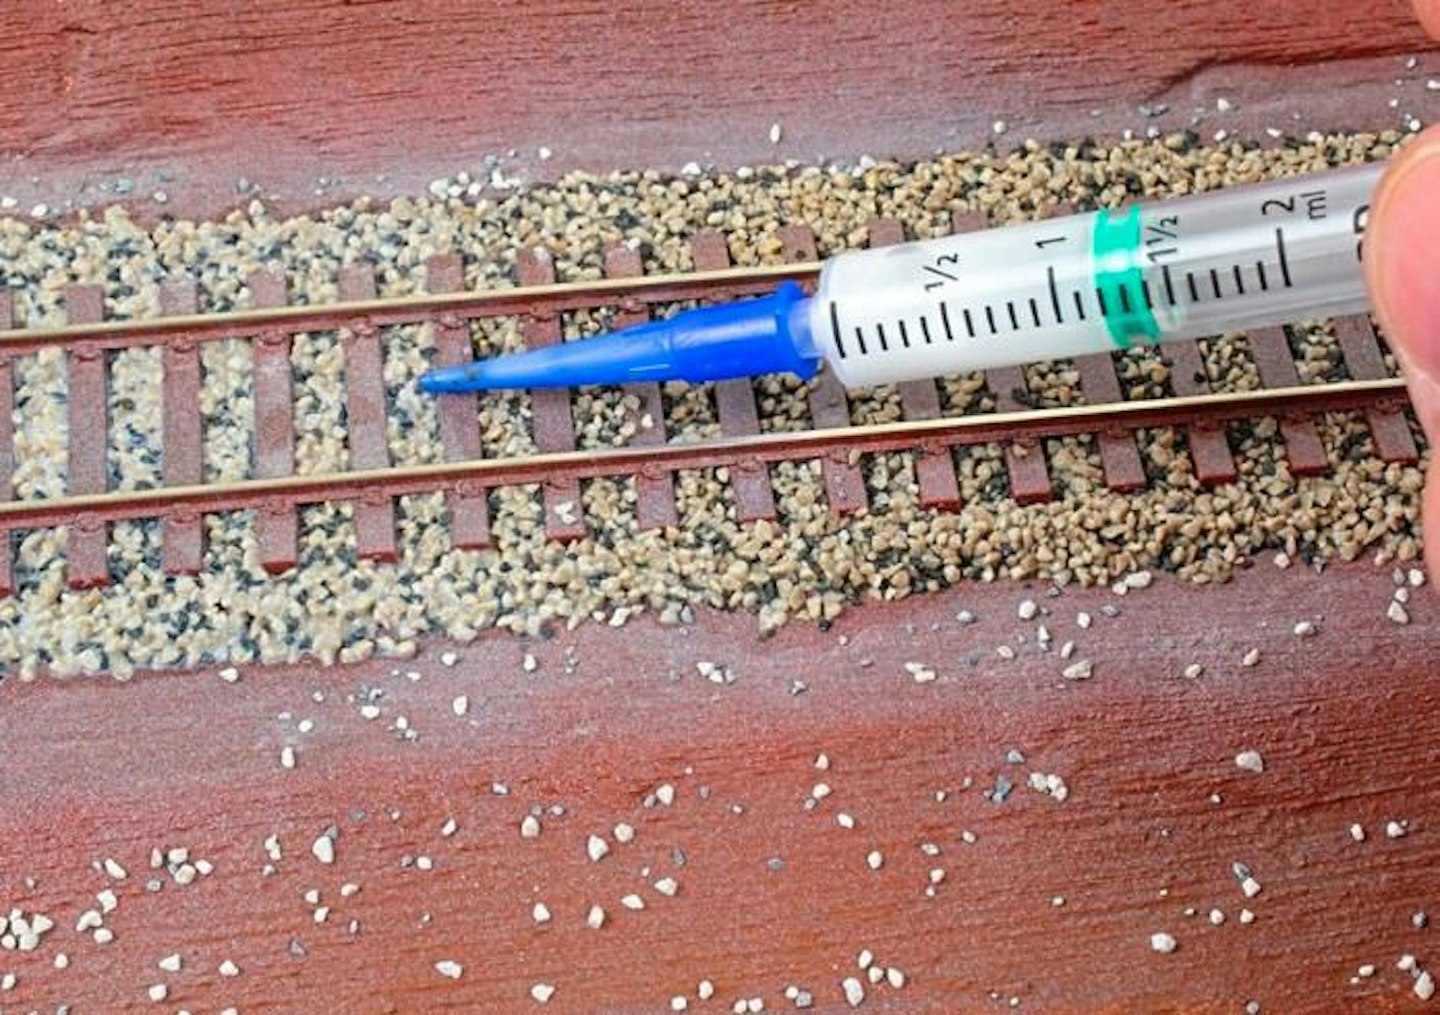
5 I thinned the Geoscenics glue slightly with water and, using the supplied syringe and a pinpoint tip (from Deluxe Materials), the adhesive was applied. Wetting the stone with the alcohol allows the thin glue to be drawn among the chippings by capillary action.
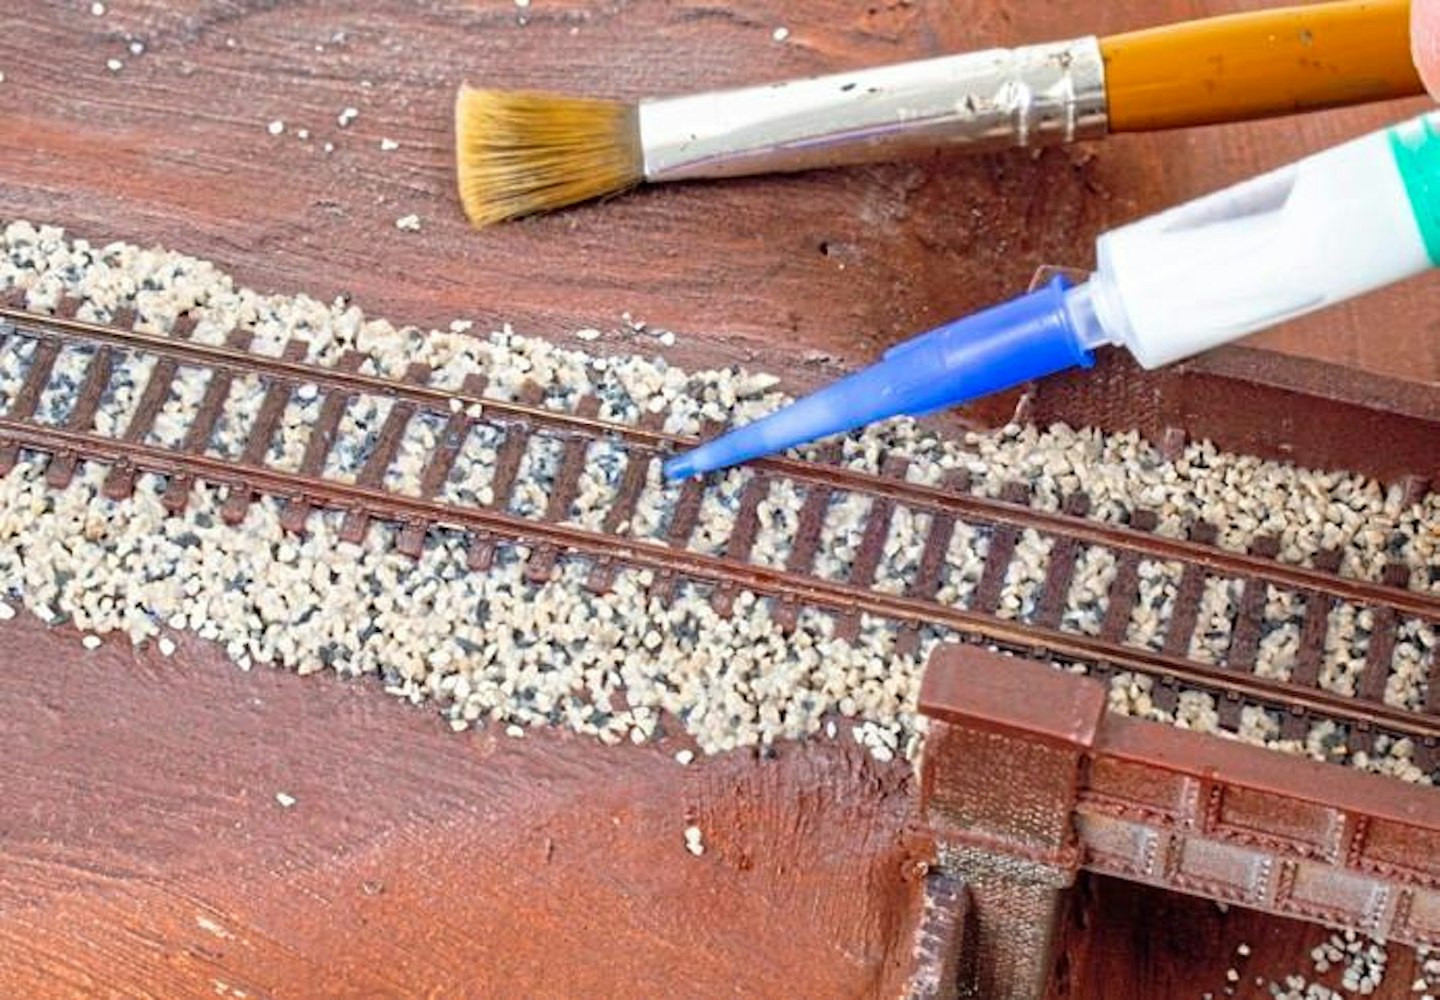
6 You’ll be able to see the white glue penetrating through the stone. Slowly move the syringe tip along the length of the track, applying the glue sparingly. Working between the rails, the glue will spread outwards, but if the outer edges remain ‘dry’, add a little more glue.
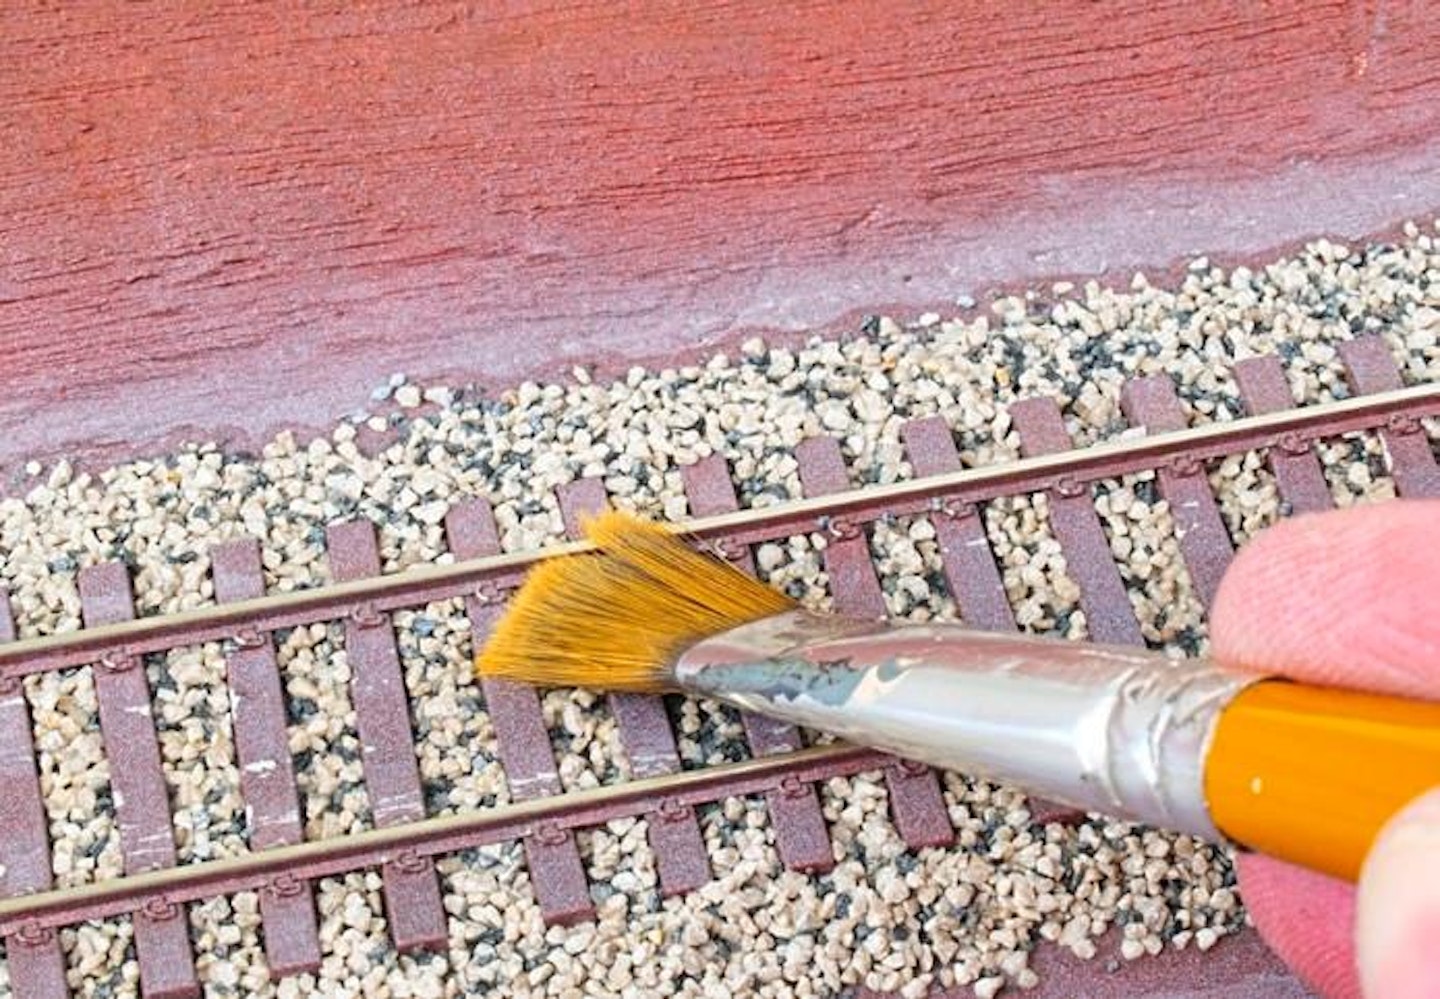
7 Repeat the process of wetting the ballast with alcohol and applying glue, moving steadily along the track. After 6 hours the glue had turned tacky, so I refined the ballast in a few areas, working it away from the rails and keeping the tops of the sleepers clear.
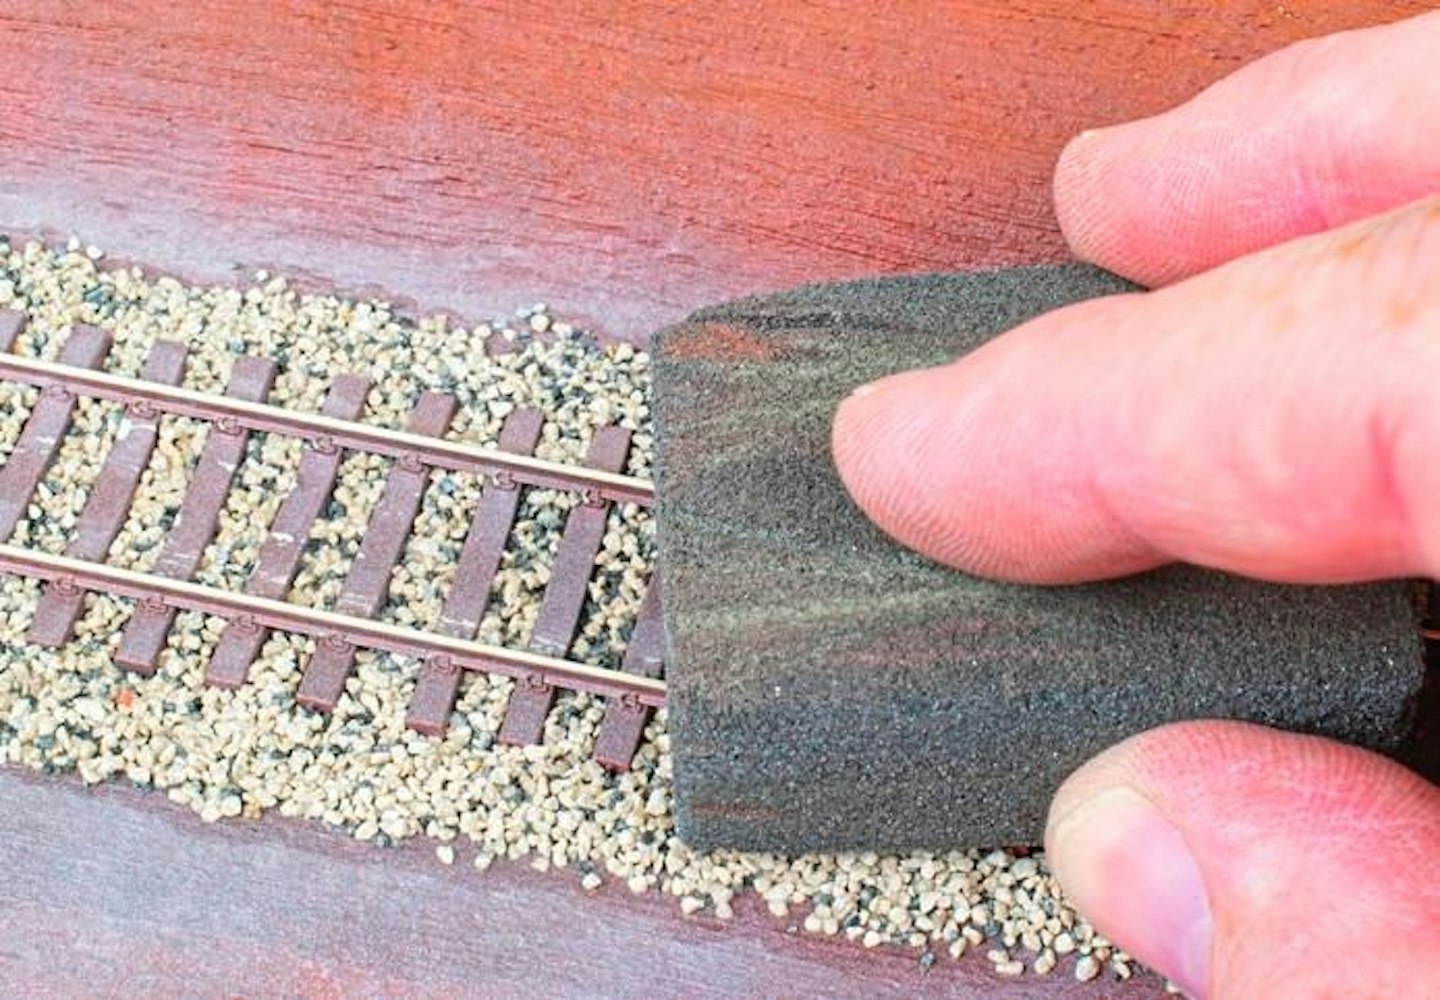
8 In a warm room, the glue dries relatively quickly. Allow a minimum of 24 hours (I waited 48 hours to be sure) for the glue to harden completely before cleaning the rails with a track rubber. Vacuum away the debris and any loose ballast chippings.
In each issue we cover every stage of the hobby, from buying a first model train set right through to museum standard fine-scale modelling. Model Rail magazine is full of helpful tips, advice on model train layouts, details on model train sets, step-by-step articles and more! Choose the right subscription option for you and get instant digital access to the latest issue.

