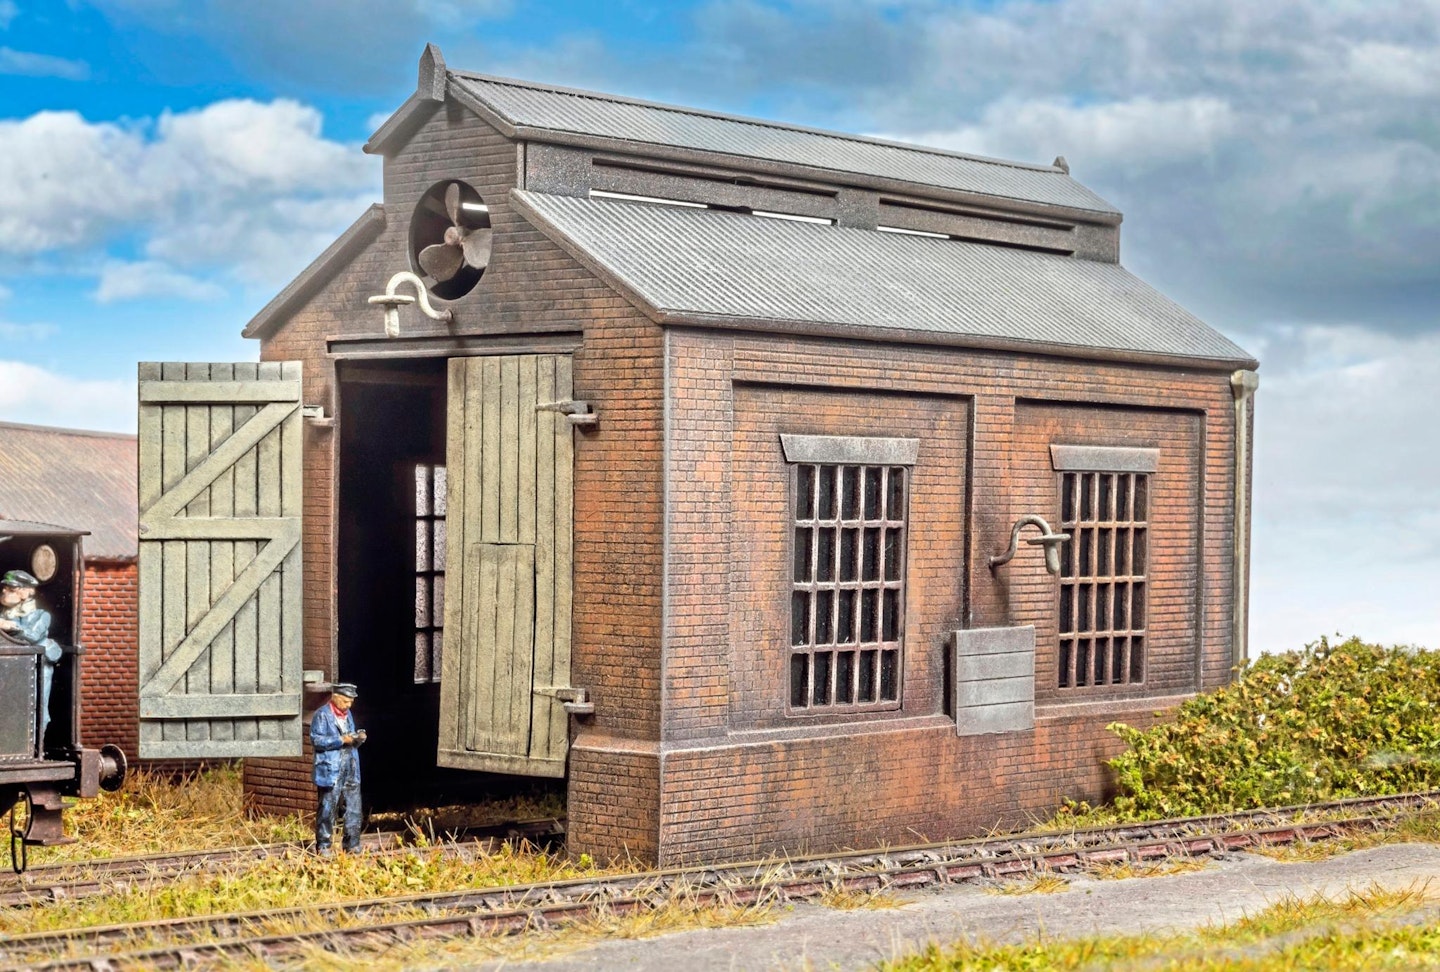
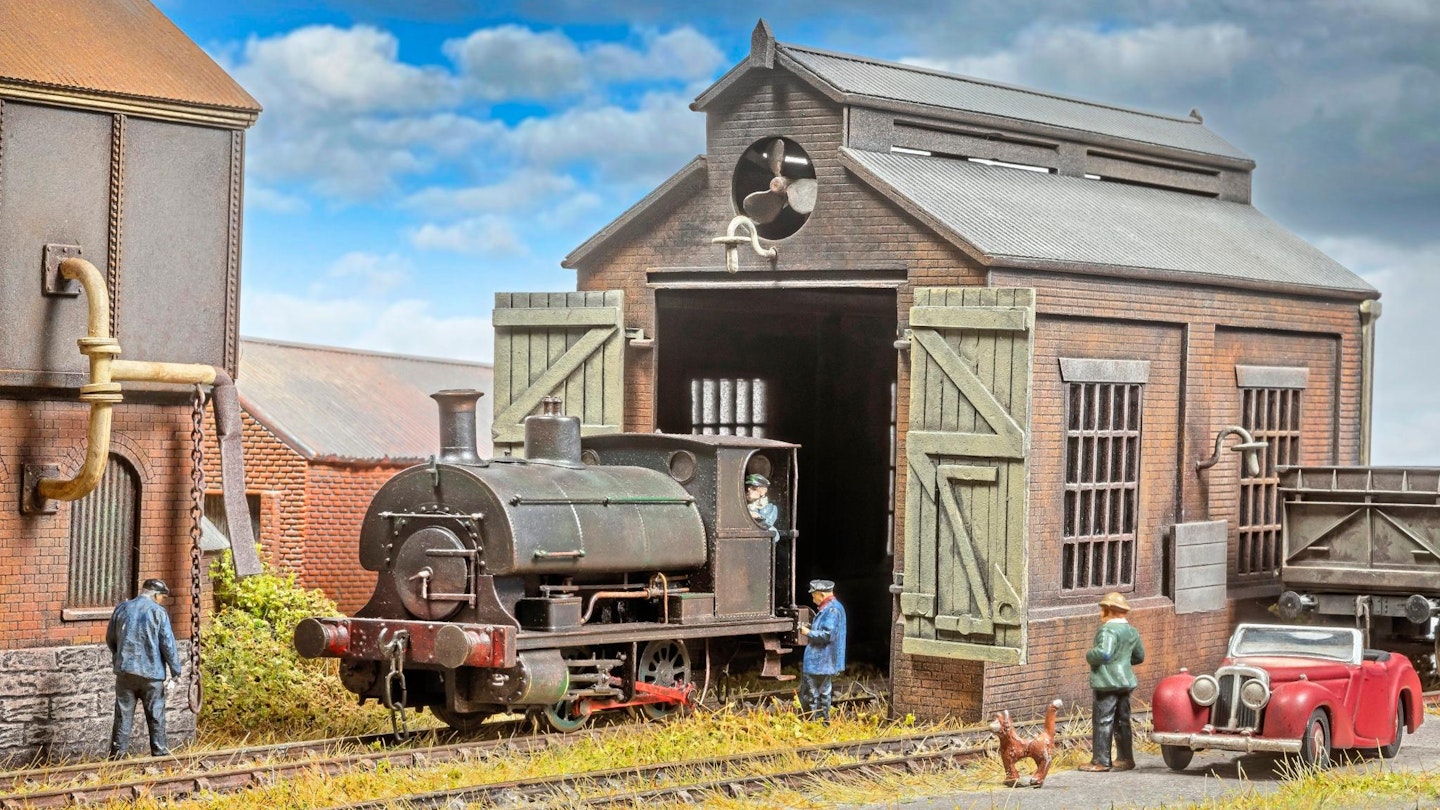
Chris Nevard sees what he can do with an old favourite plastic kit, which dates back to the Airfix range from the 1960s.
PHOTOGRAPHY: CHRIS NEVARD
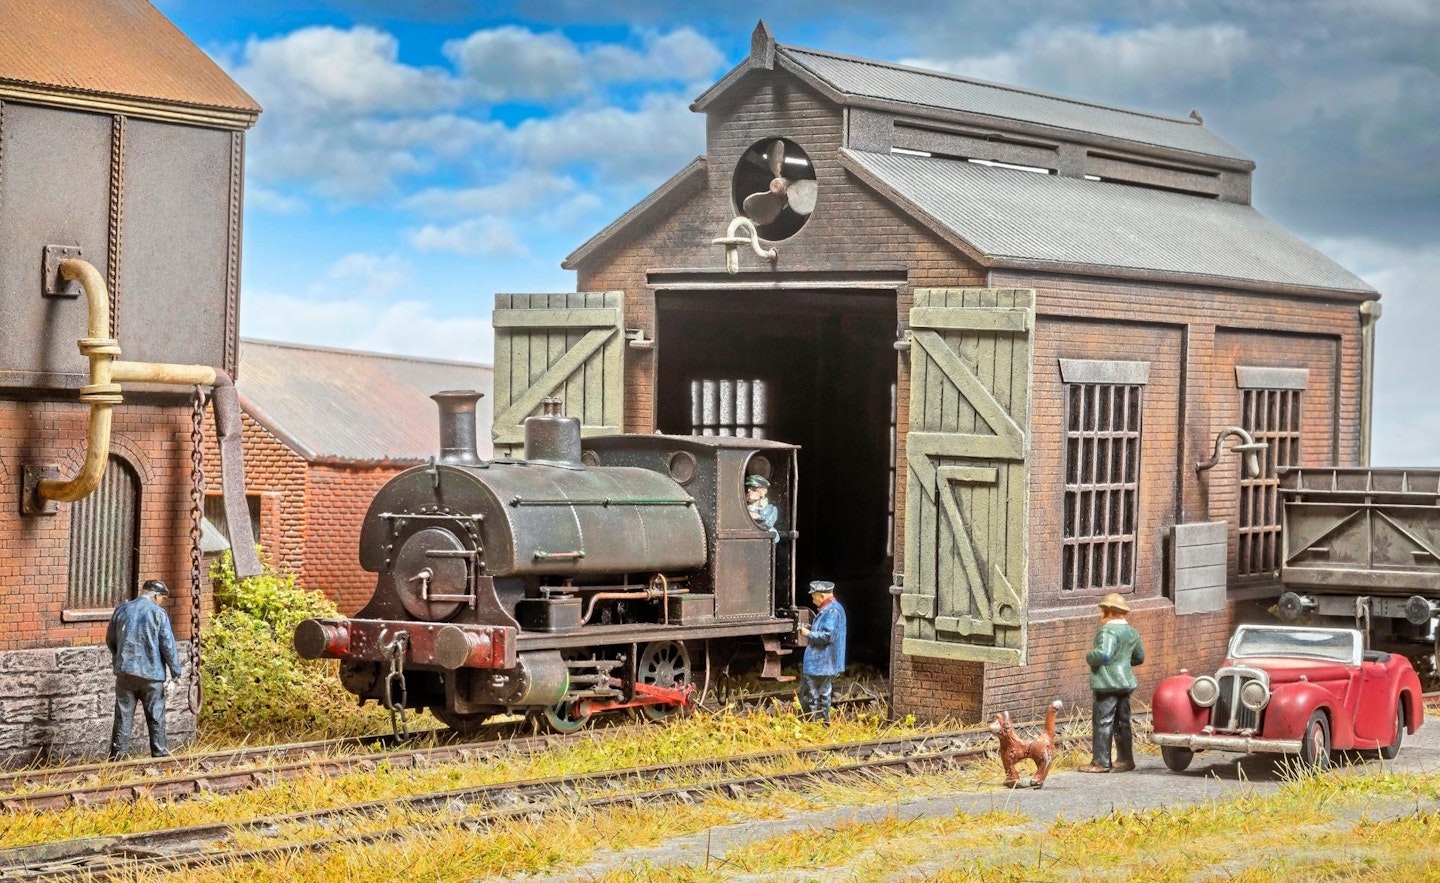

The Dapol Engine Shed kit was originally released as part of the Airfix ‘Trackside Series’, around 1960. That’s the same year that British Railways was building its final steam locomotives, so you could say that it’s a kit from the steam age – just about!
This plastic kit is often overlooked these days, with so many other offerings in this area. Indeed, there are so many resin, card, plastic, laser-cut timber and now even 3D-printed engine sheds in 4mm scale, in kit and ready-toplant form. Sometimes though, when faced with a bewildering array of choice, it’s good to go back to one’s roots and remember the older kits from days gone by.
The Dapol kit is still freely available from model shops and Dapol stockists, now packaged under the famous old Kitmaster brand name. The moulding tools may be classed as vintage, but the kit is still definitely worth experimenting with, not least due to its bargain price, which at the time of writing was under £12 (although it’s often seen on sale for less than a tenner). Looking on eBay and similar online sites, there are also plenty of the old Airfix versions still available, too, if you fancy a full-on vintage experience.
There’s also the likelihood that older kits will feature less in the way of ‘flash’ on the components, as the tooling was less worn. Indeed, it’s noted in the current kit’s comprehensive instructions that, owing to the age of the tooling, one must be prepared to do a little more tidying up before assembly than with more modern kits.
A definite advantage of this (and similar) kits is that the injection-moulded plastic parts are easy to work with. They can be bonded securely with liquid poly cement, and the pliable material can be modified with a knife, drill and files. Multiple kits can be joined together and there’s plenty of opportunity to add extra exterior and interior details.
With a little work, the kit can be made to look great if you accept that it will take a little more effort to complete than, say, a Wills or Ratio kit. And I hope you agree that it does have fabulous character with a hint of whimsy – something that appeals to me anyway.
And my final thought is that the bottom of the doors do sit rather high above the ground. I presume this allows for tinplate track-work which would have been common in the 1960s. I might graft on a bit of extra material to the base of the doors at some point to remedy this – literal – shortfall.
Anyway, next time you’re browsing in your local model shop, look out for one of these kits and treat yourself to a cheap and very enjoyable assembly and painting project.
What you will need
SHOPPING LIST
◆ Slater’s Plastikard 2mm plain plastic sheet, 7mm Scale Corrugated sheet (437) Availability: Model shops Web: www.slatersplastikard.com
◆Grey, Red, Filler (yellow) primers and Matt Black aerosol paints Availability: Halfords stores Web: www.halfords.com
◆A selection of brick red, yellow ochre, brown and beige matt enamel or interior matt emulsion testers • black poster paint. Availability: Hardware/craft stores
◆ Styrene Solvent, such as Plastic Magic by Deluxe Materials Availability: Model shops Web: www.deluxematerials.co.uk
TOOLS
◆ Scalpel or hobby craft knife with spare blades
◆ Needle file or disposable nail file
◆ Metal ruler
◆ Cutting mat
◆ Paper masking tape
STEP BY STEP
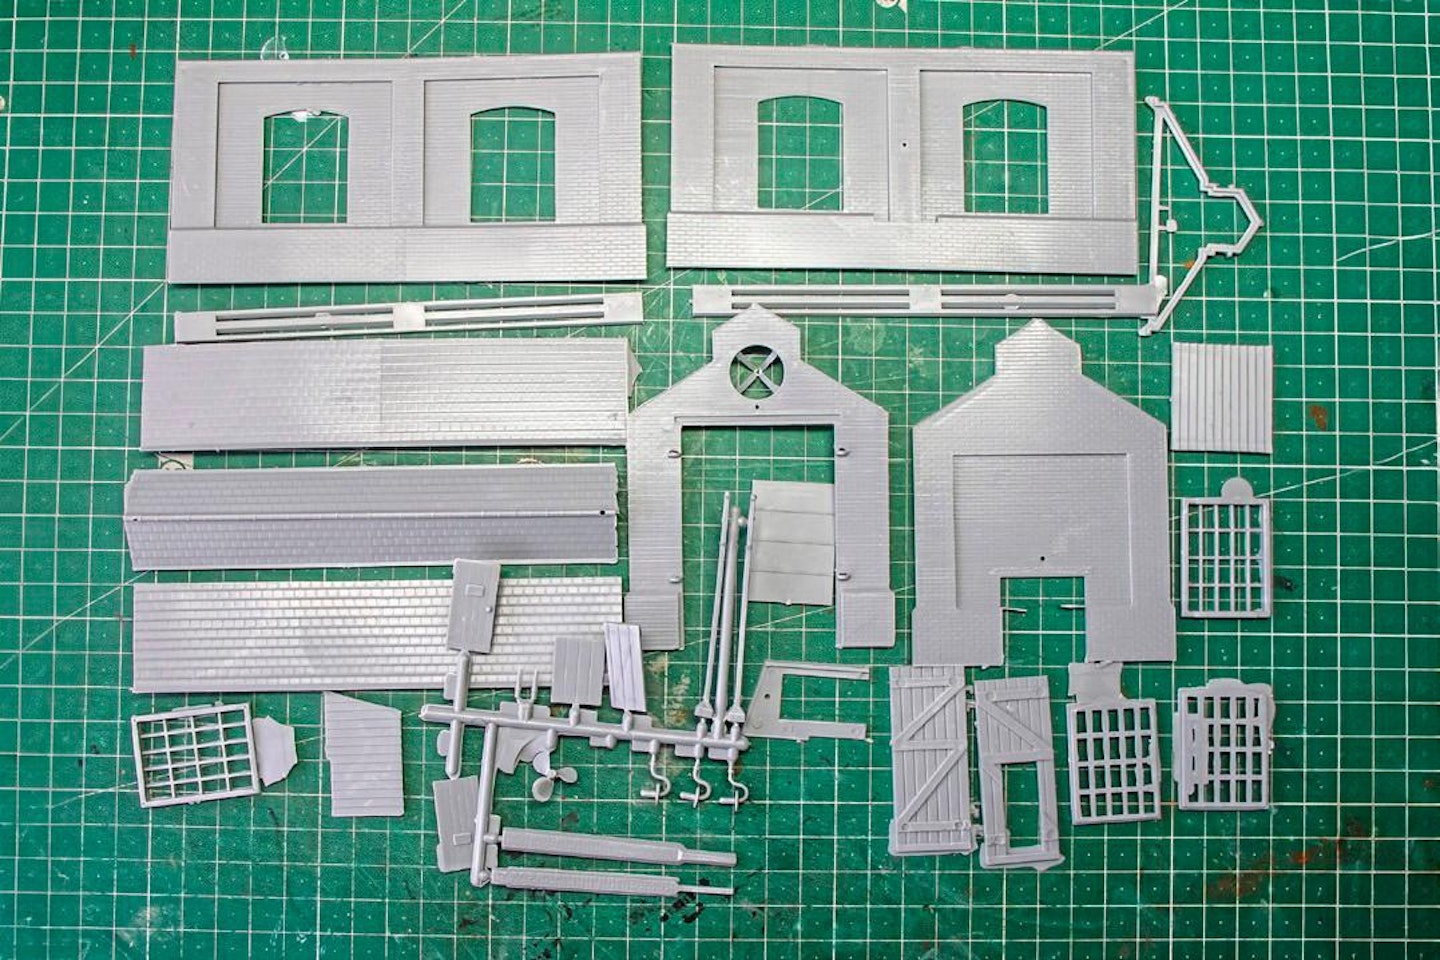
1 The first job is to identify all the components while looking at the exploded view diagram, noting the disclaimer about numbers on parts not necessarily matching those of the instructions! But, with relatively few parts, this is not a big deal.
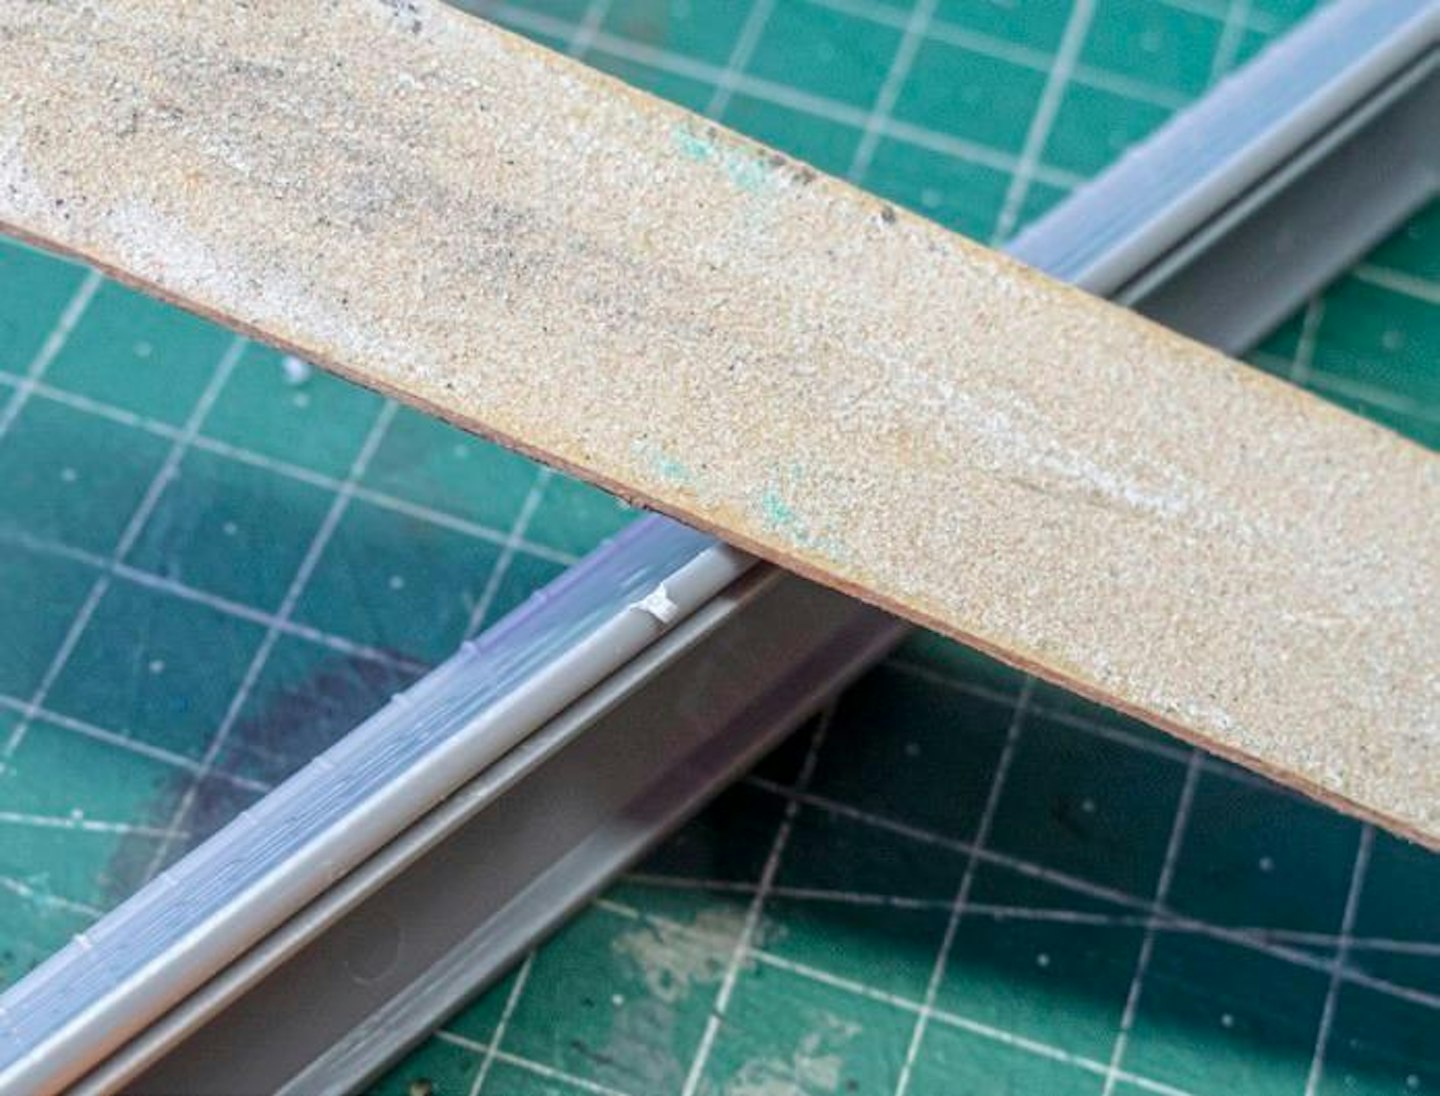
2 Once all the components have been identified, the next task is to clean up the mouldings which have quite a bit of flash. Needle files or emery files are ideal tools for this job.
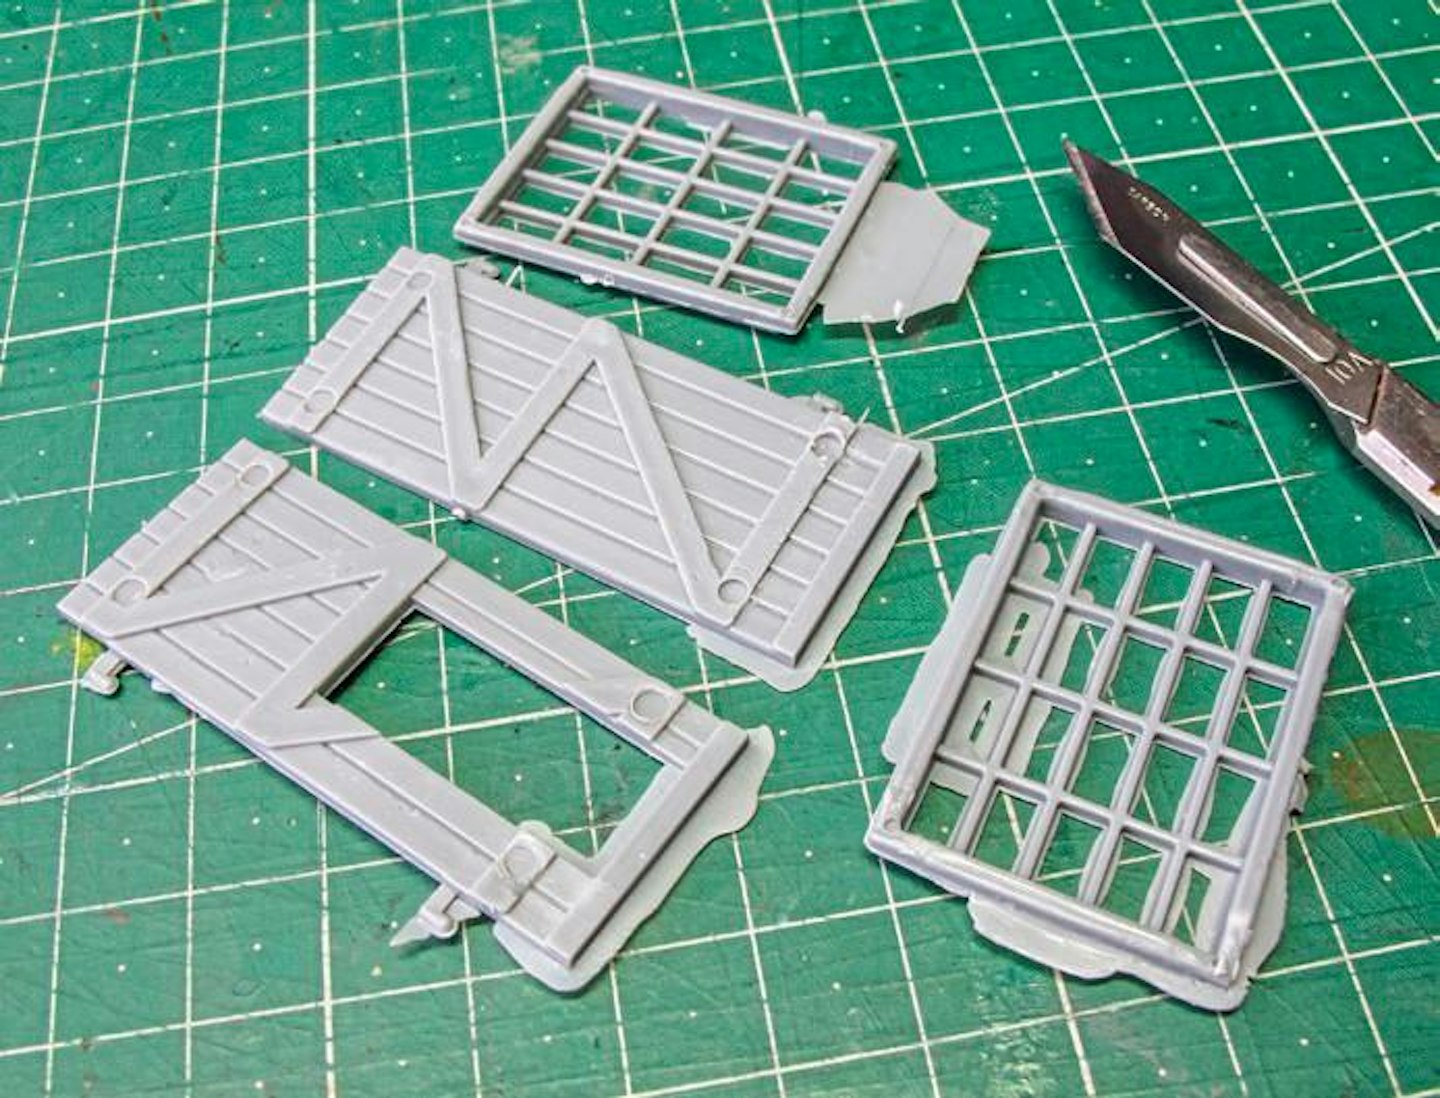
3 The window frames and doors were the worst affected, with lots of excess plastic seeping between the tools during the moulding process, owing to the age of the tooling. Cleaning these parts was time-consuming.
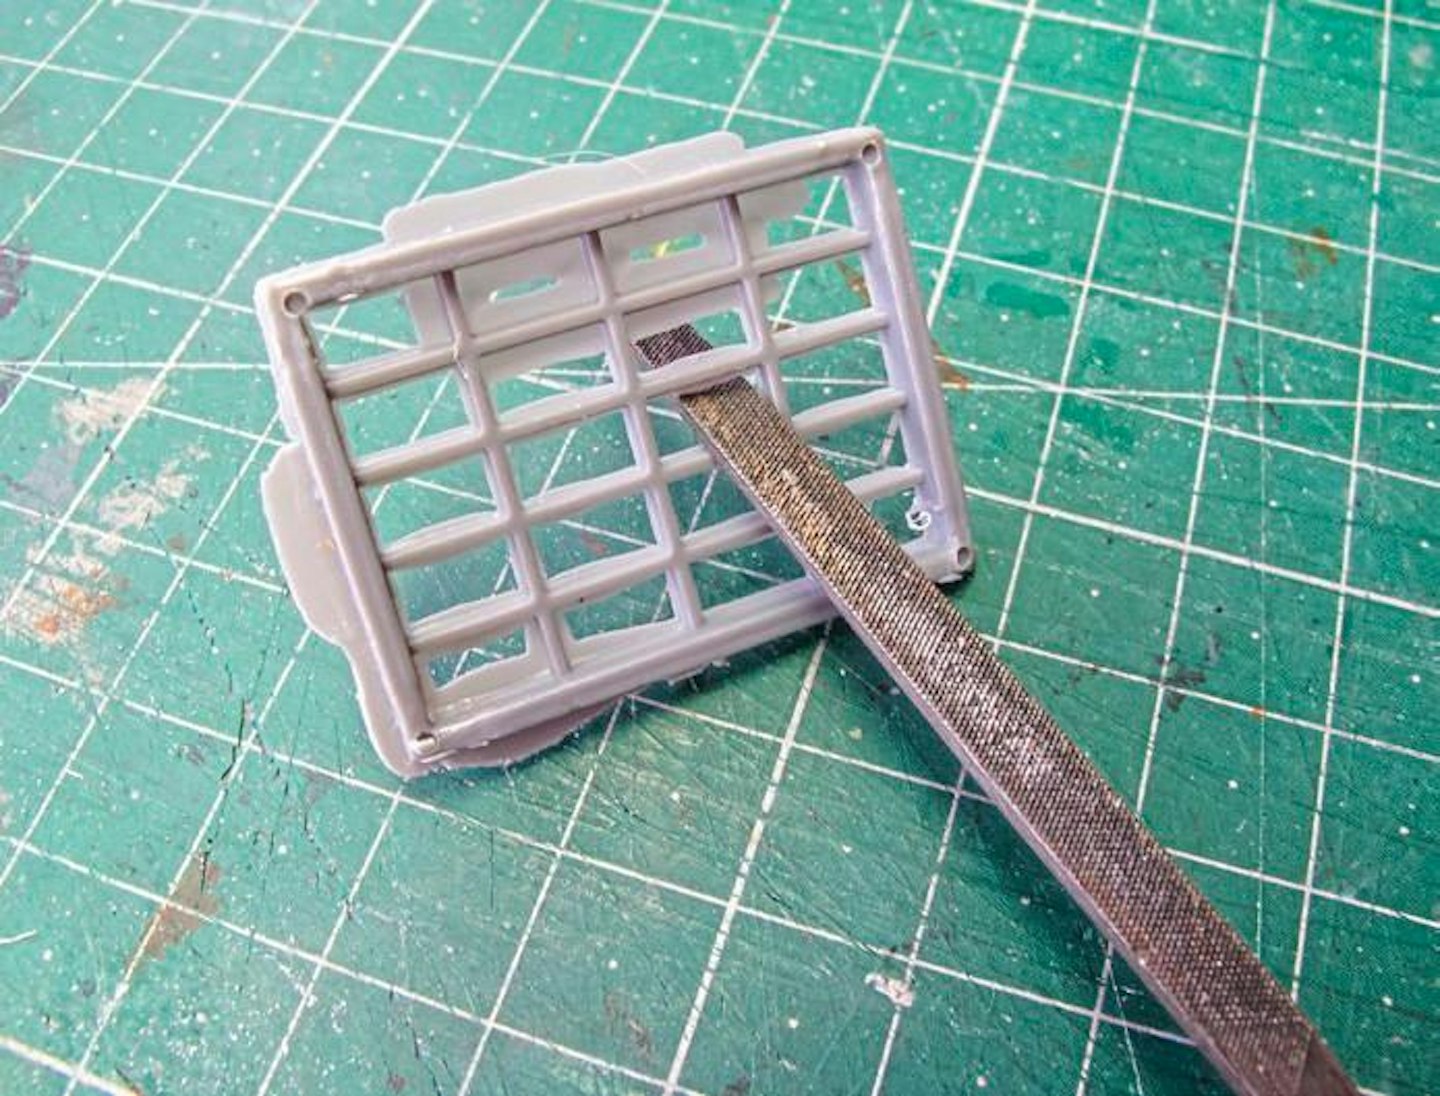
4 Initially, I tackled the window frames with a flat needle file, which reached within the latticework easily. Wear a mask and vacuum away the dust at intervals to avoid inhaling the fine powdered plastic.
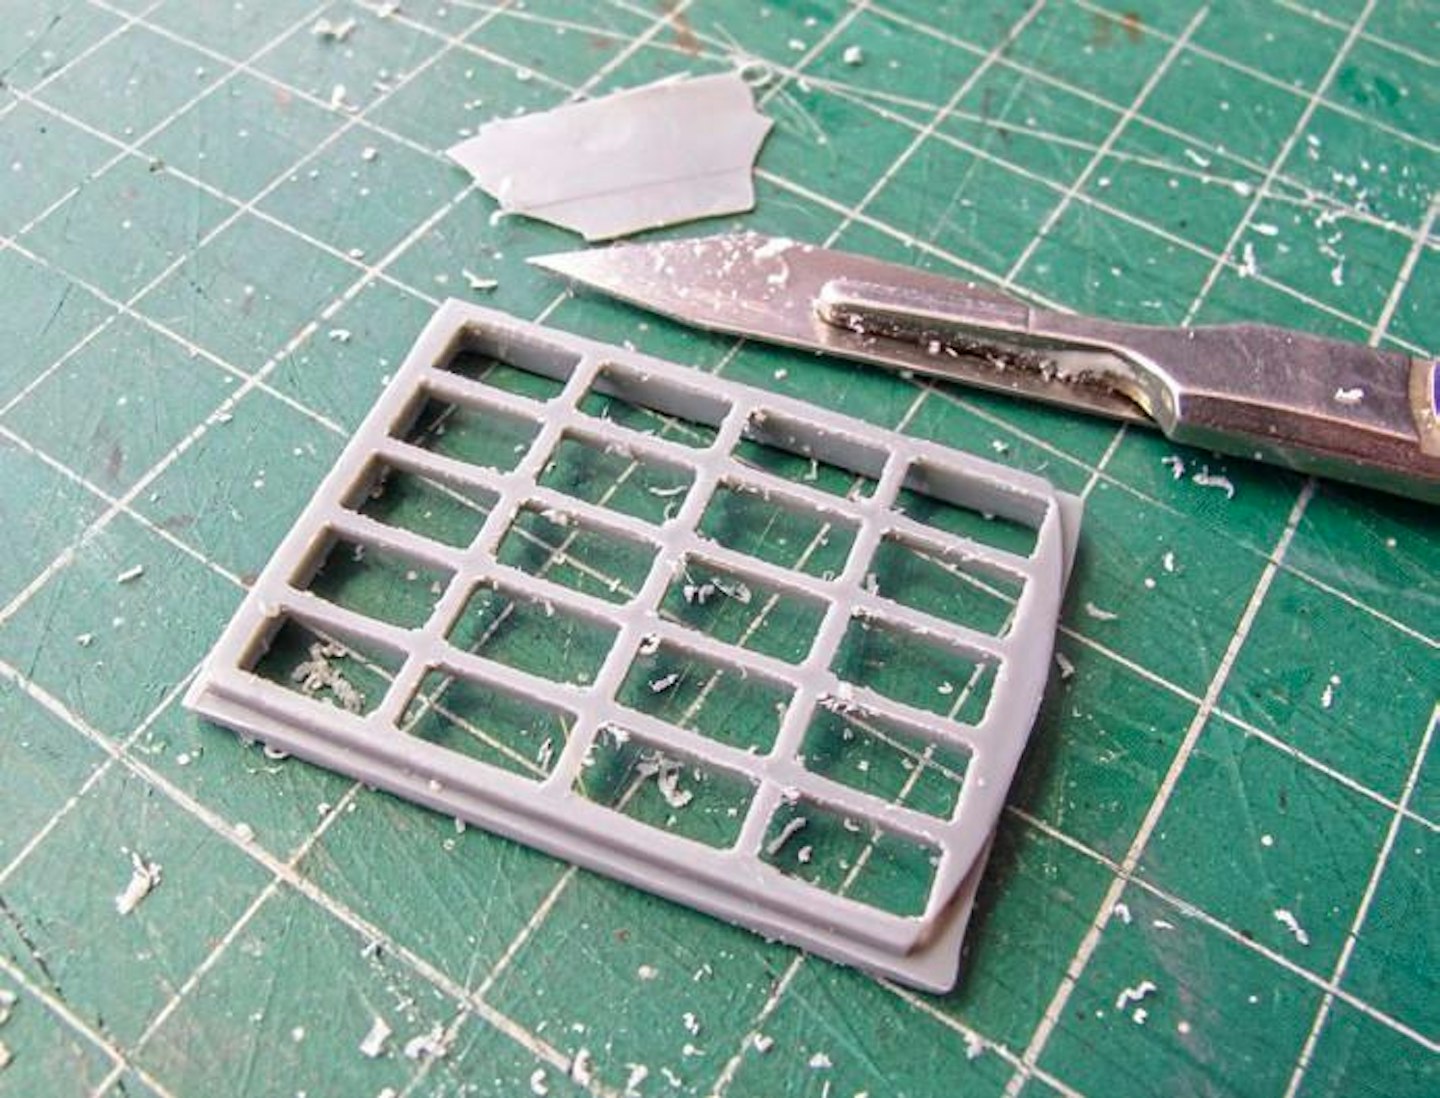
5 I also found that scraping the surfaces with a fresh scalpel blade helped remove waste. The flat file was better for achieving true straight lines and square corners, so combining the two techniques was helpful.
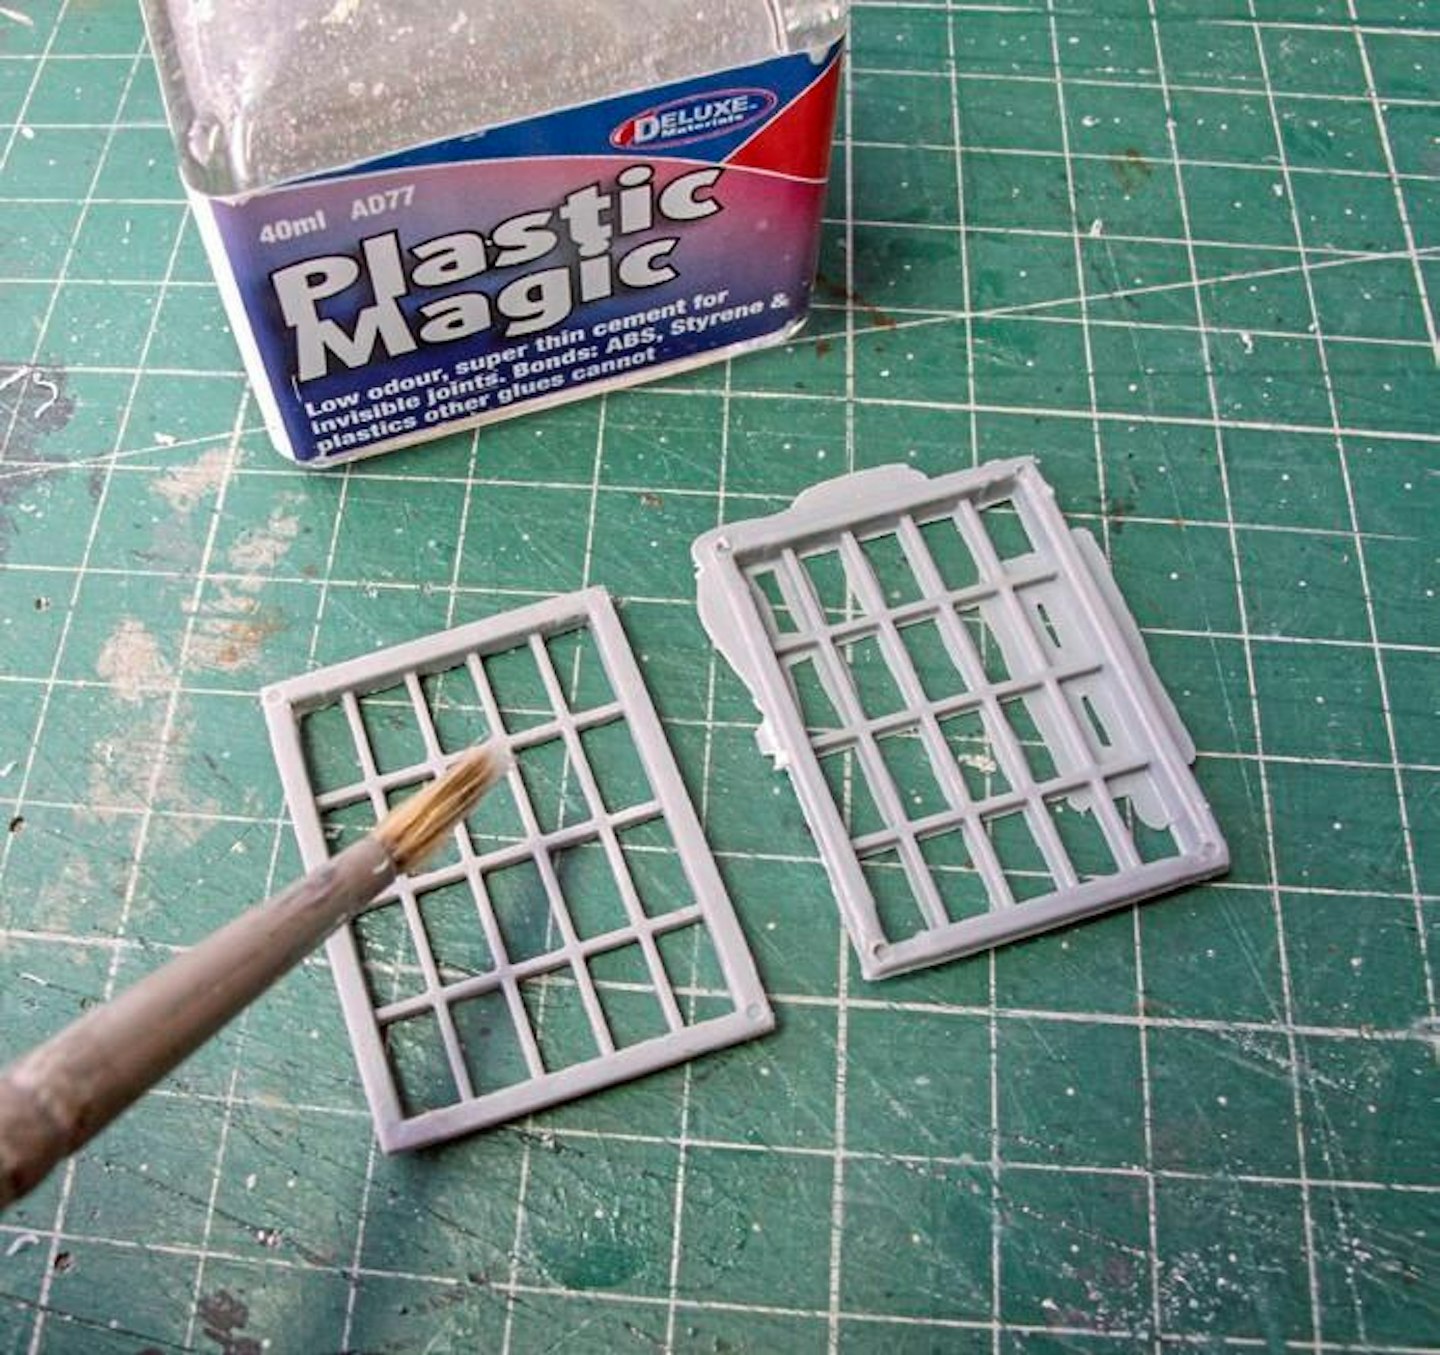
6 After the scraping and filing, the plastic parts can still look ragged, but a neat trick for achieving a smoother edge is to paint some liquid poly cement over the surface. This dissolves the tiny burrs into the plastic.
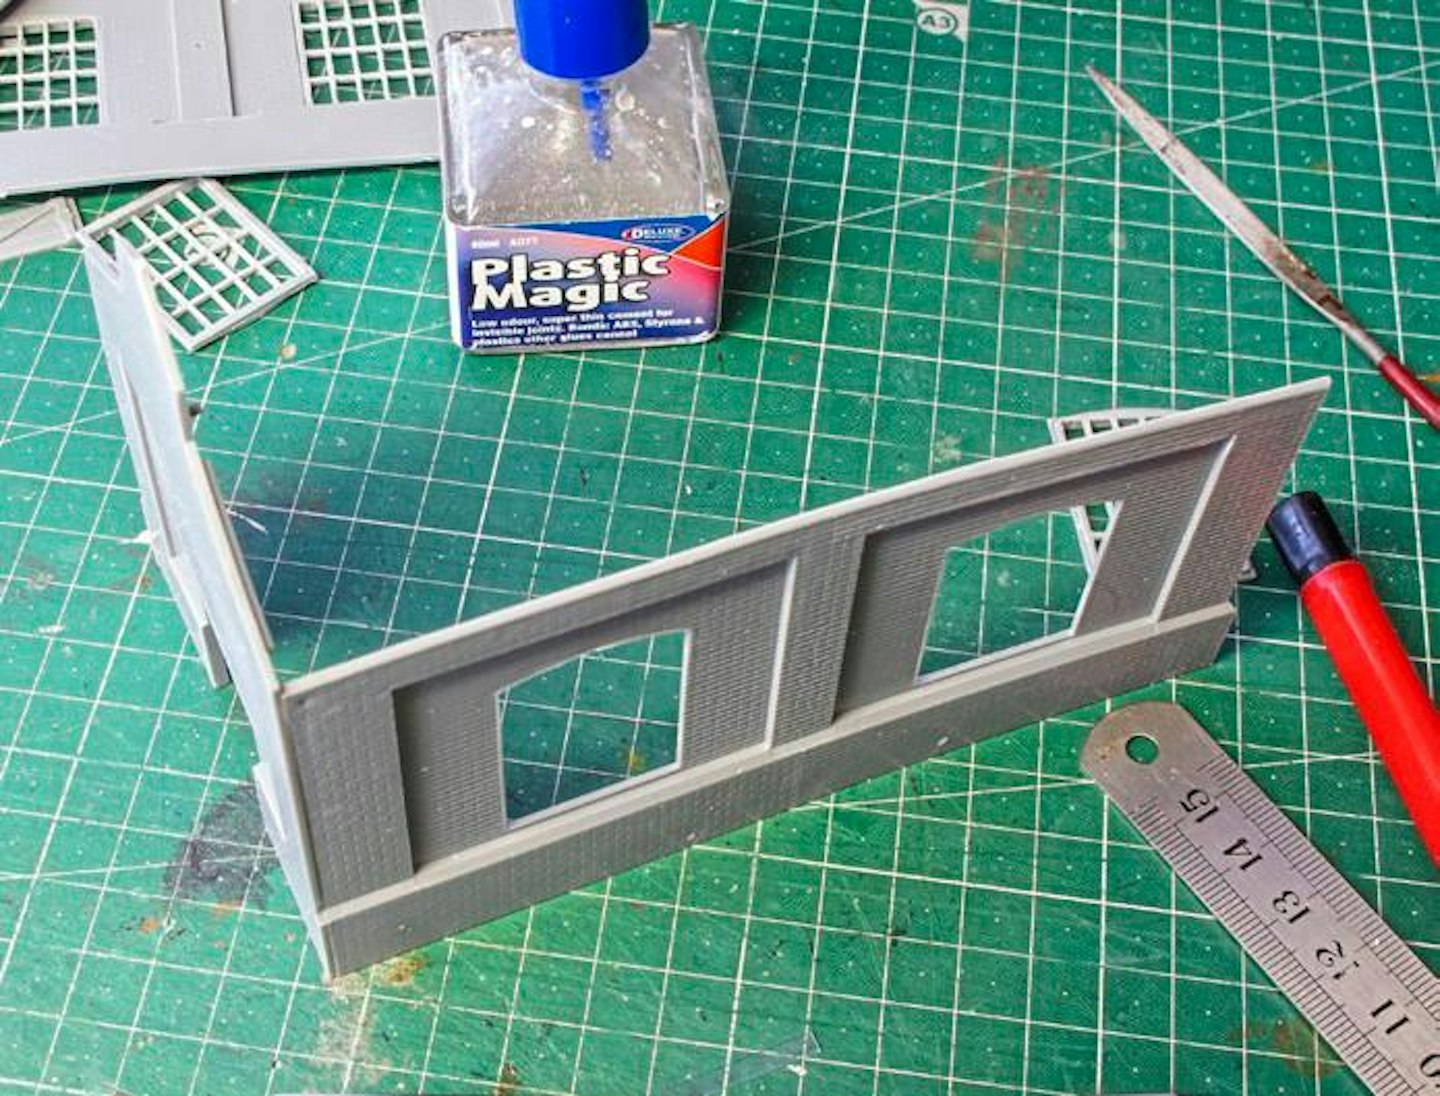
7 Assembly began by bonding one side wall to the rear, doing a ‘dry’ run first to ensure the parts fit neatly. Apply solvent from the inside and check the walls stand vertically and the corner joint is set at 90º.

8 NOTE: Don’t remove what looks like sprue from the round aperture on the front wall, as this forms part of the support framework for the ventilation fan. Take care when removing the flash from these parts…
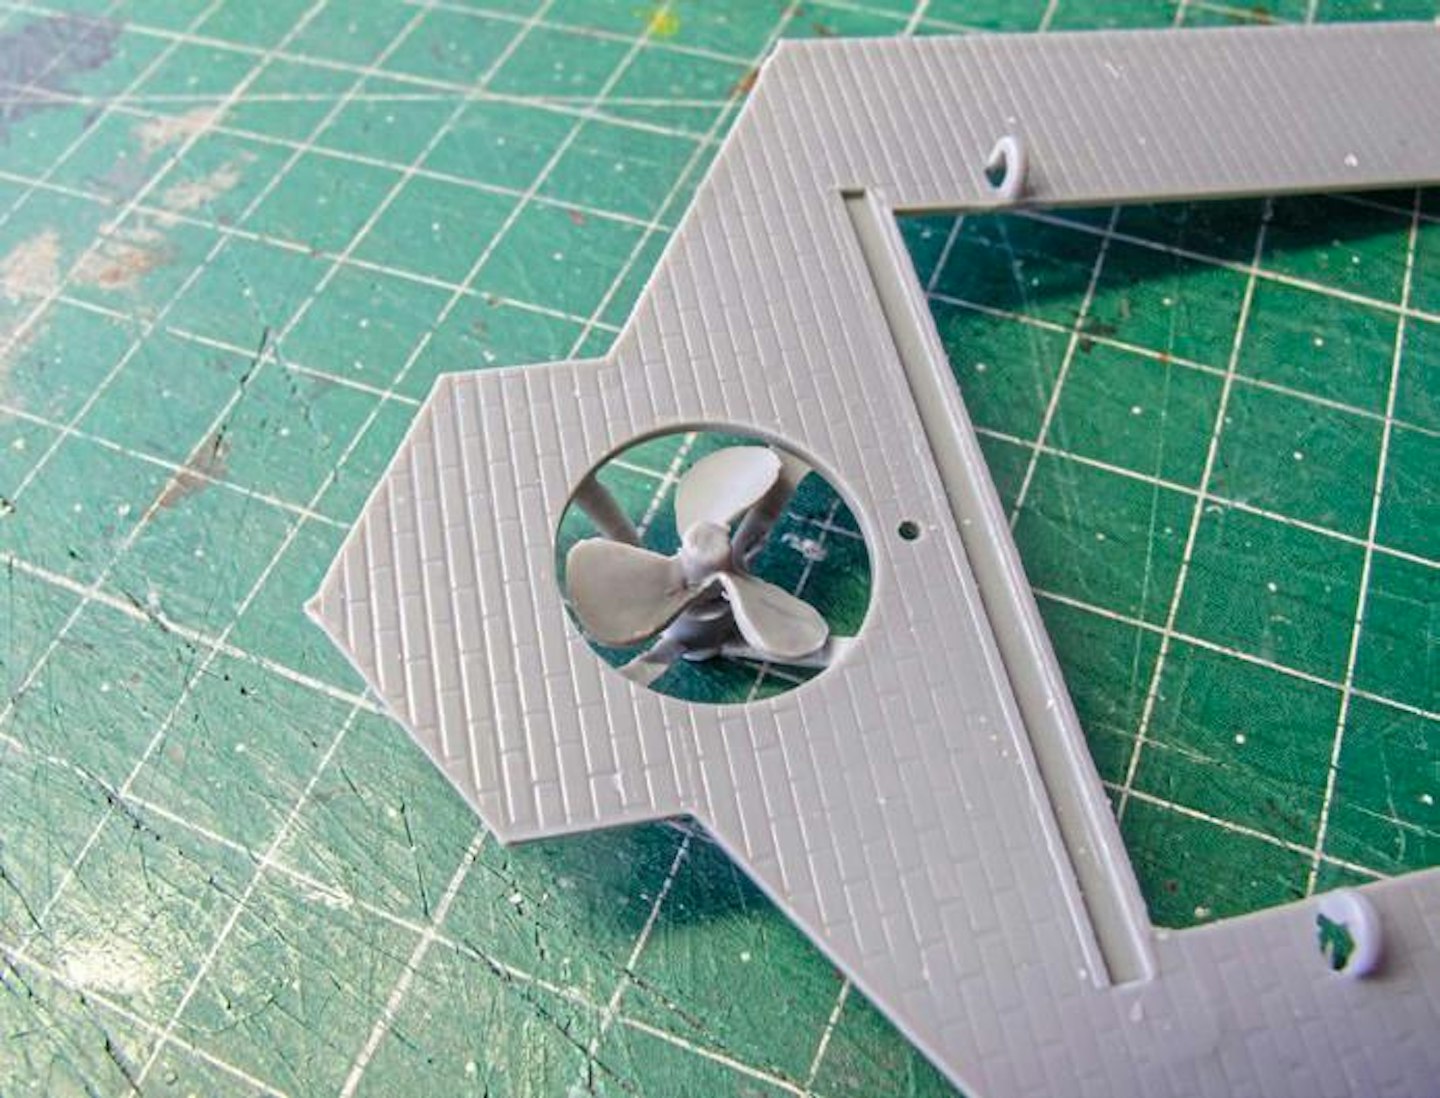
9 Enough material must be removed to allow the propeller-type fan to fit into place. It took me a few attempts to get it right, as the framework is quite delicate, so handle with care once in place.
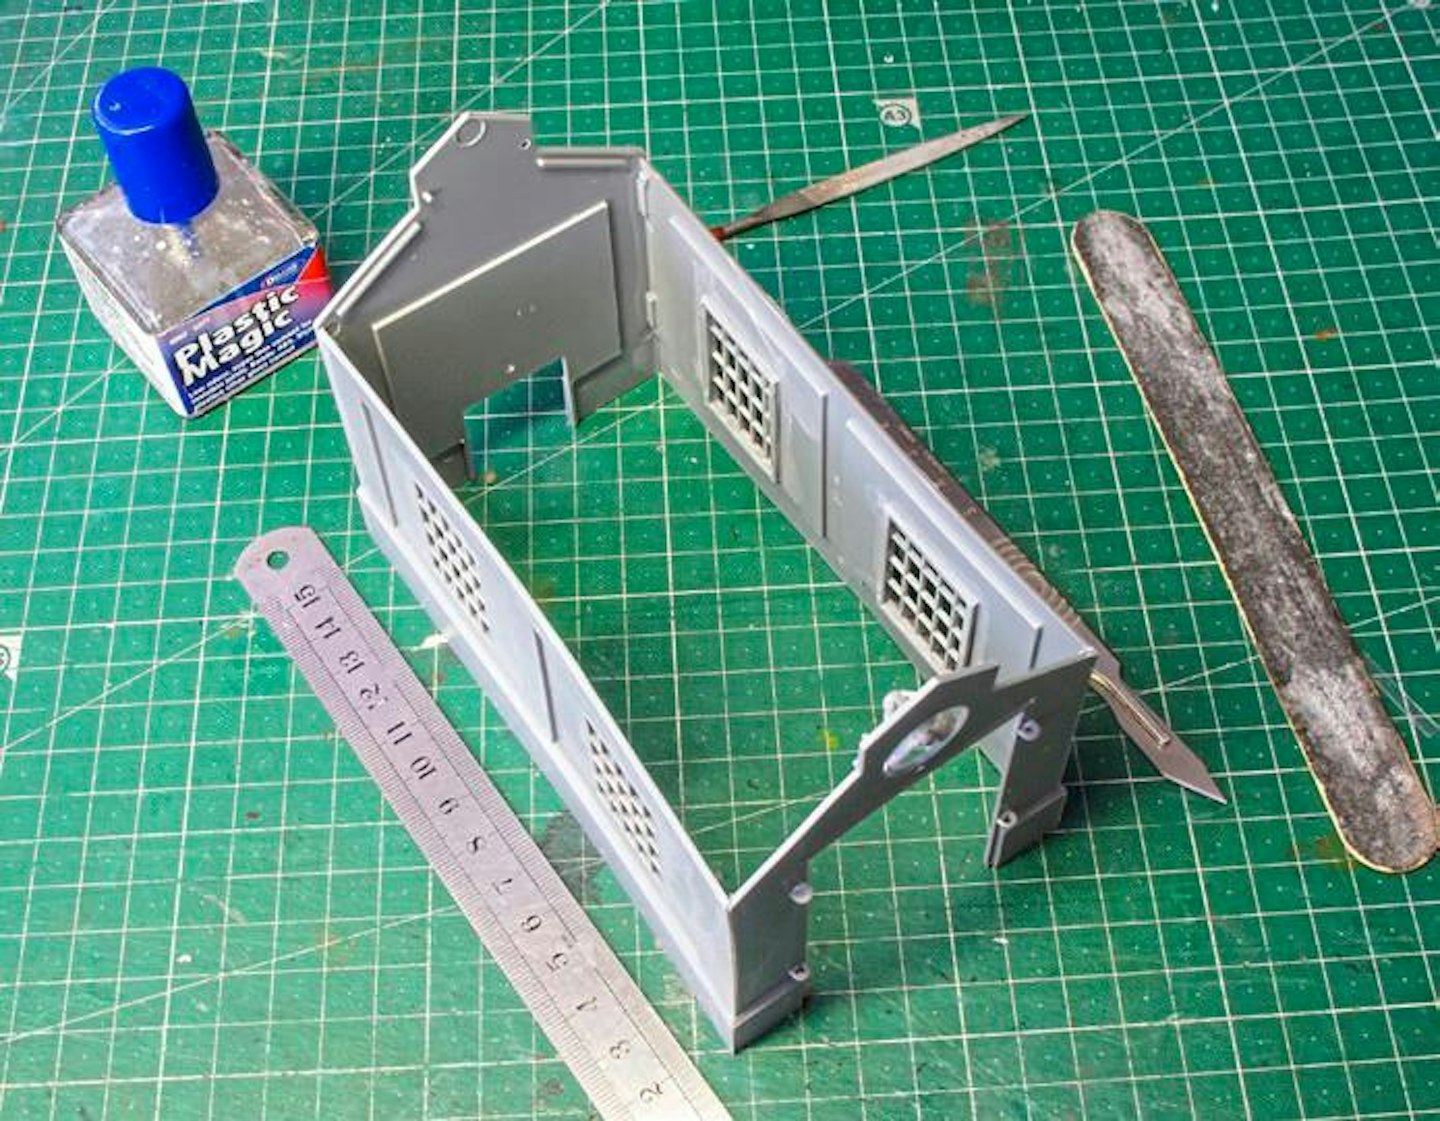
10 The front wall was bonded to the other side, checking the angles. When the cement had cured, the two halves of the structure were brought together. At this stage it was clear that the walls were warped and quite bendy.
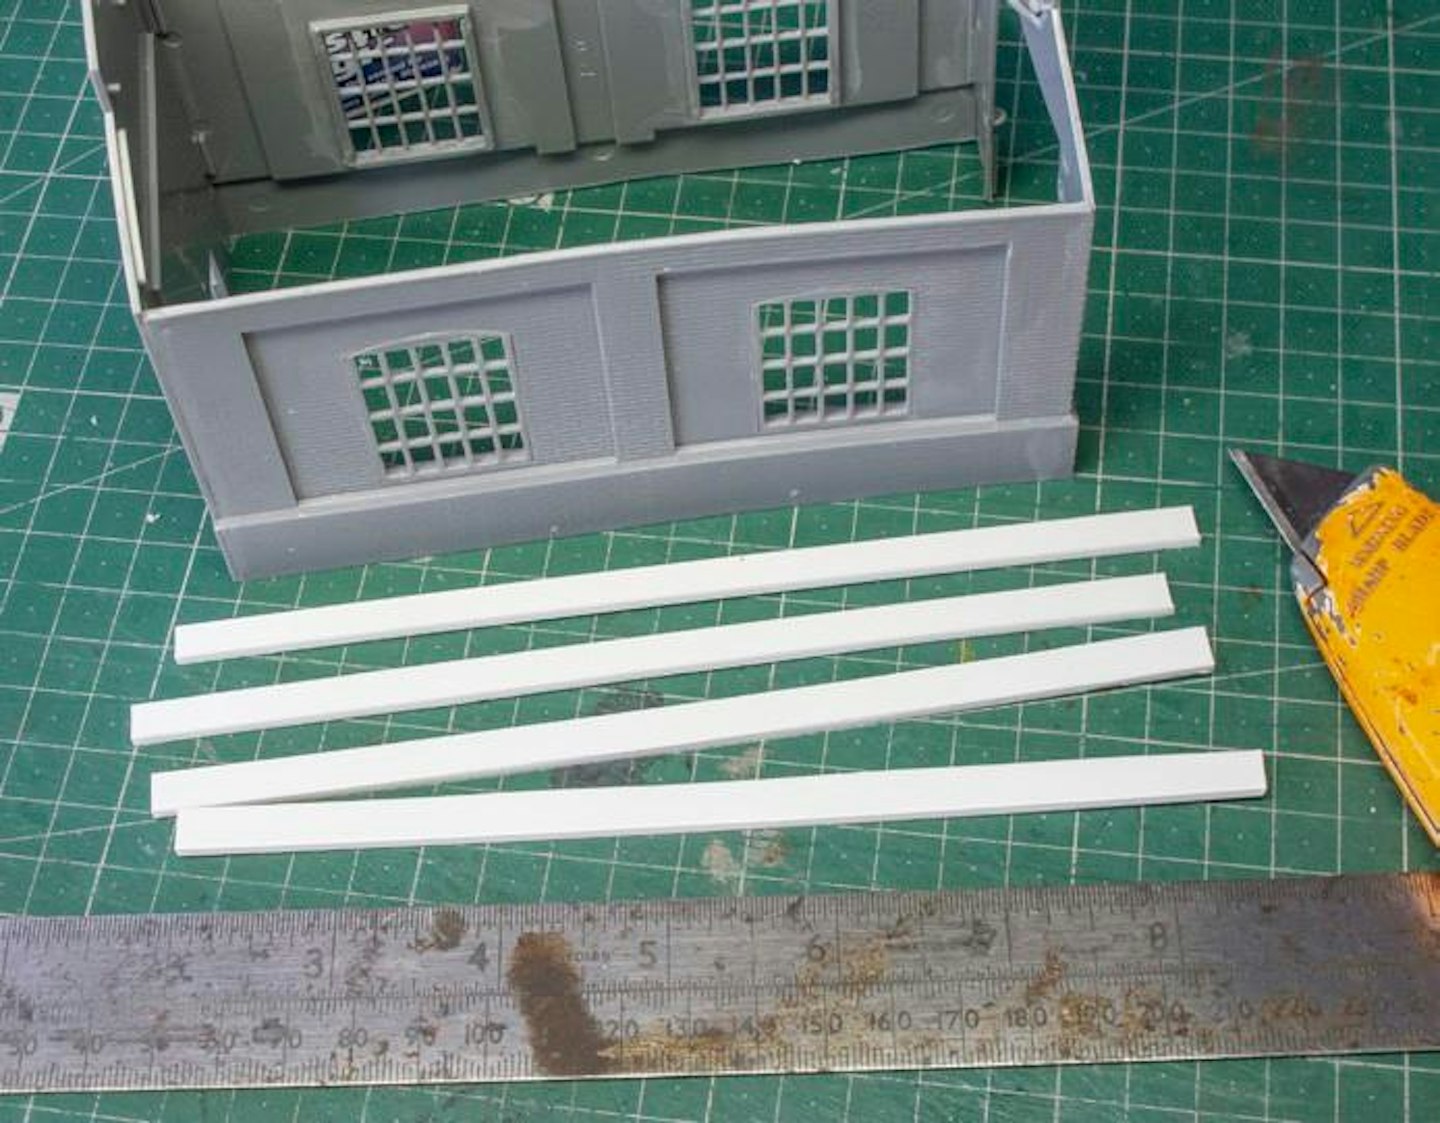
11 When the four walls had cured, I added interior supports, cutting strips from a sheet of 2mm thick plastic card. They were cut with a stout trimming knife, using several cuts against a steel rule to work through the thick material.
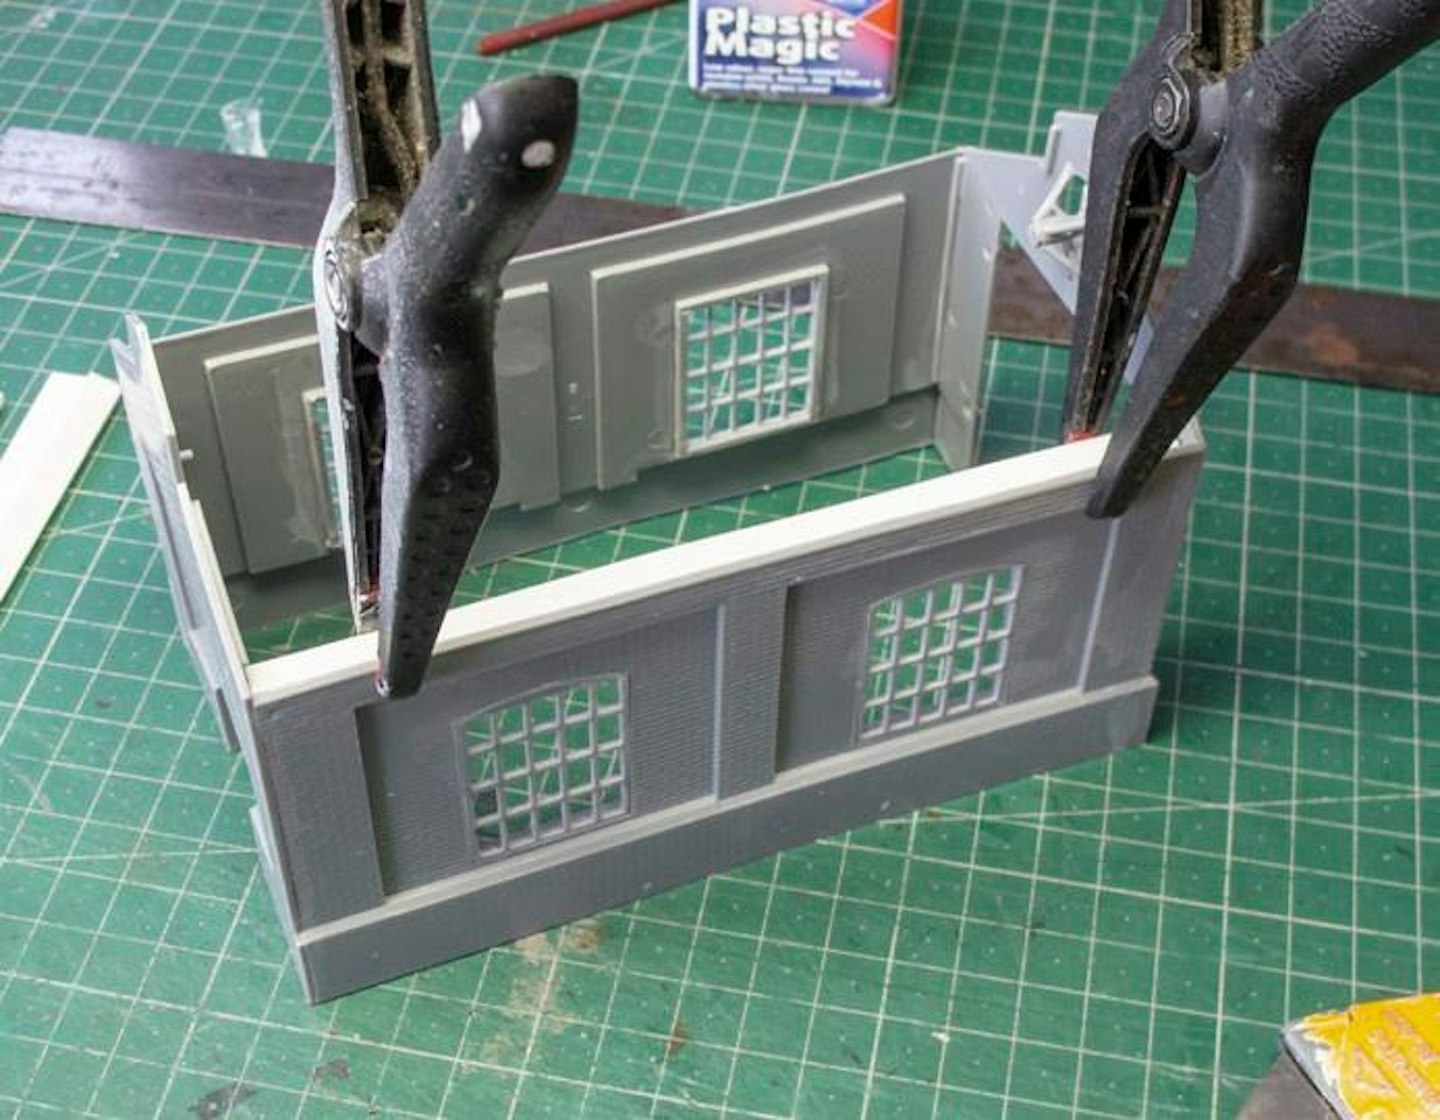
12 Having cut two strips to length, to fit within the side walls, they were glued to the inner top edge and held in place with spring clamps until the cement cured, working on one side at a time.
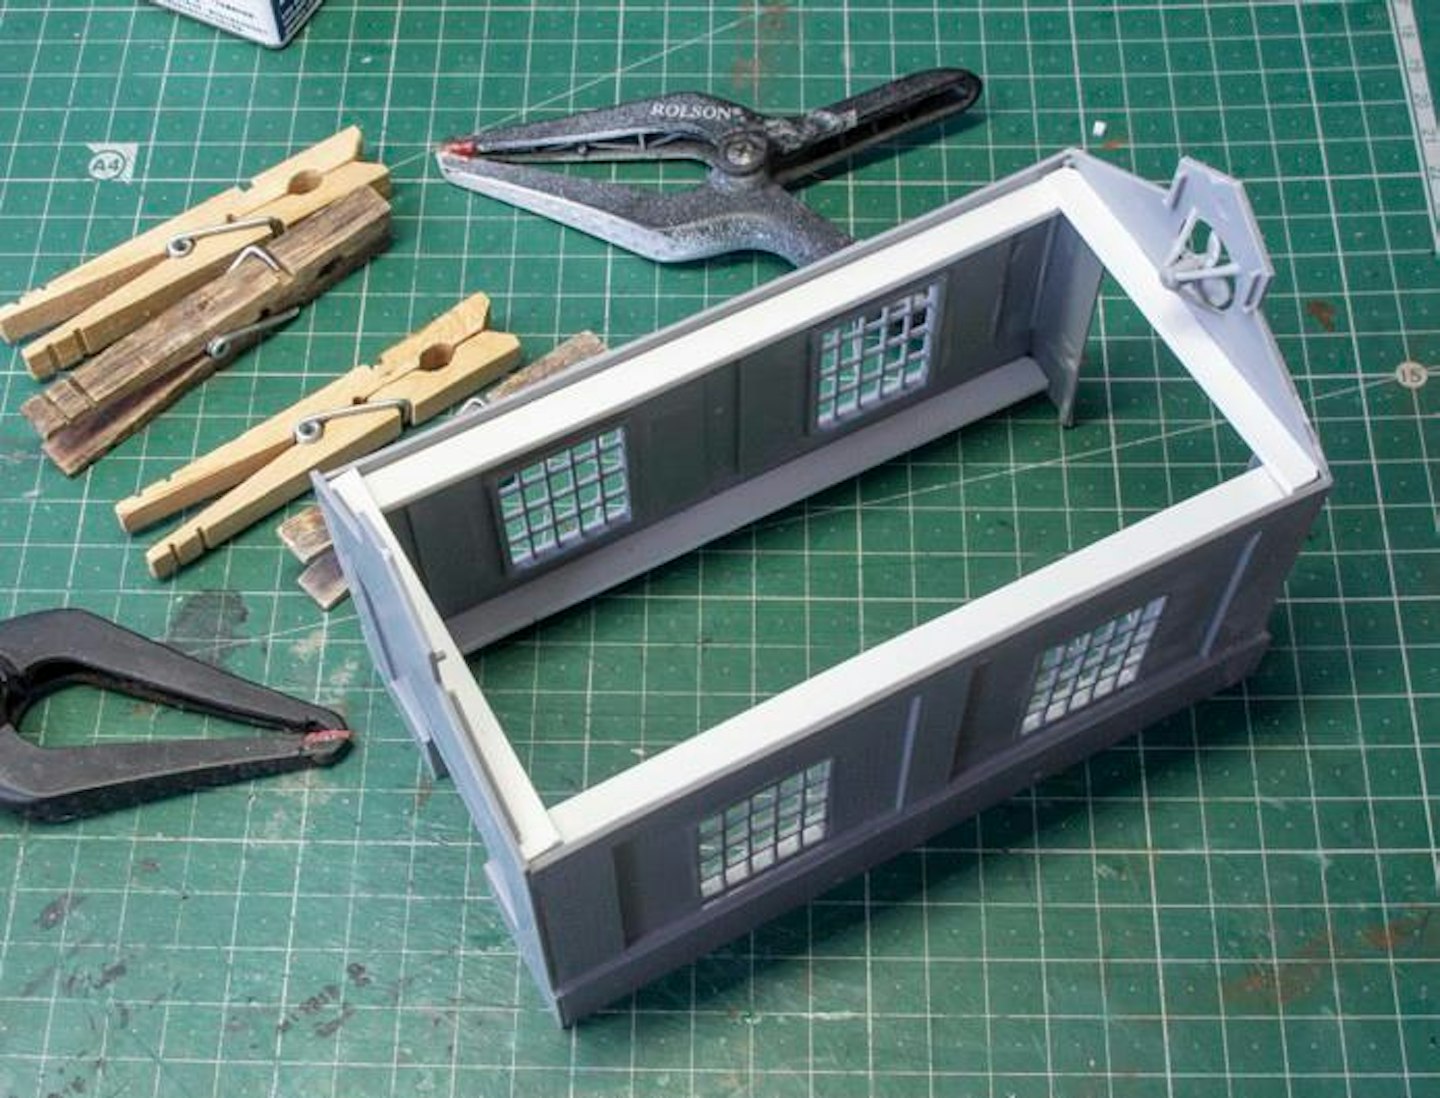
13 The process was repeated by adding shorter strips of 2mm thick plastic card to the inside of the end walls, sat atop the side strengtheners. Once these were bonded, the walls were straight, and the structure was much sturdier.
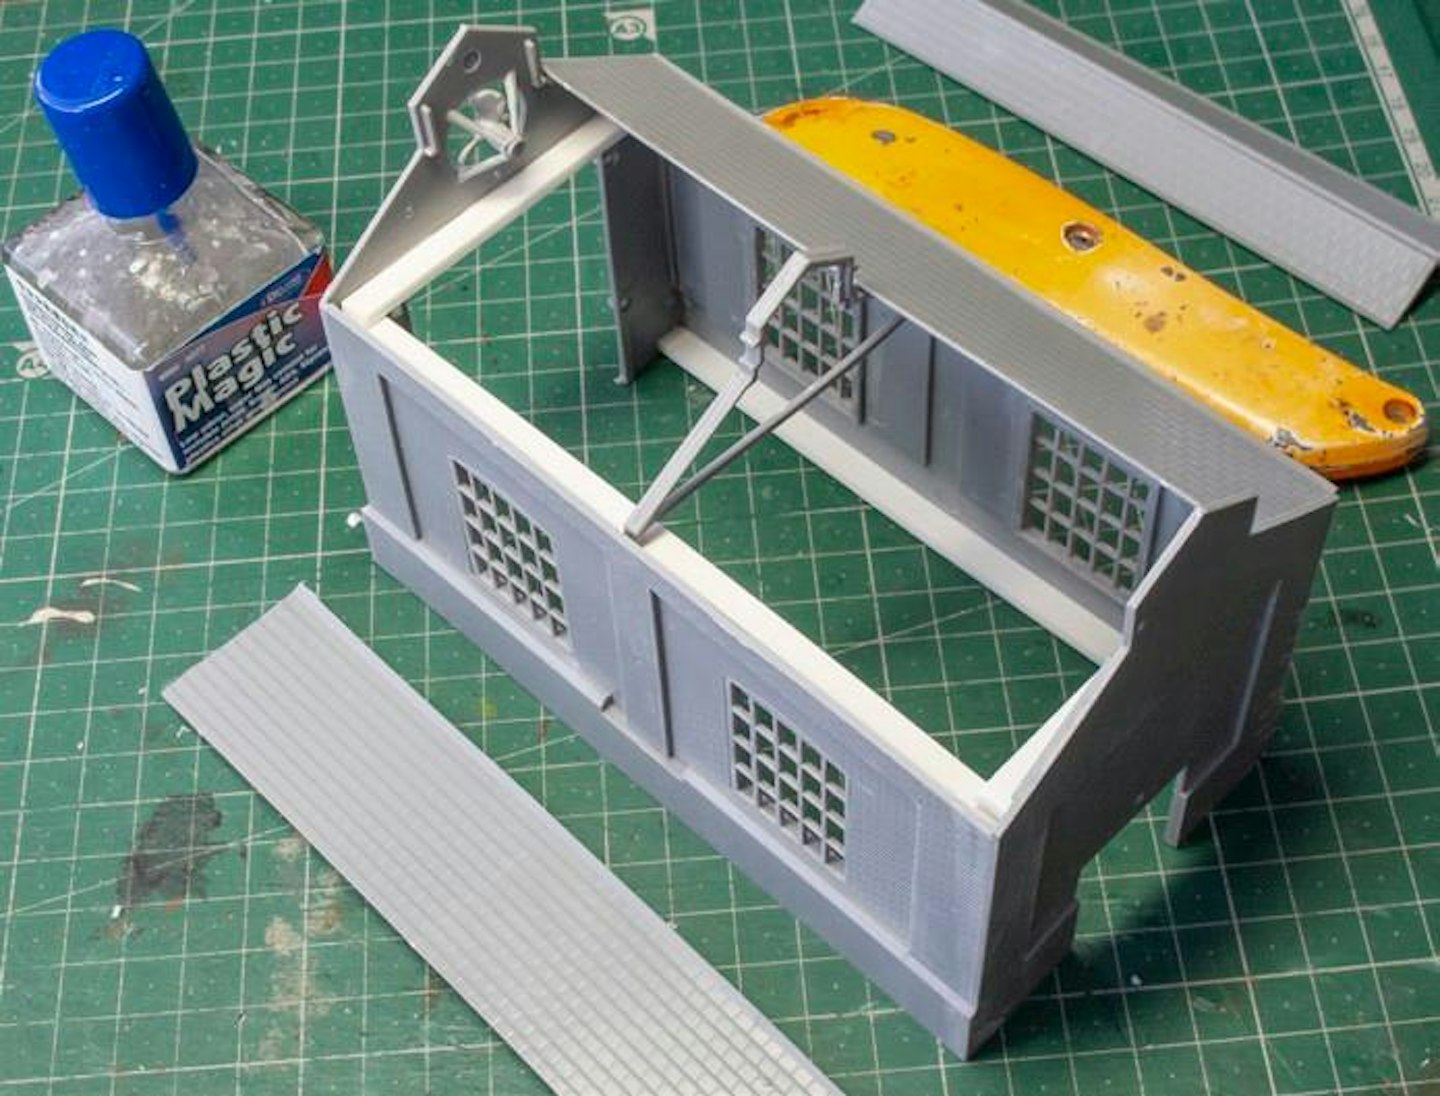
14 After adding the intermediate roof support truss, the next job was to attach the roof sections, which slot inside of the outer walls. As a result, the moulded slates don’t go all the way to the end of the wall, which I found unsightly.
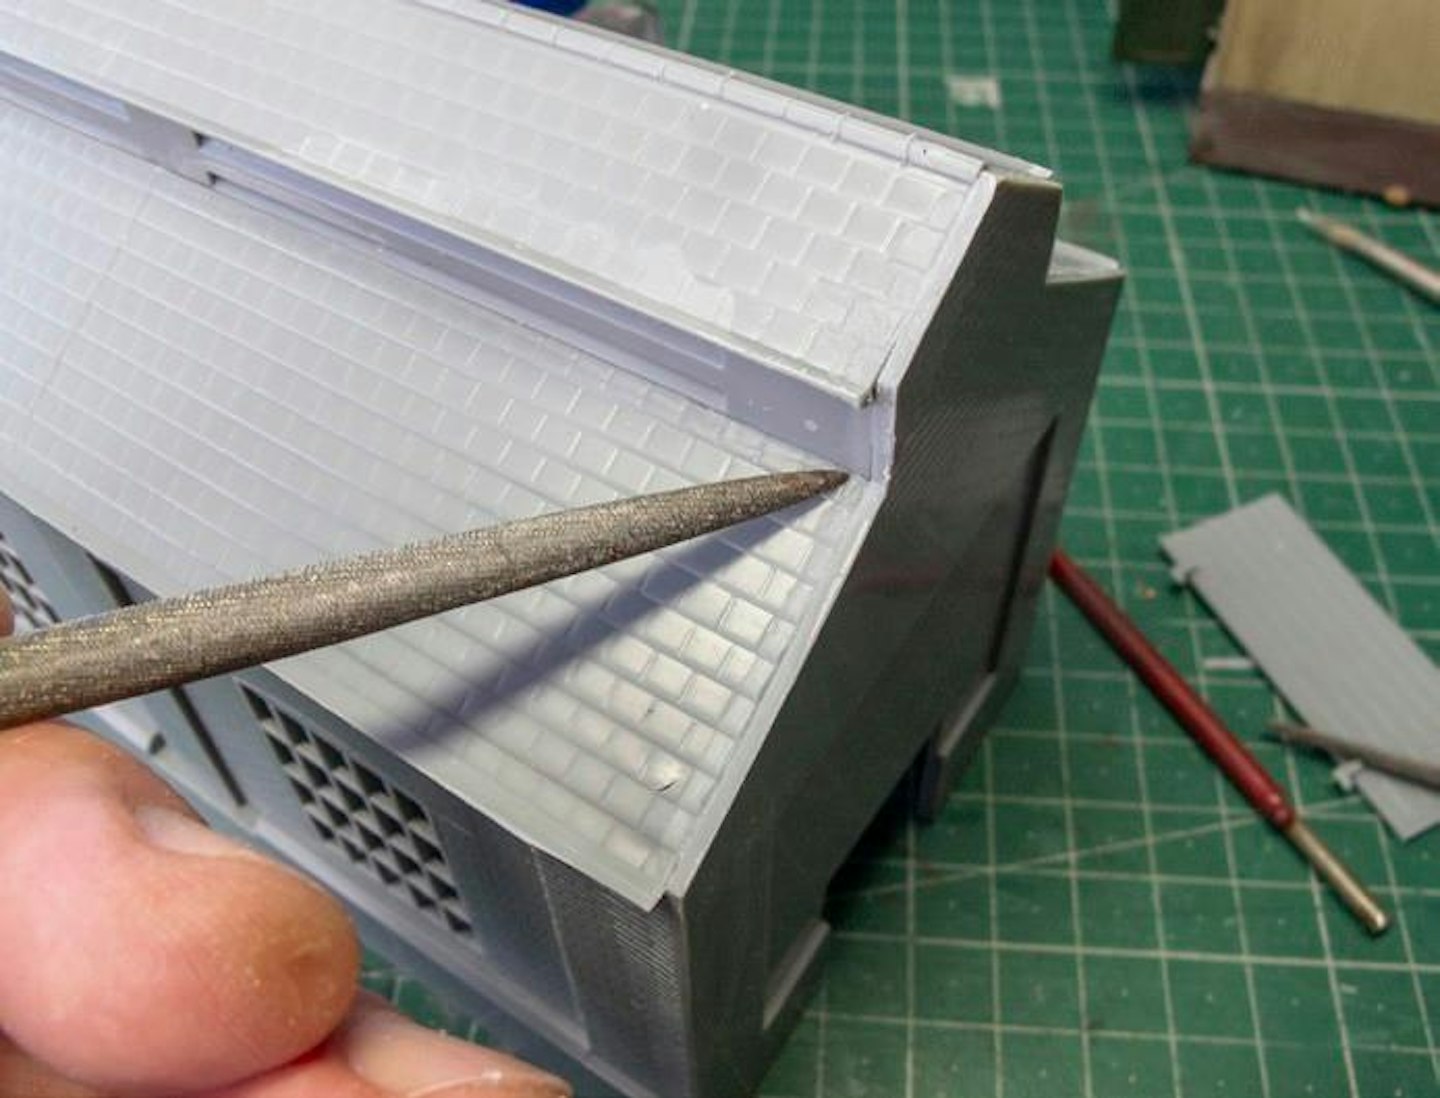
15 I wonder if this is to allow multiple kits to be joined together for a longer shed? Anyway, one solution would be to apply a layer of laser-cut roof slates from Scale Model Scenery (www.scalemodelscenery.co.uk ).
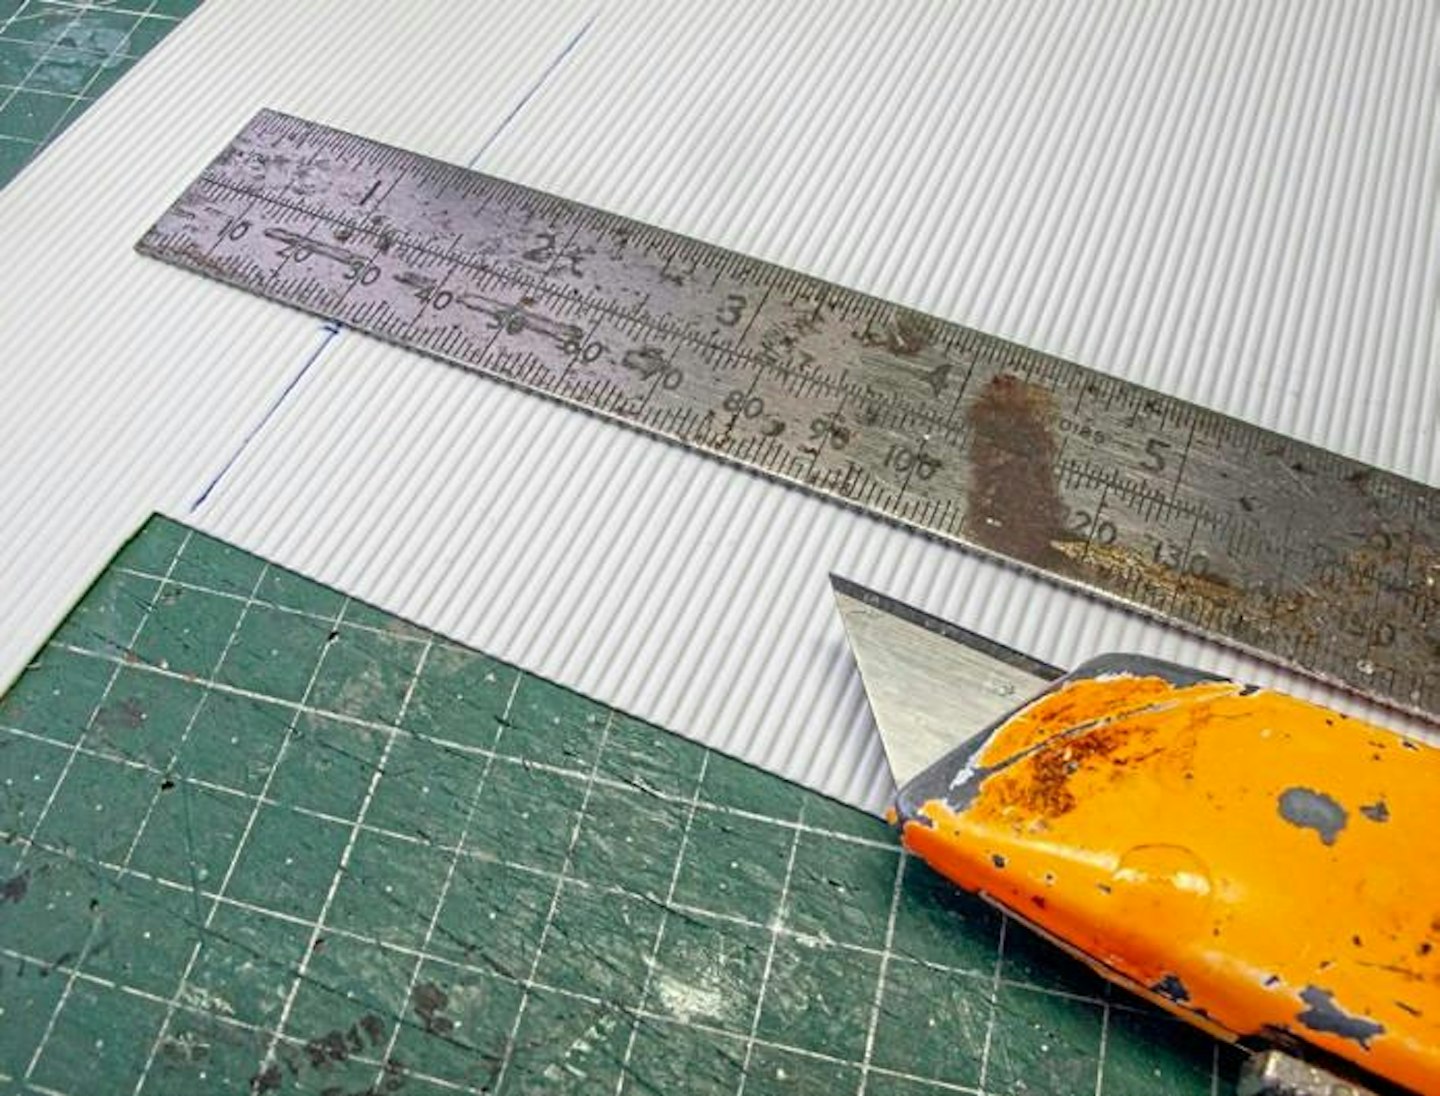
16 Instead, I decided to represent corrugated asbestos roofing, suggesting that the building had been repaired at some point. For this I used some Slater’s Plastikard 7mm scale corrugated sheet (ref. 437).

17 The textured sheet was cut into sections to treat all four roof panels, with the corrugations oriented vertically. I applied the sheet upside-down, preferring the softer wavy look of the underside.
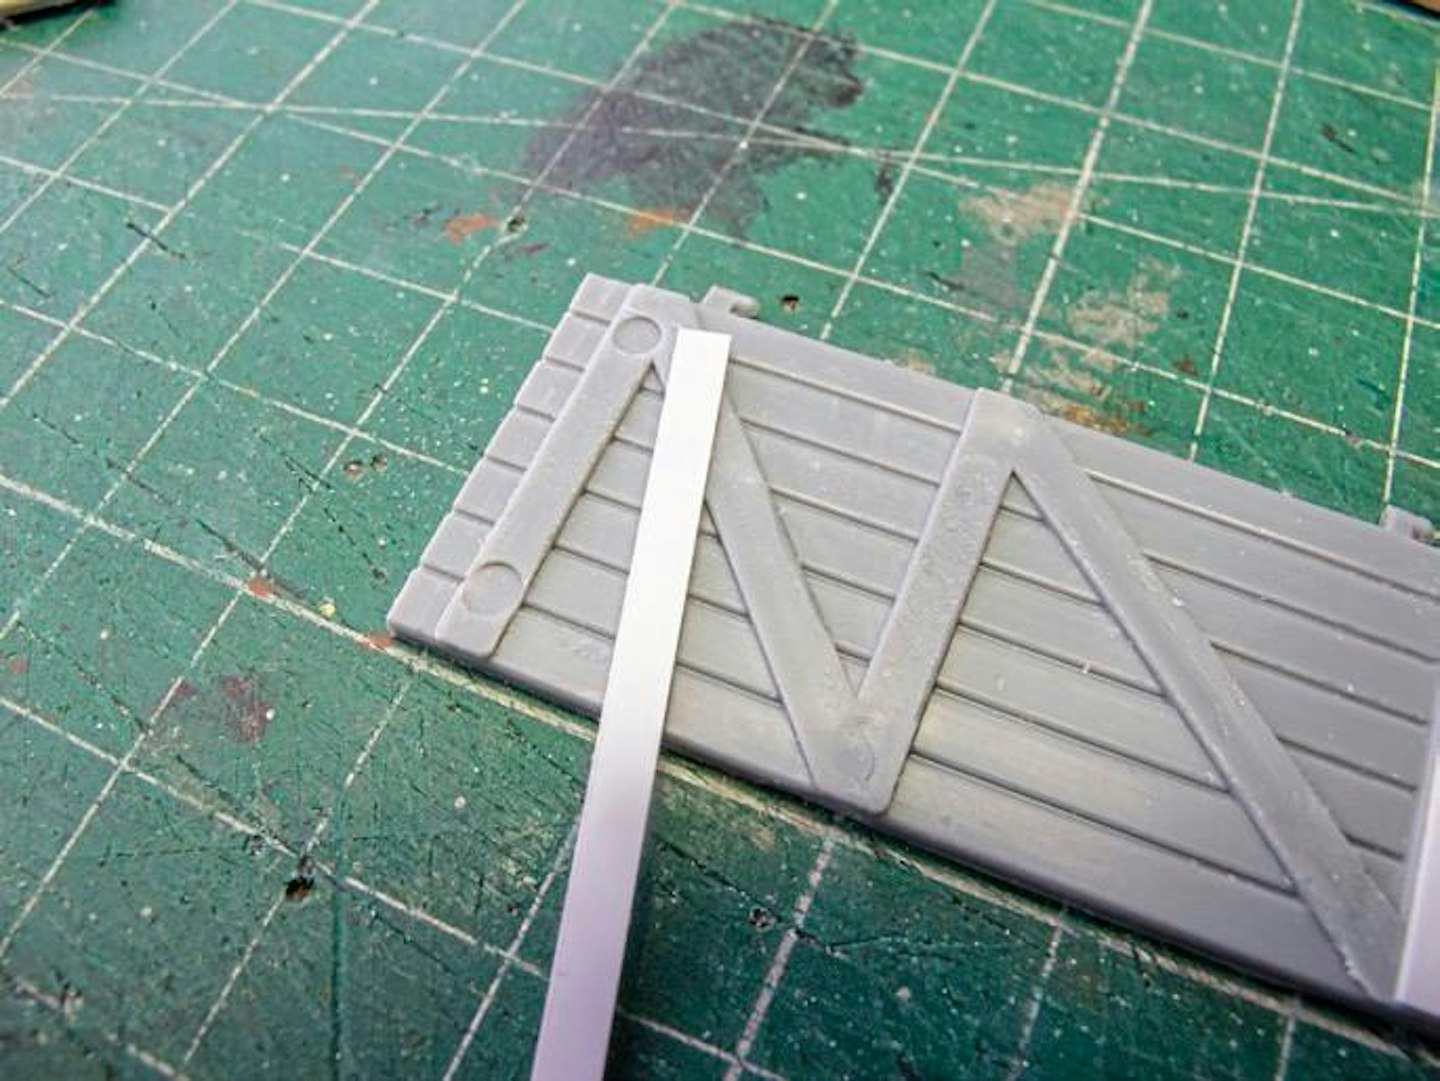
18 The doors both featured ugly round injector pin parks on the interior bracing. Filling and sanding these would be a pain, so a quick fix was made by adding a strip of super ‐thin plastic card over the top.
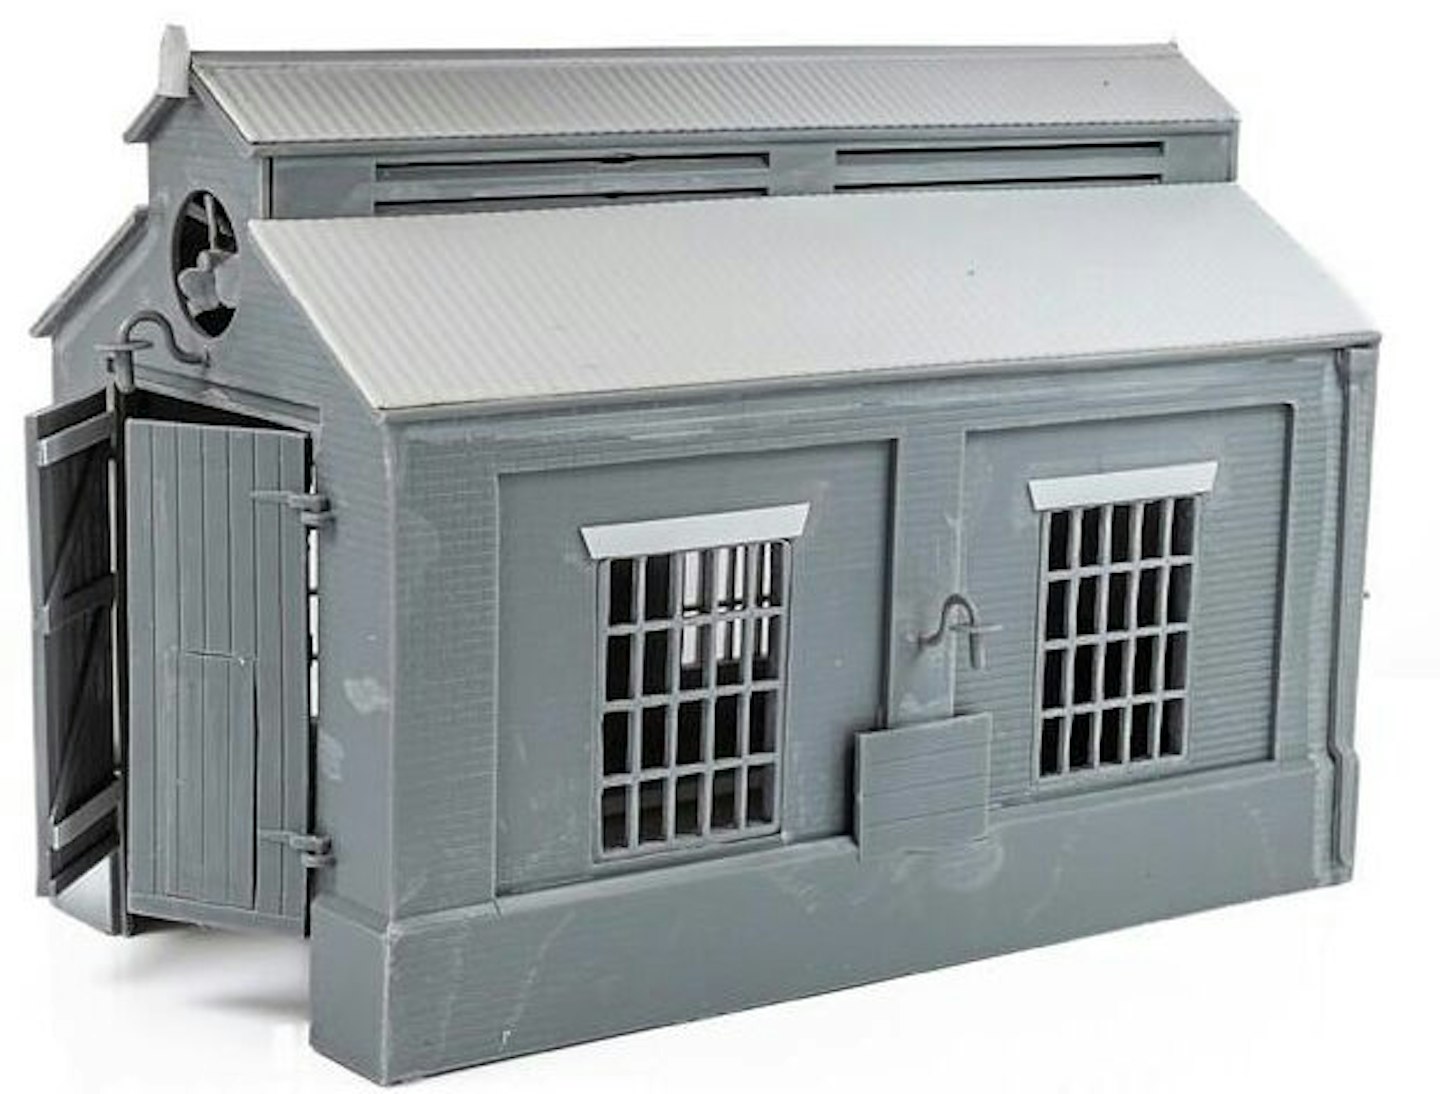
19 Note the lintels over the windows. These are not supplied with the kit but were easy to form from strips of thin plastic and add some extra interest to the structure. When the glue was dry, the building was cleaned, ready for priming.

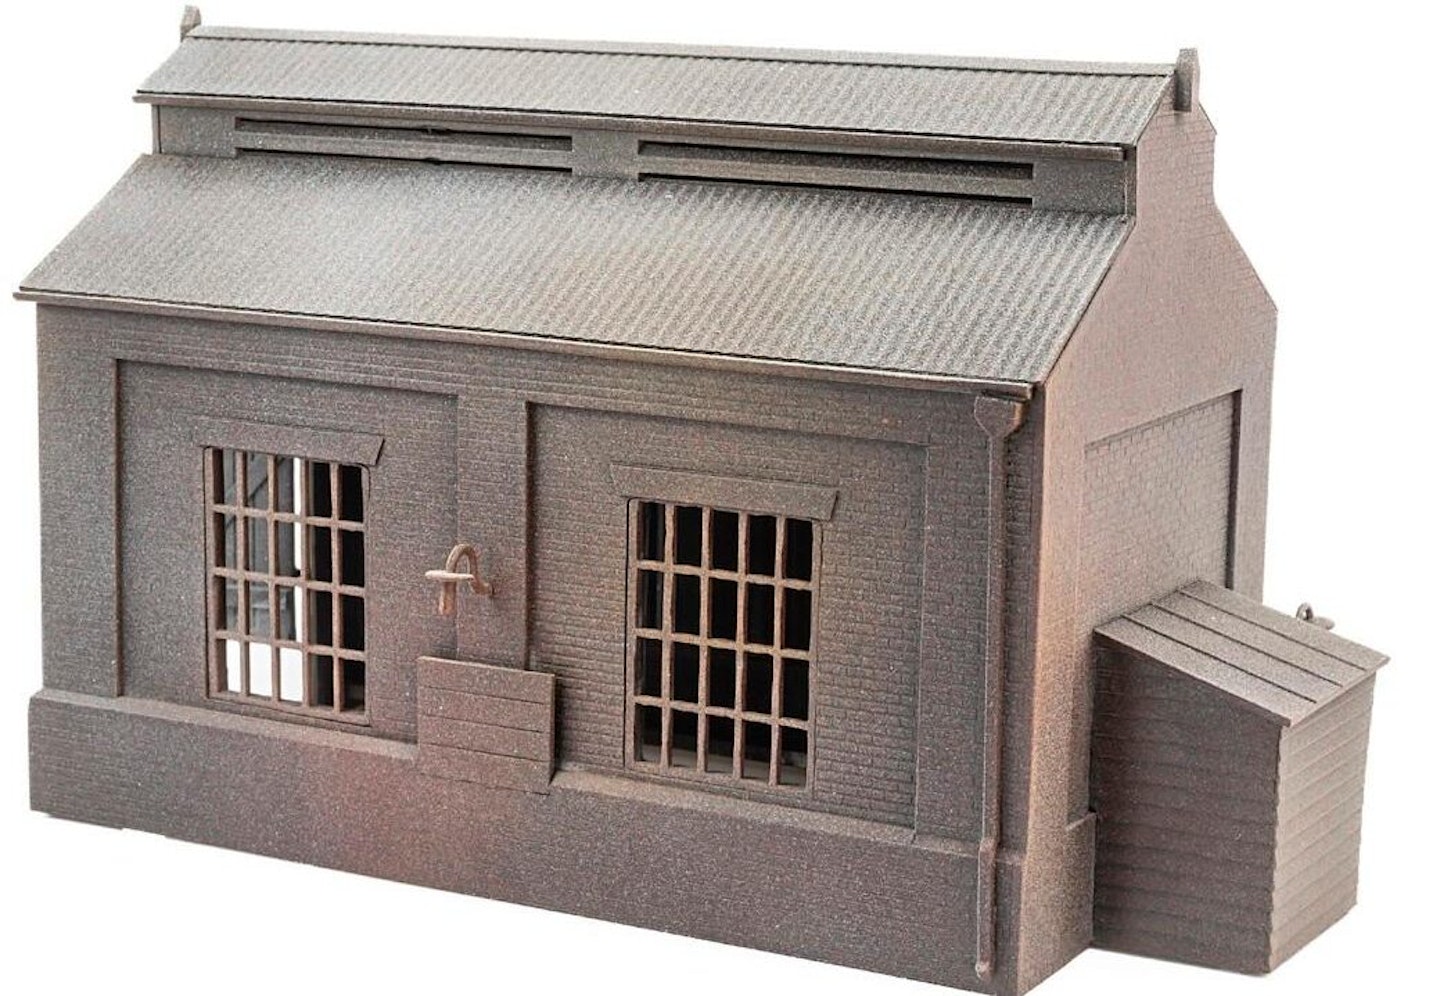
20 I primed the building with my usual mix of Halfords primers – grey, red oxide, filler (yellow) and matt black – blending light layers to create a mucky undercoat. I spray from around three feet away, which gives the model a slightly rough key for the next step. From above, I blasted a little grey primer, the idea being that the upper surfaces are a little paler. Be sure to work outside and wear a facemask, as these paints can be hazardous to your health if inhaled.
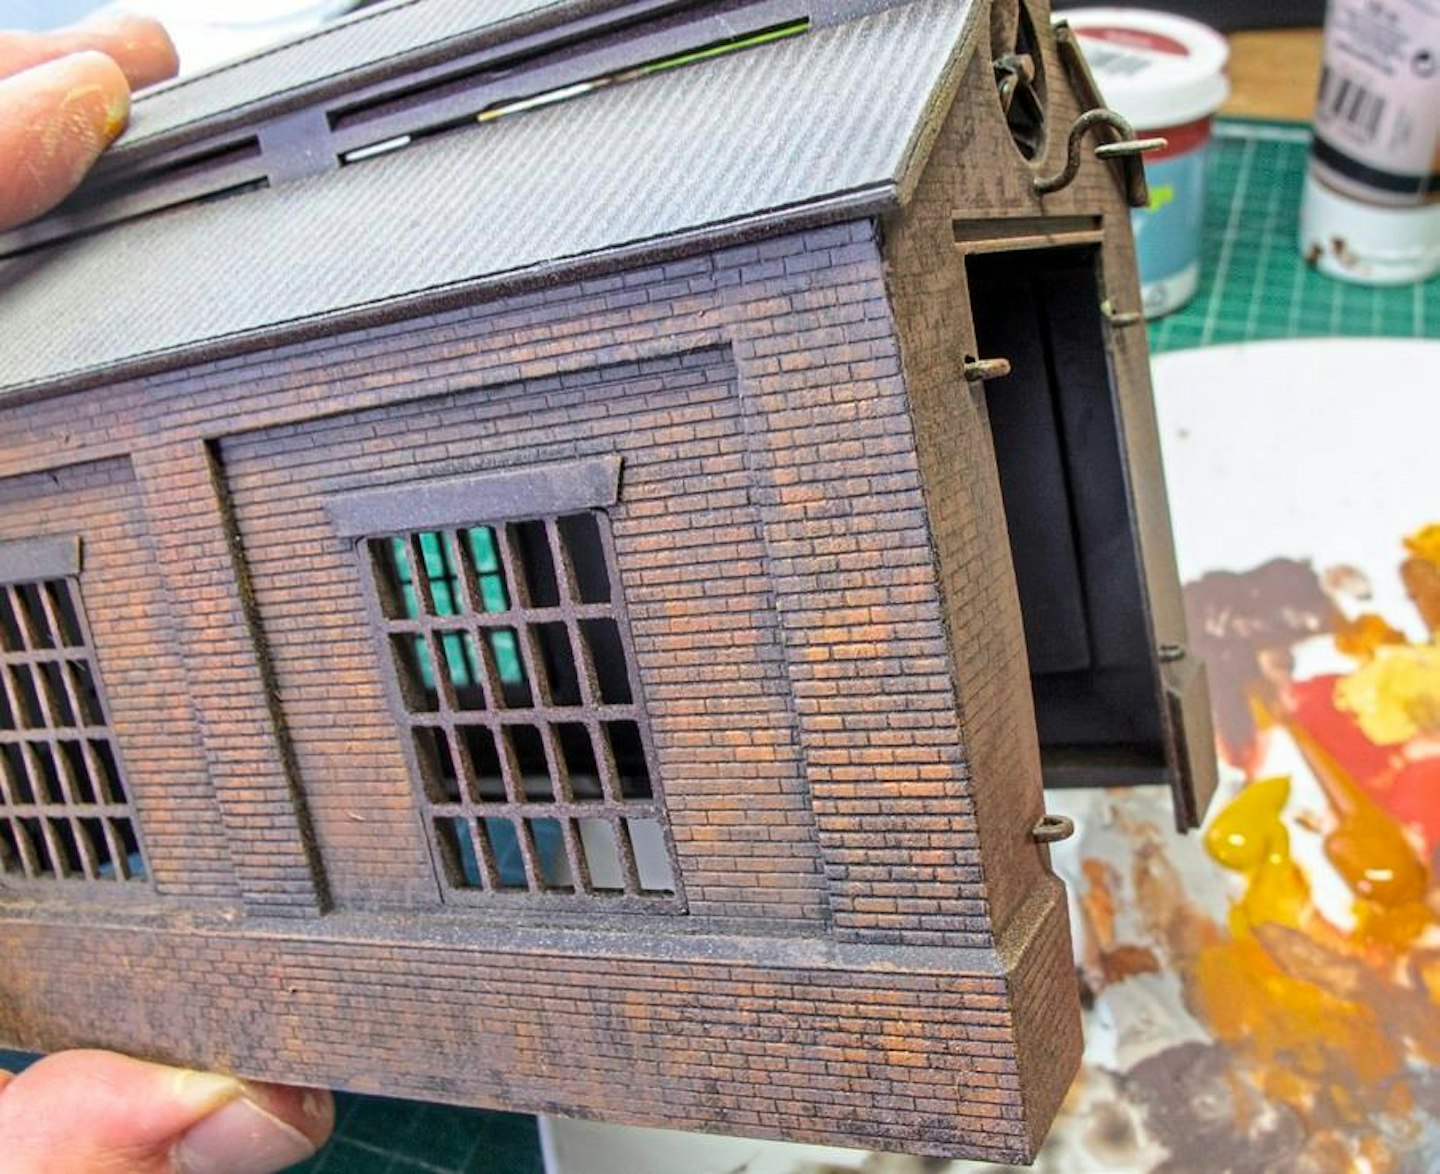
21 I’ve explained my methods for painting brickwork before (see last month’s issue) but, in a nutshell, it involves dry-brushing colours from a very lightly loaded brush. The pigment doesn’t get into all the crevices. Here’s my messy mixing plate, with a blend of artist’s acrylics and matt household emulsion. Probably not the best paints, but I tend to use what I have to hand. If starting from scratch, matt modellers’ enamel is the best for dry-brushing, in that you can ‘work the paint’ to achieve the desired result, although they take hours to dry.

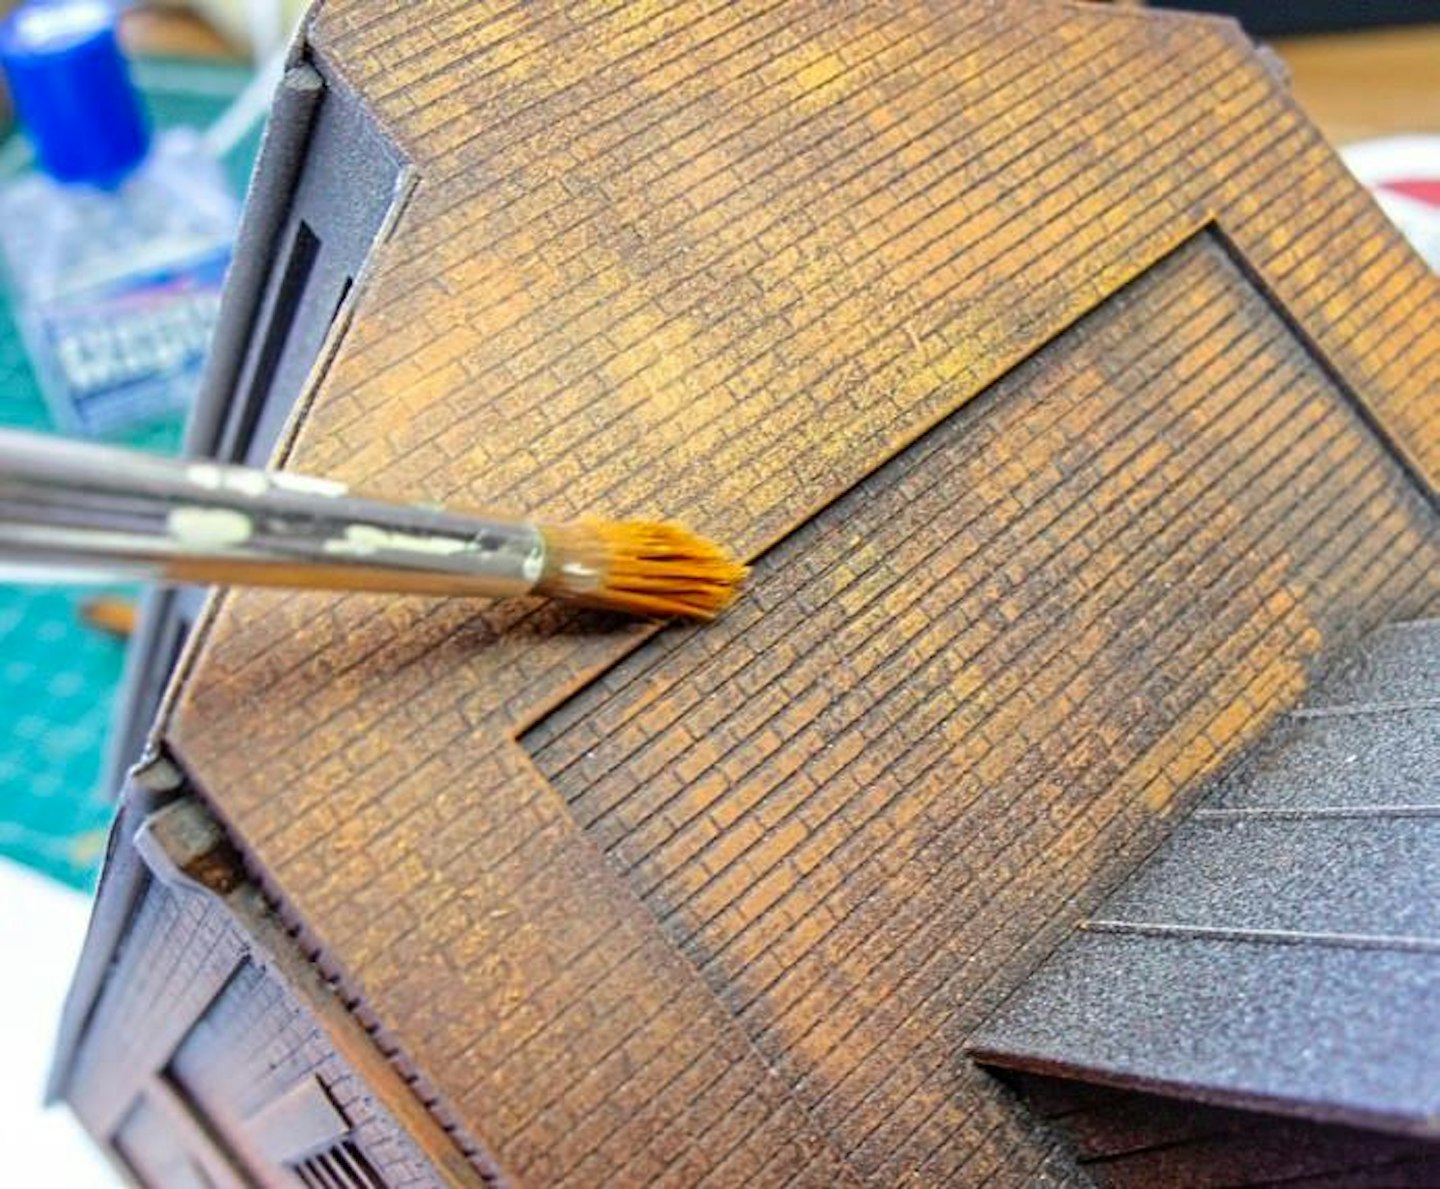
22 The finishing touch is a little dry-brushed dark beige, it softens everything and works particularly well, bringing out the detail of the asbestos roof.
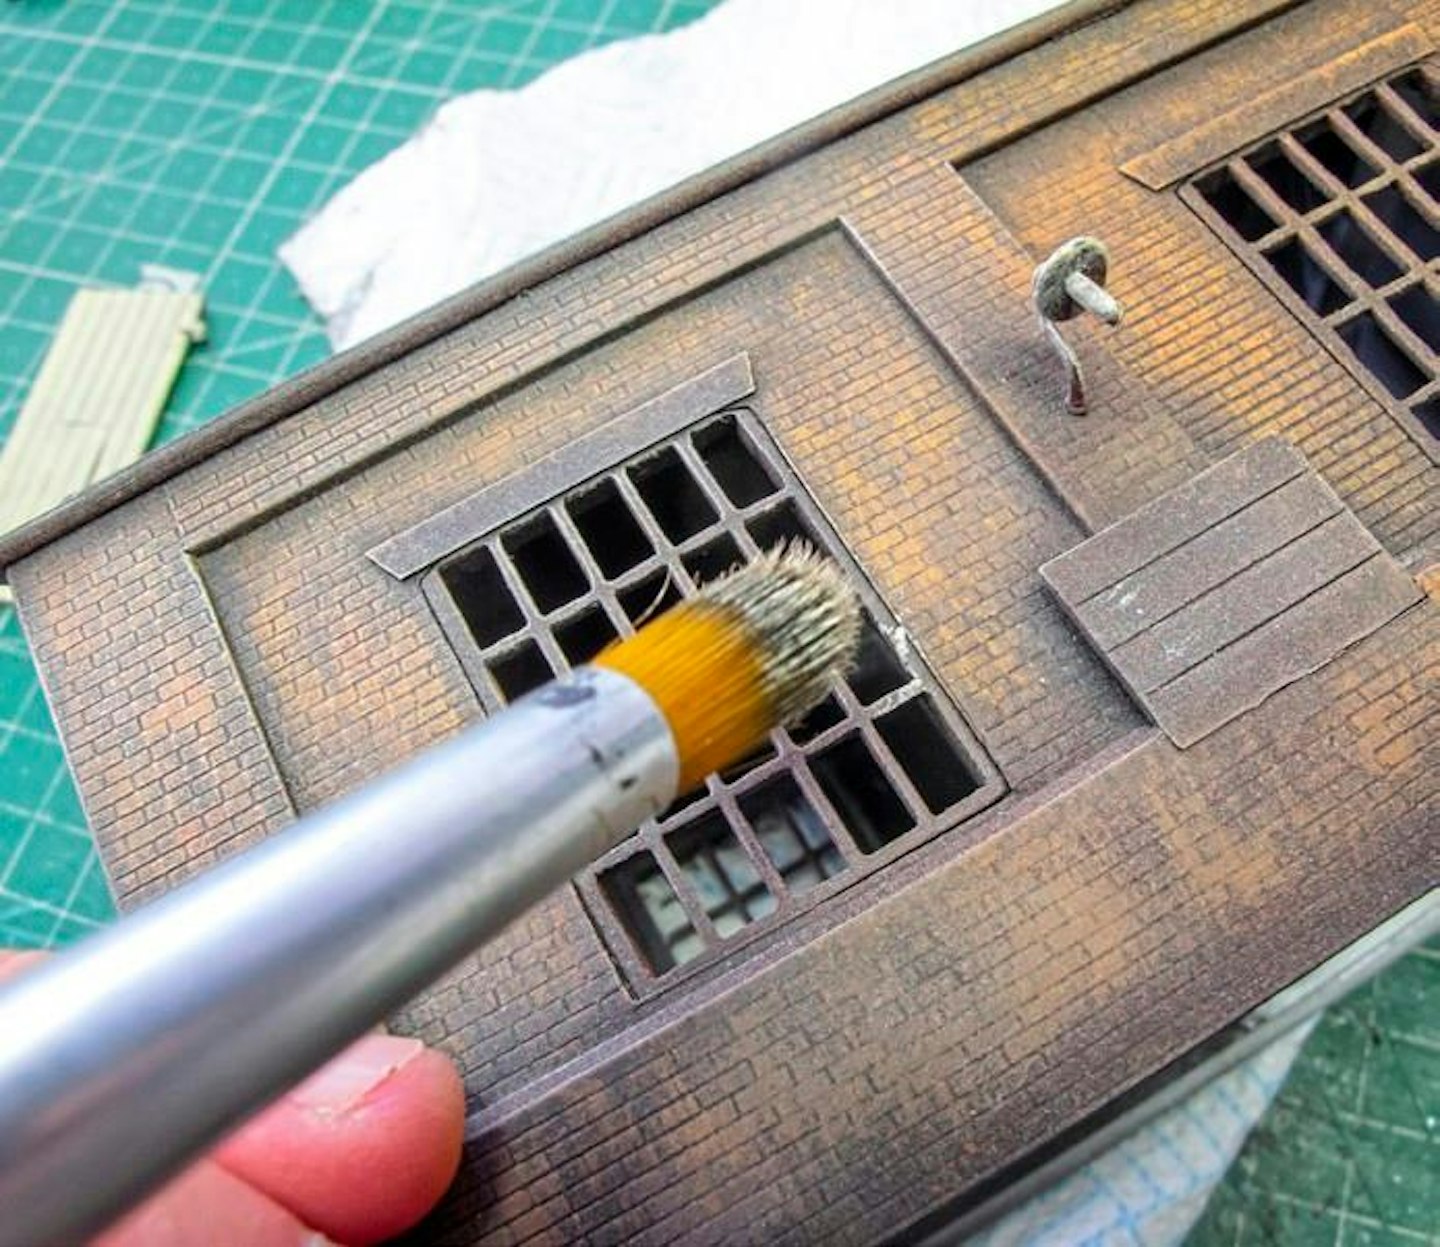
23 A grey-beige shade, dry-brushed over the windows, helps to bring out the surface relief in the frames.
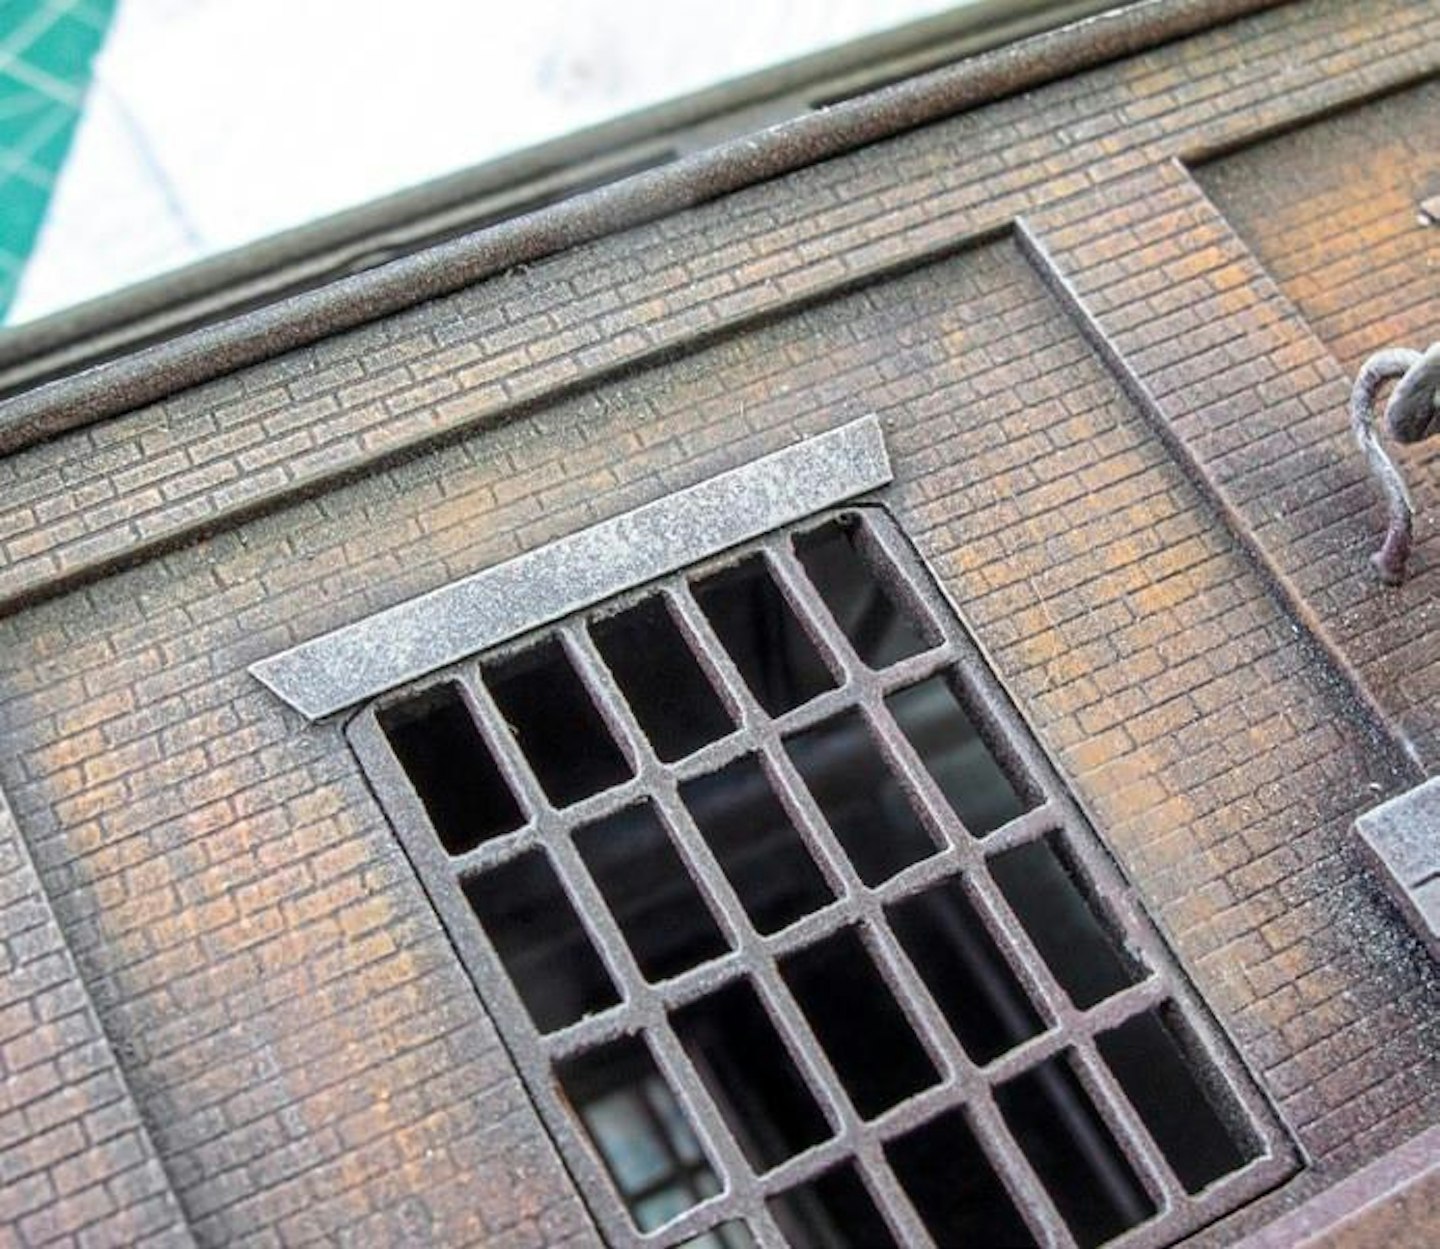
24 Lintels were masked with strips of low-tack tape, then dry-brushed with a pale grey/beige to suggest concrete or stone.
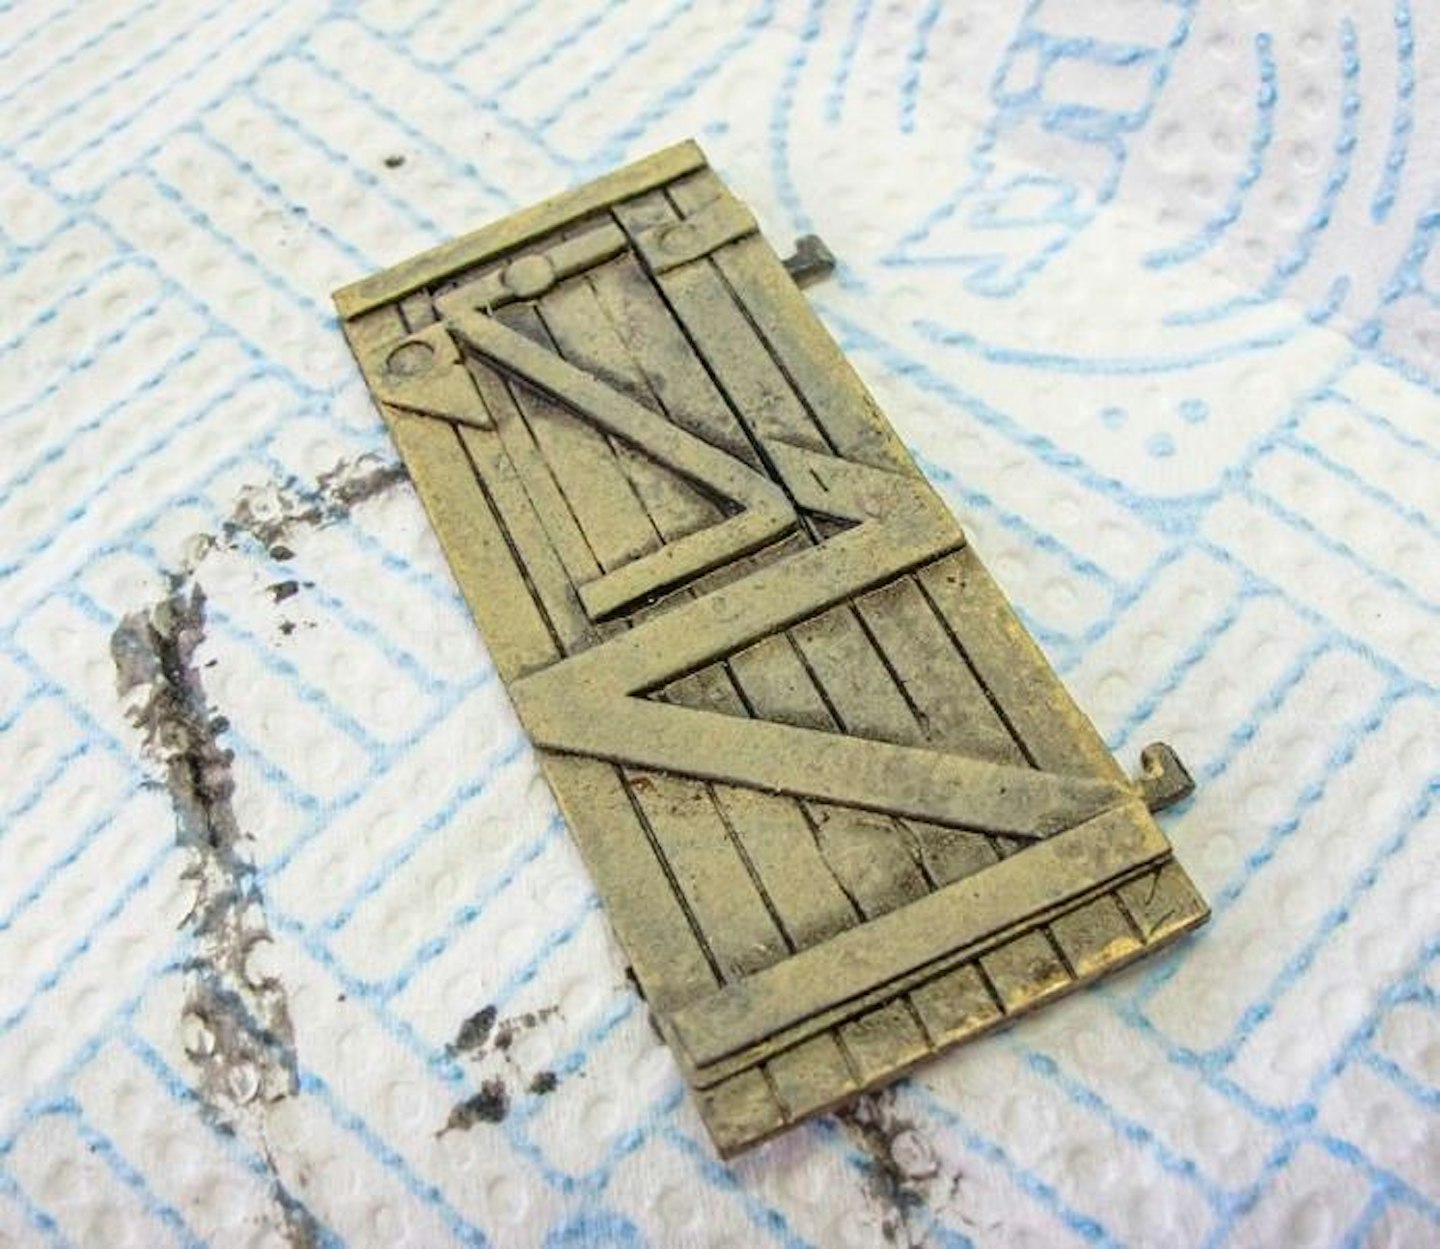
25 After painting the doors, they were coated in watered-down black poster paint, which was quickly dabbed off with a bit of kitchen tissue, leaving the dark pigment in the crevices.
