EXPERT MODELLERS SHOW YOU HOW
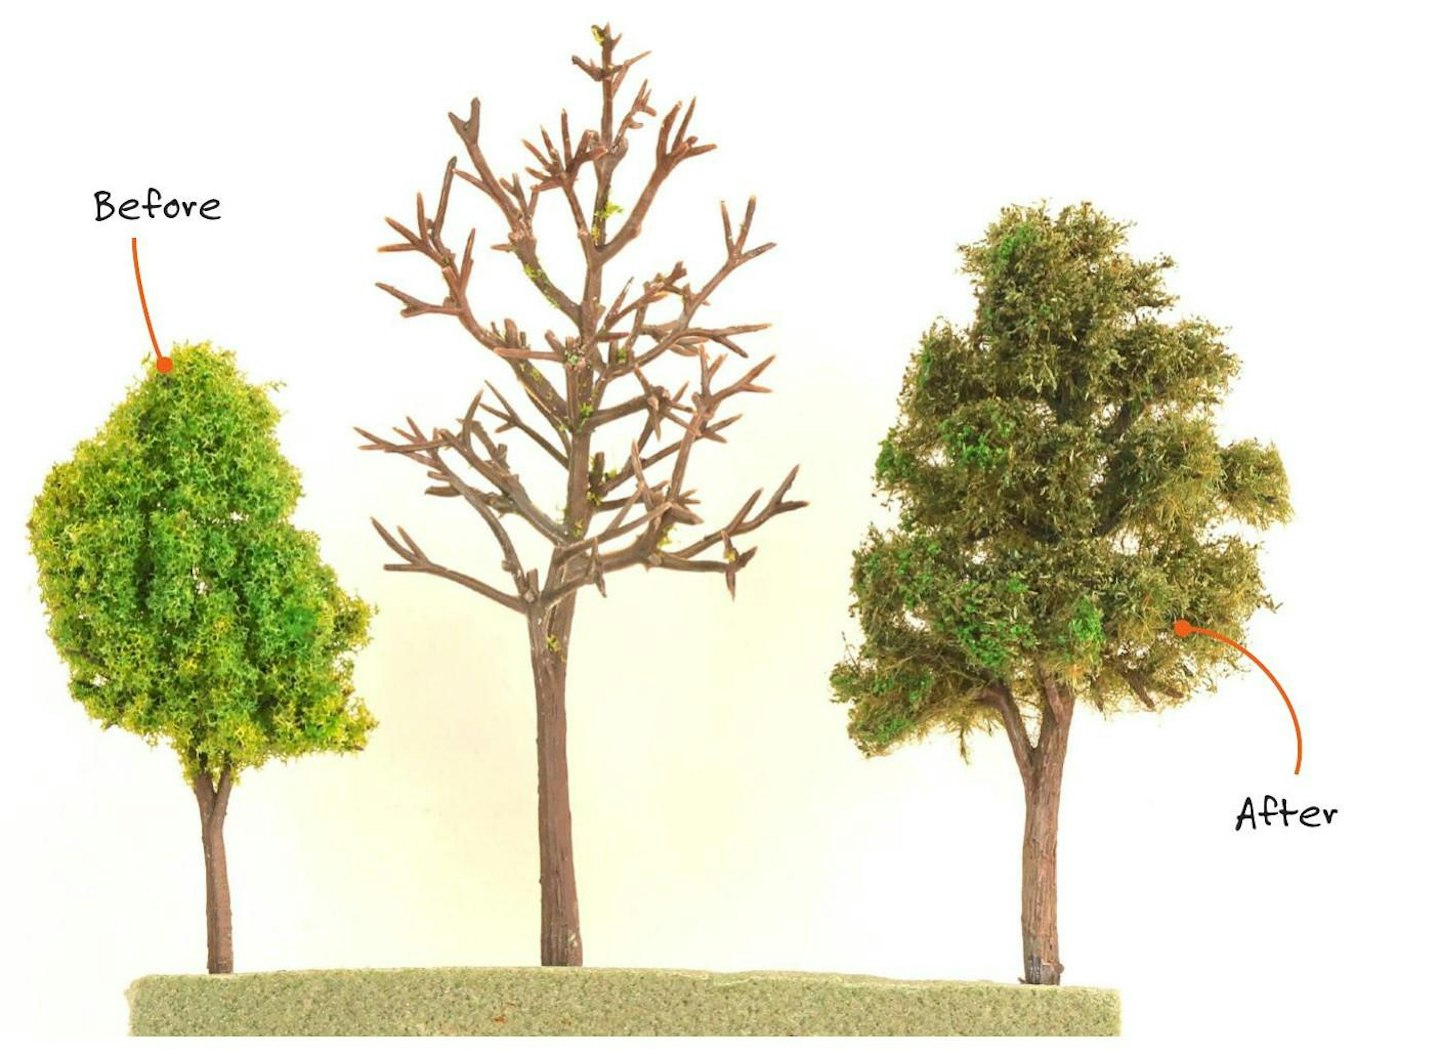
Peter Marriott experiments with packs of cheap model trees he bought online to see if a few simple tweaks can make them look more realistic.

Most layouts need at least a handful of trees, even those set within densely populated urban or industrial locations. Trees provide a perfect backdrop and can act as scenic breaks or view-blocking props, disguising holes in a backscene where trains enter or leave a scene. If they look convincing, trees can have a hugely positive effect on the overall scene.
There’s so much choice among ready-made trees these days, and a host of excellent kits and materials from established suppliers such as Treemendous, Primo, Noch, Woodland Scenics and many more. But, for those layouts that need more than a handful of trees, the costs can soon start to add up.
Therefore, I wondered if now was the time to experiment with some of the cheaper ready-made trees that I’ve started to see appearing on Amazon, eBay and other online stores. Billed mostly for crafting or architectural models, they clearly have plenty of potential for railway modellers.
One deal I saw was for 10 ready-to-plant trees, at 80mm tall, for just £6.45, including postage. Another deal (and there are many available for coniferous, deciduous and palm trees) was £12.99 for 50 trees, all supplied ready ‐flocked and with a range of sizes between 28mm and 65mm tall. Now they’re not the tallest trees, especially for ‘OO’ layouts, and they’re not the most realistic, with green sponge-like foam fixed to the trunks to create more of an ‘impression’ of a tree. But I thought it was worth trialling some of the deciduous trees to see how they looked – and if they could be readily improved.
Once the trees had arrived, I could see that a little work was required to make them suitable for a layout, but at less than 65p per tree, they certainly offer incredible value.
The upgrade work involved three stages: removing the existing foliage on the plastic tree armature, making small tweaks to the tree armature, then replacing the greenery with more realistic foliage.
With numerous trees being treated at once, I took a ‘production line’ approach and found that it took around 10 minutes per tree to significantly improve the appearance.
I think the finished trees look a lot more realistic, closer to those that would usually cost about four times as much. They’ve been created primarily for my ‘OO’ projects, but they wouldn’t look out of place on a ‘TT:120’, and maybe even an ‘N’ gauge layout.
The cost of the extra materials, glues and tools turned out to be minimal, with only tiny quantities of grass fibres and fine scatters required, so it’s a handy way of using up leftover materials after treating the scenic landscape.
More recently, I’ve employed similar techniques to enhance ready-made trees from the likes of Gaugemaster and Noch, again to good effect, allowing me to create more variety and realism in my vegetation.

PHOTOGRAPHY: PETER MARRIOTT

This scene features a blend of high-quality tree kits (from established model railway suppliers), plus a few of the modified cheaper trees created in this demonstration. Can you spot the difference?
STEP BY STEP

1 The ‘El Cheapo’ trees all consisted of plastic trunks/armatures, with the branches covered in green foam, depicting foliage. The packs billed as ‘deciduous’ featured trees with slightly different shades of greenery.

2 I used a plastic fast food container, partially filled with near ‐boiling water, to remove the foliage from the purchased trees. The entire tree was dunked in the hot water for a few minutes (mind those fingers!).

3 After soaking for about 2 minutes, I found that most of the green foliage had fallen off the plastic armature. I was able to drag the remaining material off the branches with my fingers. This proved a bit messy!

4 This stripped tree armature has a nice matt sheen and a bark grain texture, but some of the others looked too shiny, so they were given a light coating with a matt dark brown paint. It can be applied by brush or aerosol.

5 Before painting, I also took the chance to cut away any prominent moulding seams on the trunks with a sharp craft knife. Dry-brushing a little grey/brown matt acrylic paint will add textural variety to the trunk and branches.

6 I used Woodland Scenics Static ‐Tac adhesive on the plastic branches, applied with a paintbrush. I tried to keep the adhesive away from the trunk, where foliage would not naturally grow.

7 The adhesive was spread carefully onto the branches. The thick white glue clings to the plastic well and, for best results, leave it for a moment or so to turn tacky – this will help the scatter material to bond instantly to it.

8 To form the new foliage, I decided to try applying two layers of static grass fibres, to create a broader depth of tones. The first layer was a light brown, with fibres anywhere between 2mm and 4mm being suitable.

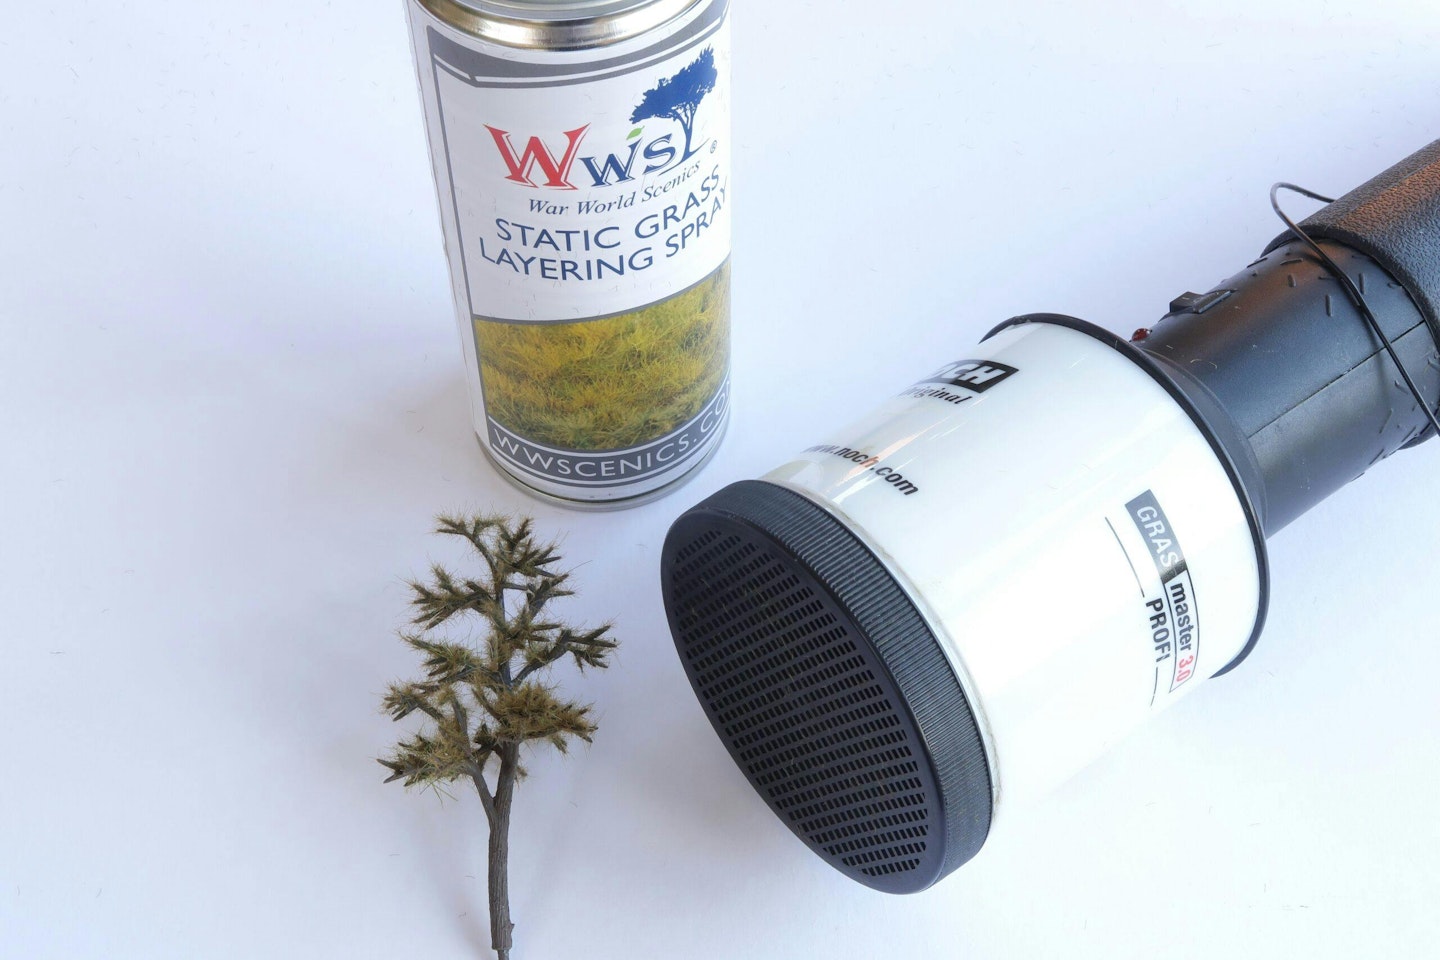
9 The connection lead from my Noch Gras ‐master was clipped on to the base of the plastic tree trunk to create the necessary electrostatic circuit. The tool was then switched on and shaken to release the fibres onto the tacky glue.

10 For the second layer of foliage, I used muted green static grass fibres (6mm long) from the Noch range. Steer away from using brightly coloured grass fibres, as they can look out of place on most tree species.

11 After allowing a couple of hours for the initial foliage application to dry, the tree was sprayed with a coat of WWScenics Layering Spray, rotating the tree while spraying to ensure even coverage. Extra-hold hairspray will also work.

12 The second layer of static grass fibres was then applied, again using the electrostatic tool with the cable clipped to the base of the trunk to complete the circuit.

13 After the two layers of grass fibres, the plastic branches were still visible in most places, so further layers of foliage would be required. Rather than keep adding grass fibres, however, I decided to add some extra fine scatter material.

14 Another sprayed coating of the WWS adhesive followed (wear a facemask to avoid inhaling the spray), then a variety of Woodland Scenics Weeds, Fine Turf and a little lighter green material was sprinkled over the trees.

15 Both trees have received four separate layers of scenic material over the bare plastic armatures, starting with the brown and green static grass fibres, followed by sprinkles of various shades of green scatter material.

16 After my first experiments, I began taking things further by trimming the stripped armatures to customise and improve the overall shape of the trees, using a set of sprue cutters to ‘prune’ plastic branches.

17 I also set up something of a production line, to speed up the process and treat several trees at once. The stripped armatures were pushed into a foam block, ensuring adequate space to work around each of them.

18 This method is ideal for batches of trees for a background scene, as the results will be relatively unrefined. I used the WW Scenics Layering Spray throughout, spraying from all angles, while keeping it away from the trunks.

19 The electrostatic grass applicator was loaded with 4mm static grass fibres (a blend of brown or green) and, with the cable clipped to one of the trunks, the material was applied over the wet glue.

20 Here are the trees after the first application of green static grass fibres. The next step is to leave them for around 20 minutes, then spray the upper areas with more of the adhesive, then add a second layer of fibres.

21 After two layers of static grass fibres and a few applications of various scatter materials, the trees are ready for planting. These nine trees took less than 2 hours’ work.


