Workbench
Peter Marriott explains how the humble grass mat can be harnessed to provide the perfect foundation for lifelike scenic treatments.
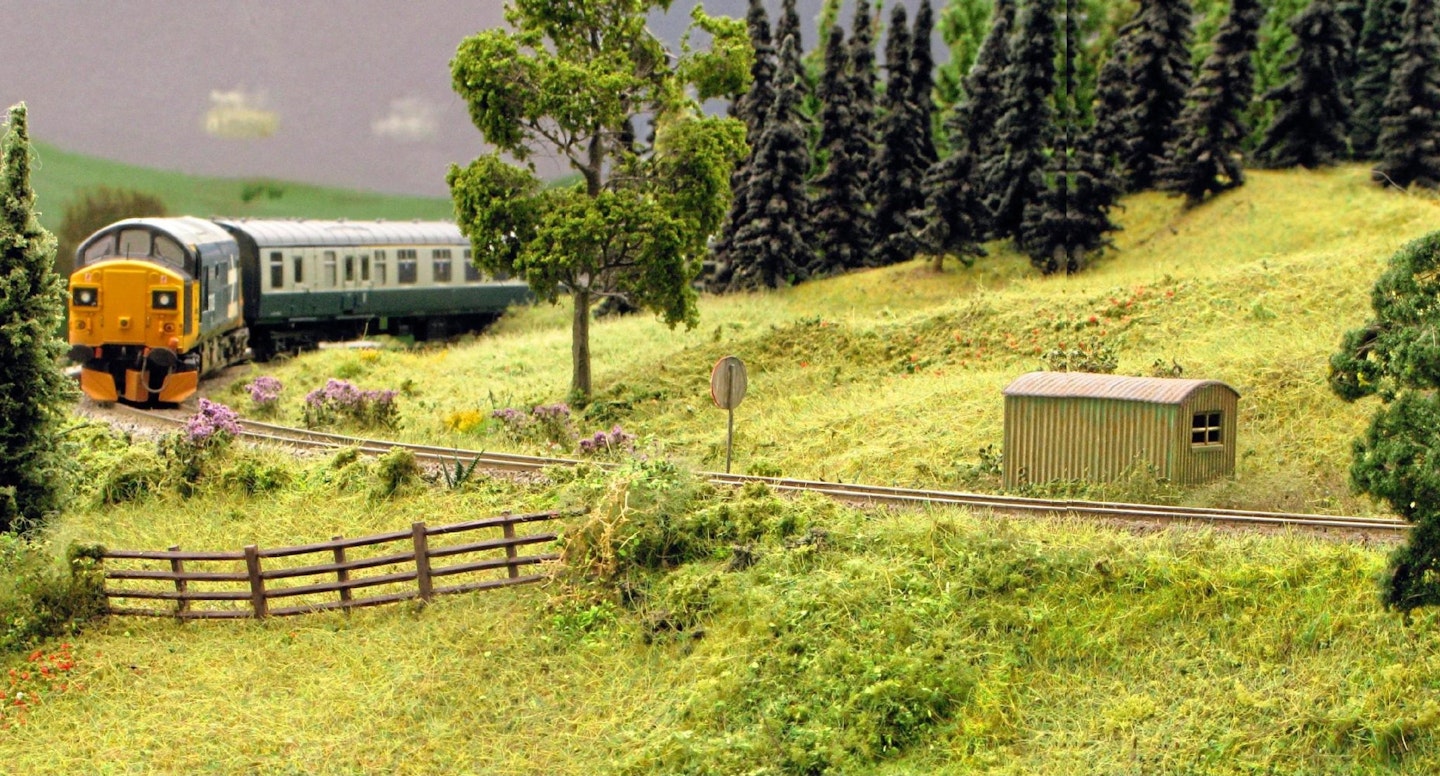
Grass mats with flexible backing can be shaped over scenic contours, reducing the need to sculpt the correct profile with plaster or foam. Once trees, bushes and layers of grass scatter are applied, the results can be impressive.

A number of Model Rail readers have asked me recently whether traditional grass mats are still worth using these days, with the huge array of alternative scenic materials now available.
My answer is a definite yes, as although many mats can look a little one-dimensional on their own, they can form the basis for realistic scenery when used as a base layer.
Grass mats have been around for decades, and vary in realism (and price!). Naturally, the more basic versions are cheaper and they’re available in various sizes and shapes.
Each offers the advantage of removing the need to paint the surface of the baseboard before adding scenery. They can be used to cover a multitude of sins too, such as gaps between landscape formers, speeding up the scenic process by removing the need to add a layer of smoothing plaster.
Furthermore, thanks to their flexible backing, they can be laid over a range of land-forming materials, such as timber battens, chicken wire, papier-mâché or plaster bandage. A range of adhesives is also suitable for glueing the mats in position, and they can be shaped and overlapped as necessary.
While some modern ‘premium’ mats, especially those aimed at military modelling and tabletop wargaming, look great straight from the box, the more budget-priced versions still have a role to play. The trick to achieving lifelike results is to add different textures, varied shades of green and different materials on top of the mat, using the latter as a foundation for realistic scenery rather than the final result.
Adding a layer of Poly Fibre, from Woodland Scenics, instantly adds greater depth and texture to the surface. This flexible, synthetic material can be teased out used to create undergrowth, foliage, bushes, trees and rambling vegetation. The more you tease the fibres apart, the less dense the vegetation will appear and a standard 16g bag will go a long way.
Other companies, such as Micro Mark in the USA, make a similar product, but the Woodlands Scenics packs are the most readily available in the UK. The material is incredibly versatile and can be fixed to the landscape with regular PVA adhesive or specific model scenery glue formulas.
What you will need
SHOPPING LIST
◆ Grass mats
◆ Woodland Scenics Poly Fibre
◆ Fine foam scatters (various shades)
◆ Woodland Scenics Scenic Glue
◆ Extra ‐hold hairspray or spray adhesive
Availability: Model and craft shops
TOOLS
◆ Scissors
◆ Wide paintbrush for spreading adhesive
◆ Tweezers
Once fixed in place, the fibres can be brushed with more adhesive – or coated with extra-hold hairspray – before sprinkling a blend of fine scenic scatter material to represent the foliage. Any excess scatter can be blown off or carefully vacuumed away.
By building up layers of texture, and varying the shades of green, we can transform the uniform appearance of the mat into something much more believable. Once trees, bushes, hedges, flowers and other types of vegetation are in place, the greater depth will look far more convincing.
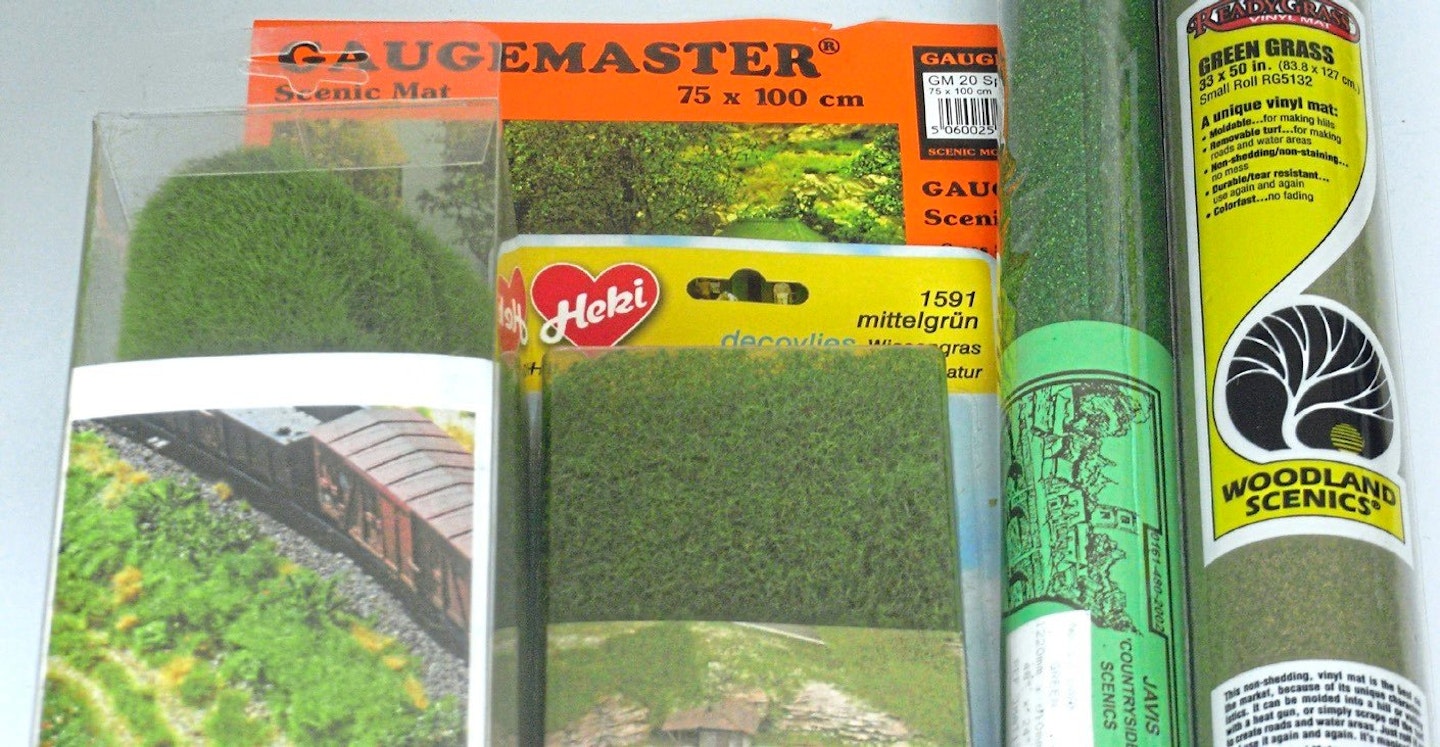
Nature is seldom uniform in colour and texture, so a layered approach to scenery always pays dividends.
STEP BY STEP
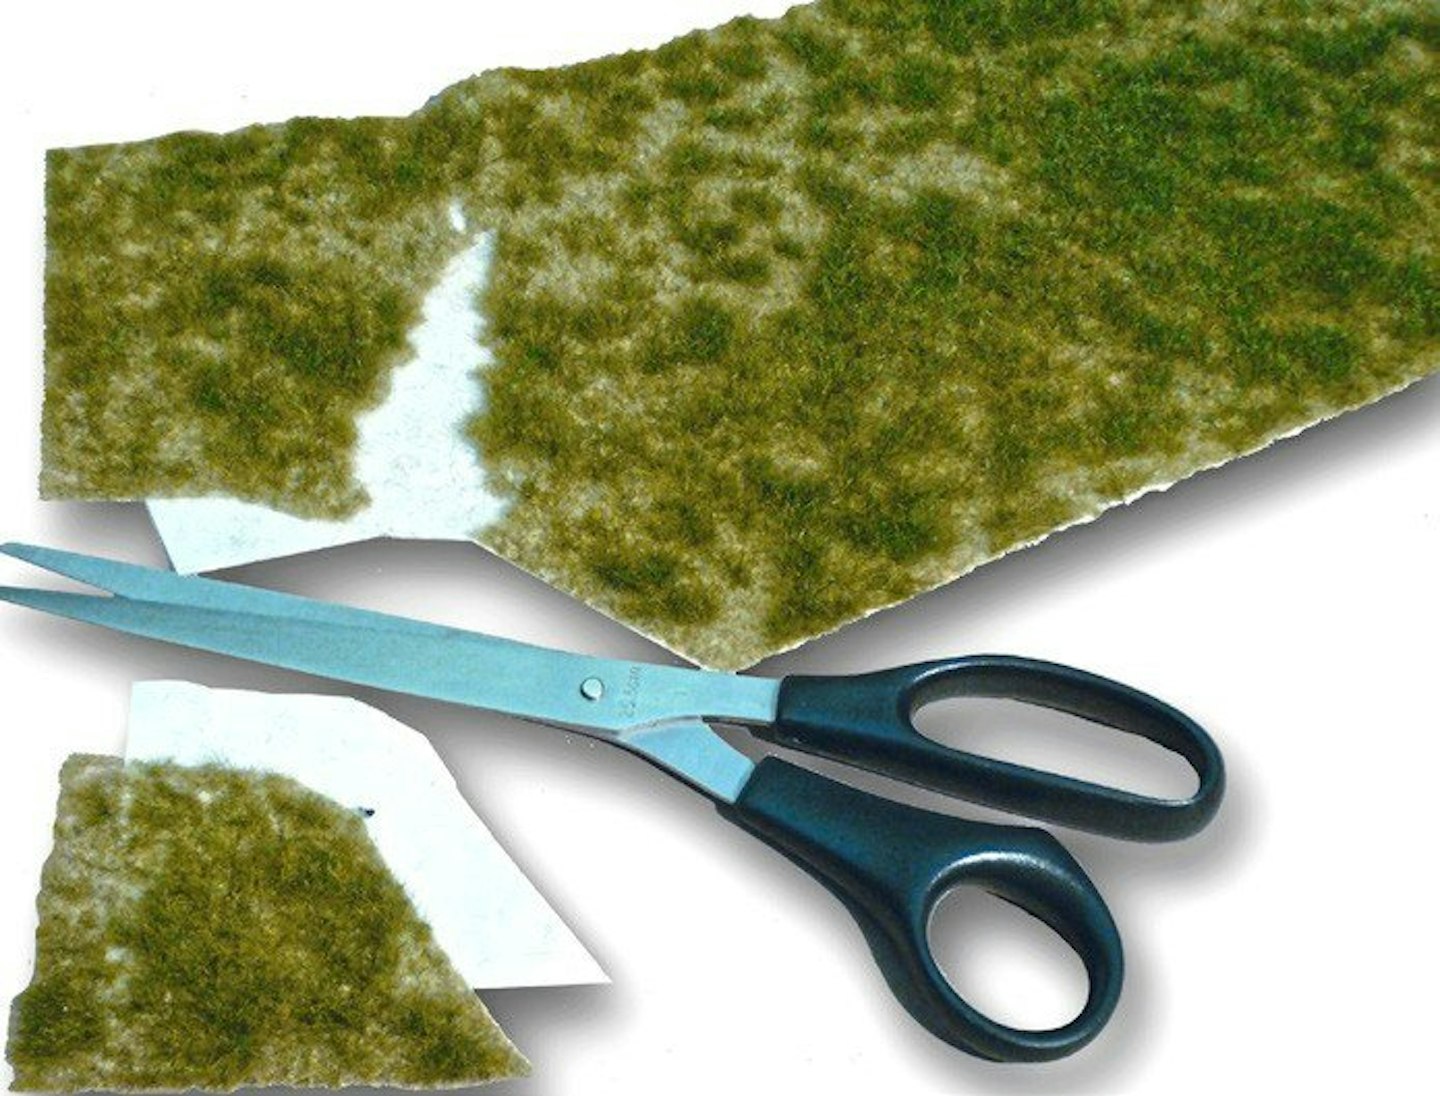
1 A large pair of good quality scissors is best for cutting mats to size. Generally, I prefer to cut the mat slightly too big, as extra material can be removed in situ with a trimming knife or used to blend in with the surrounding landscape.
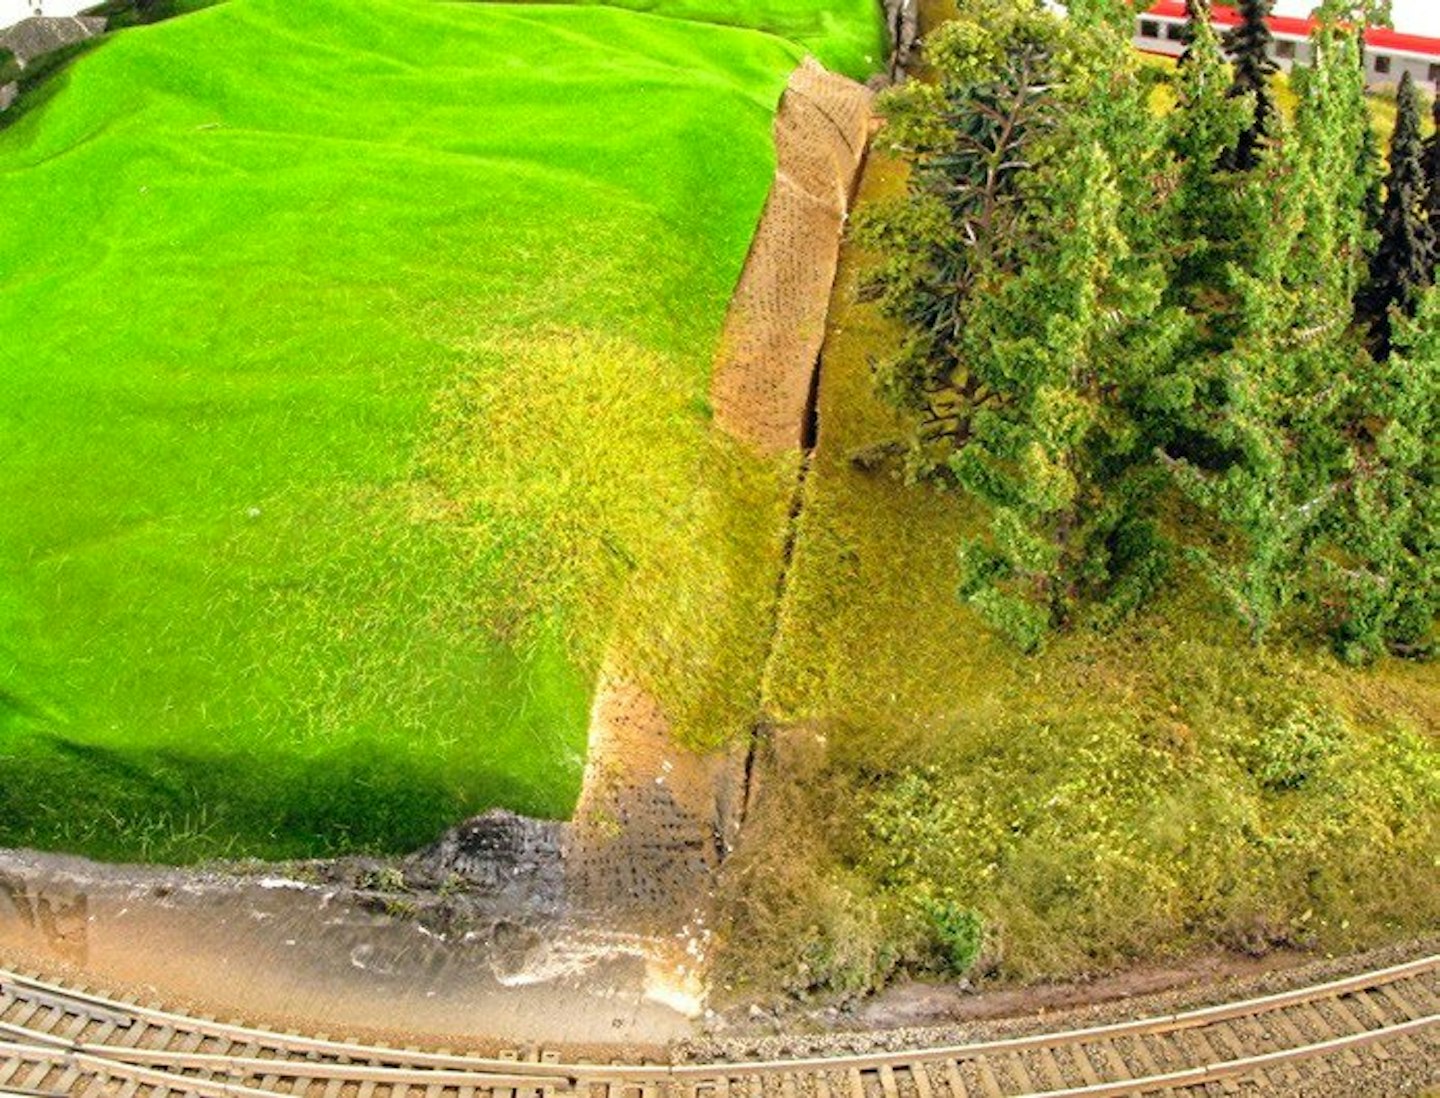
2 Here, a large grass mat has been laid onto a landform shaped from scraps of polystyrene foam and plaster bandage. By stretching or compressing the mat, a range of contours can be achieved while glueing it into place.
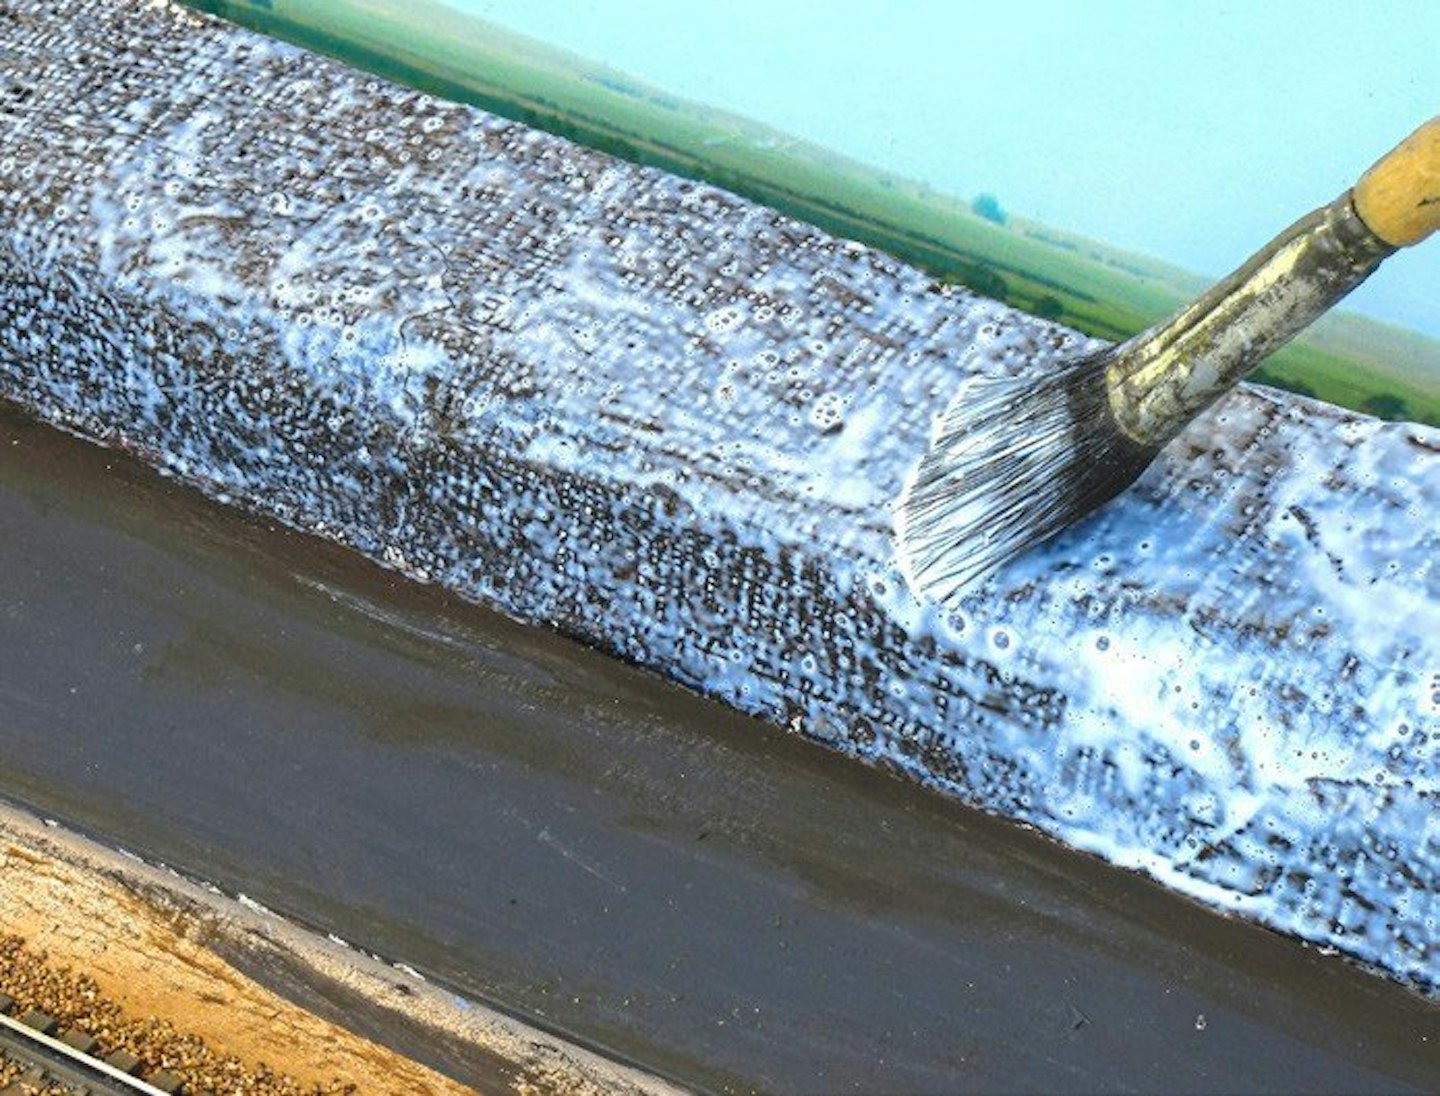
3 PVA-type glues are perfect for fixing grass mats to the landscape, spreading it evenly over the base with a broad, flat brush. Place the mat onto the wet glue and press it firmly into position.
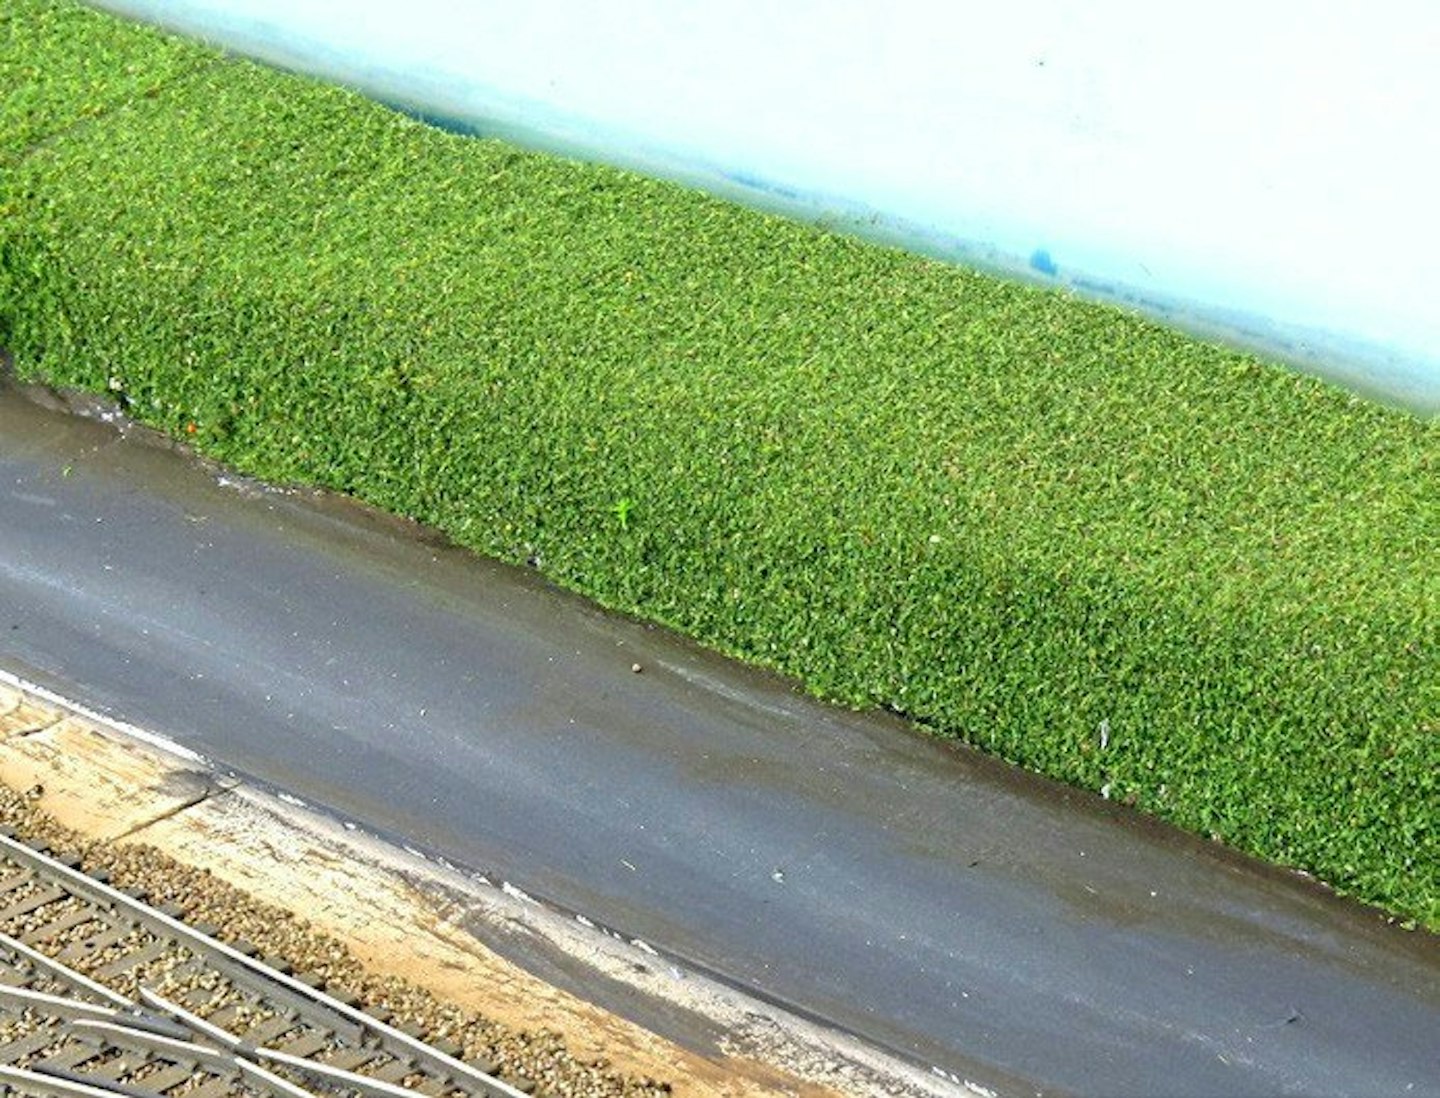
4 Wipe away any excess glue before it dries, with a damp cloth, then leave overnight to set. This grass mat features a decent amount of texture and a range of grass shades, but it does present a slightly one-dimensional appearance.
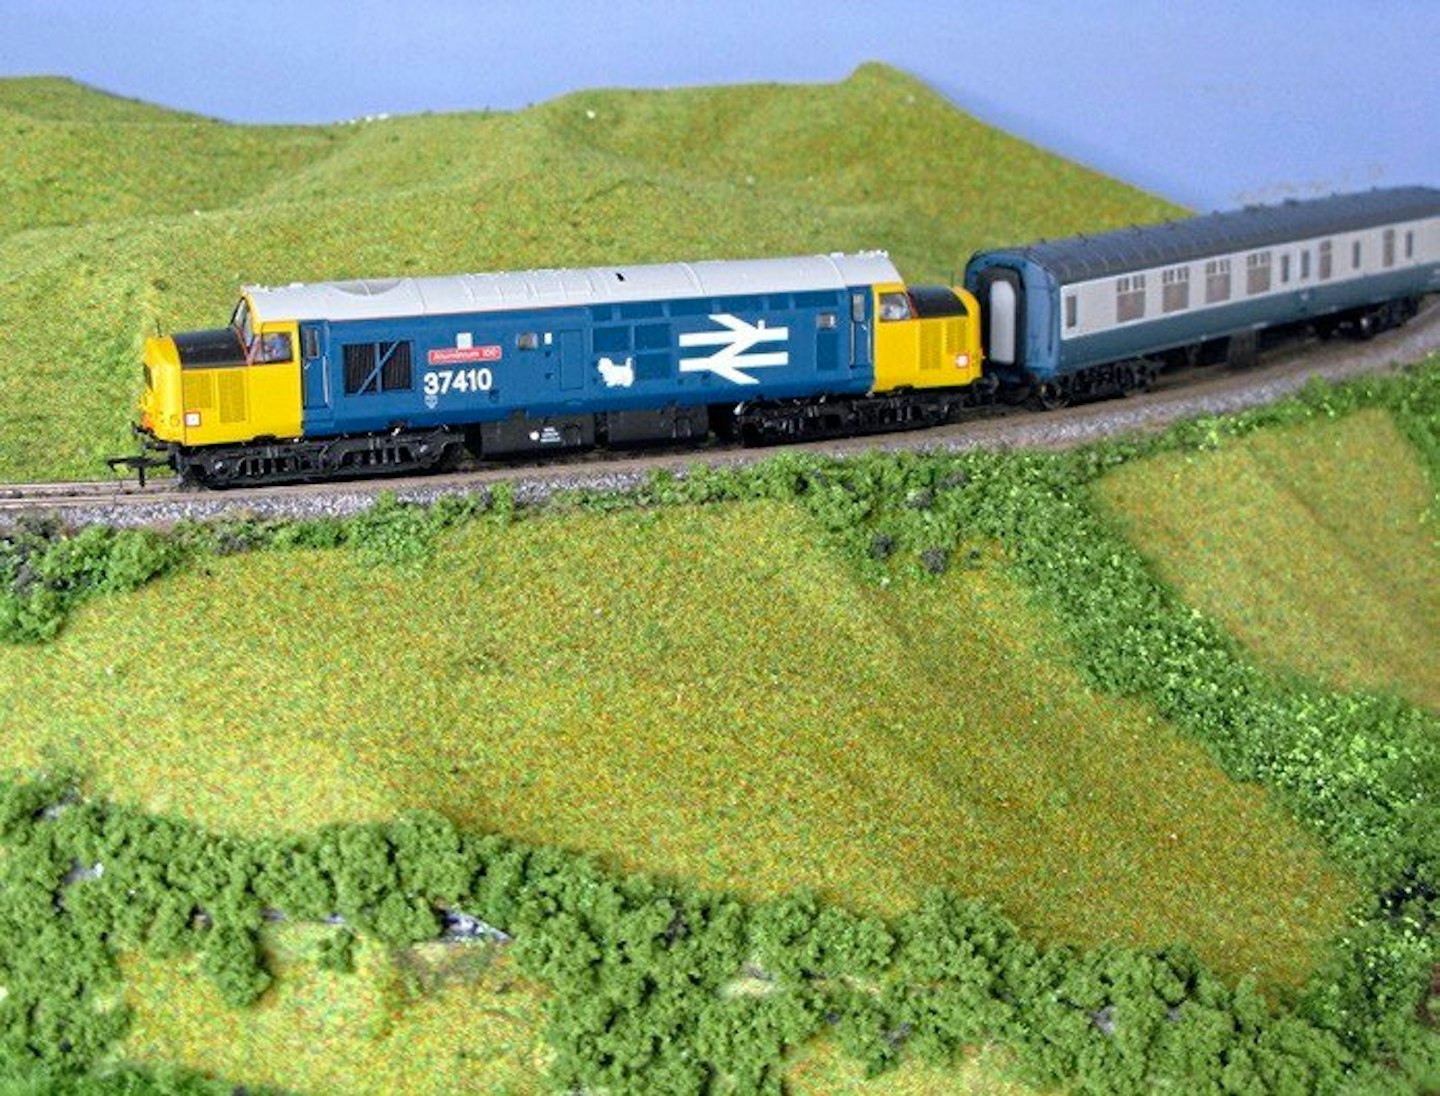
5 Here, rows of hedges and bushes have been added, using ready-made Clump Foliage and Underbrush (from Woodland Scenics), partly to disguise the joints between sections of mat. Already, it looks better, but we can do more…
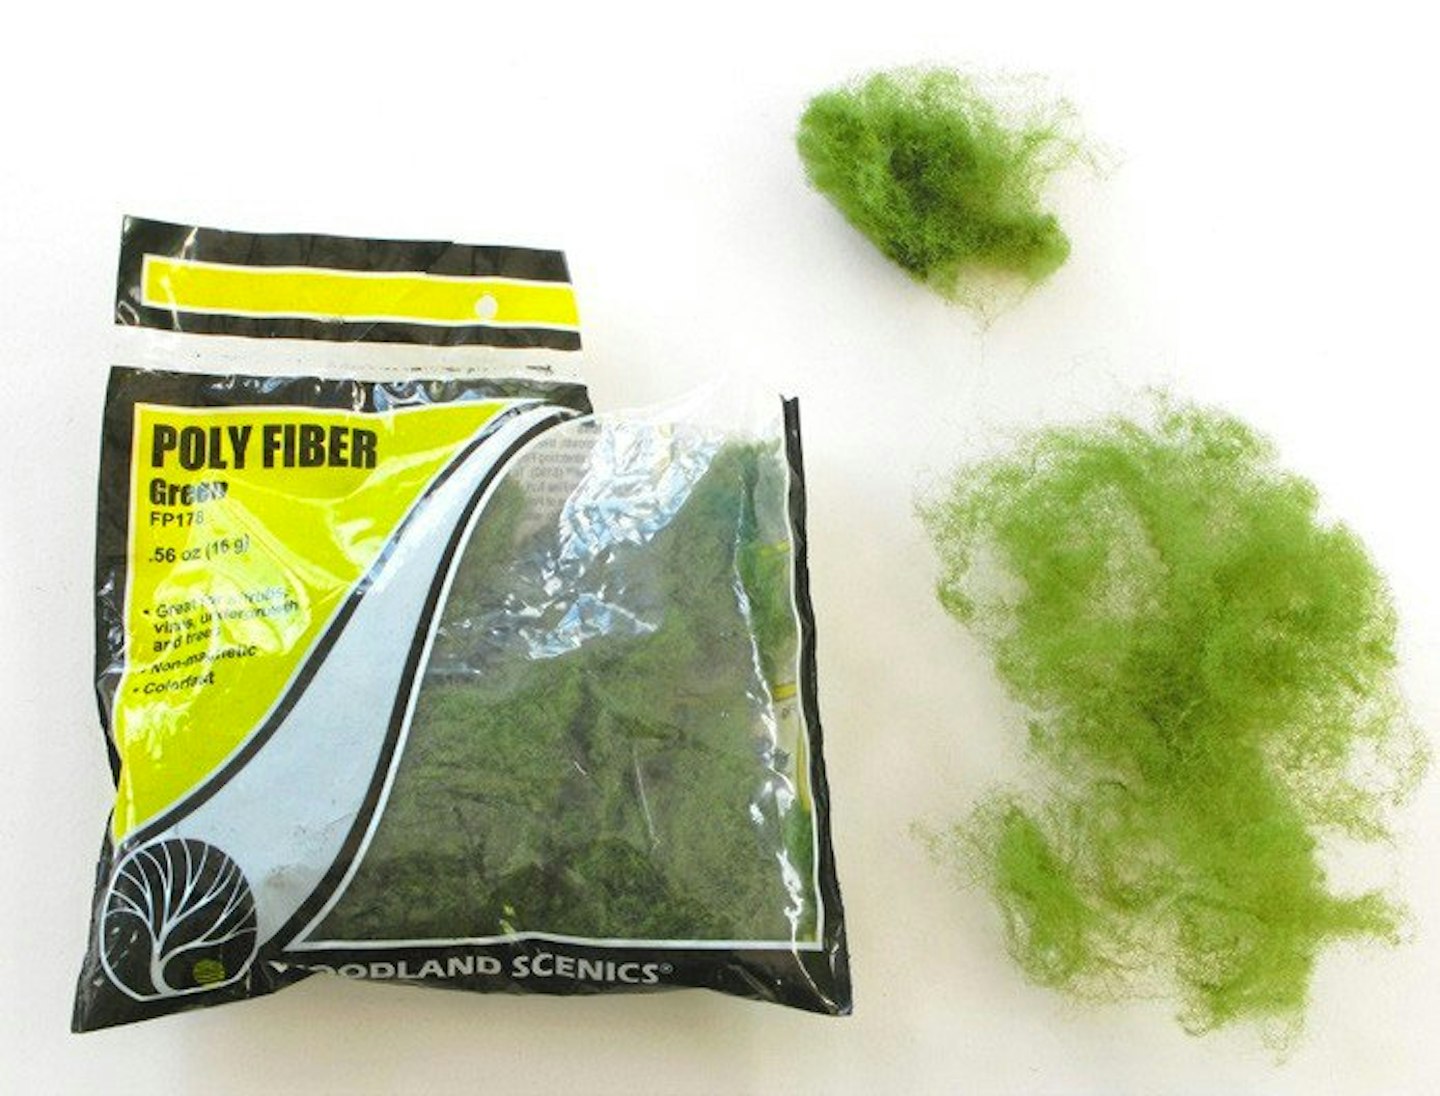
6 Woodland Scenics’ Poly Fibre bags provide plenty of material for creating hedges, bushes, undergrowth, and even small trees. It’s lightweight, pre-coloured and easy to work with.
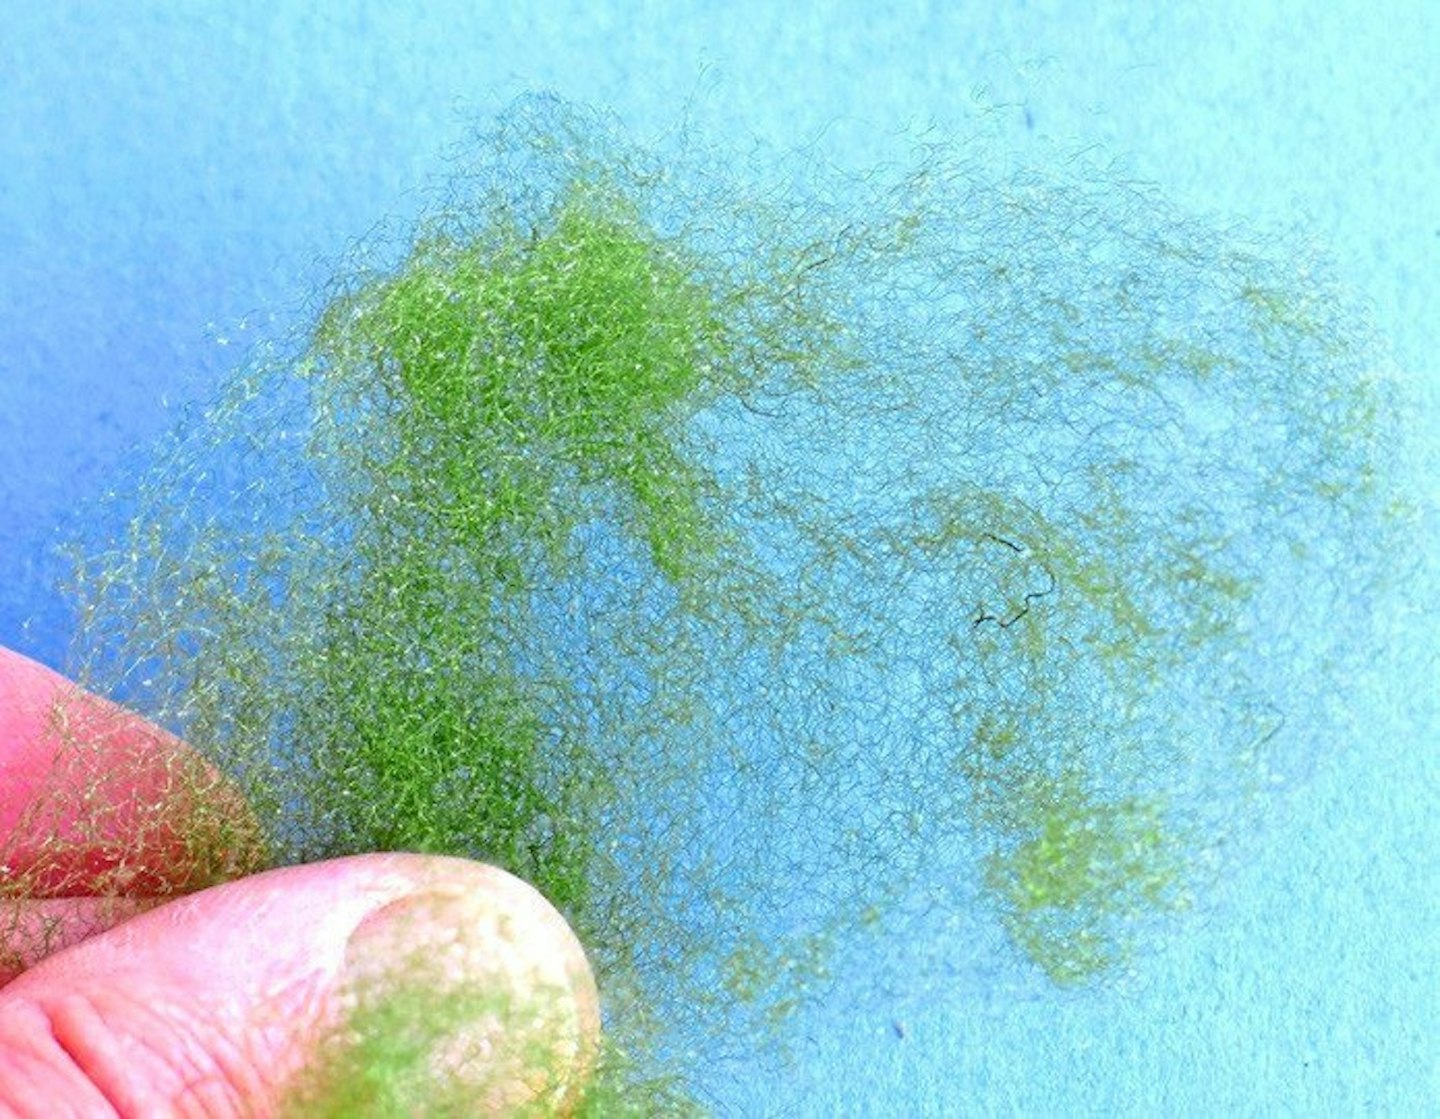
7 Tear or cut away a ball of the Poly Fibre, then begin gently teasing it apart between your fingertips. The more it’s pulled apart, the lighter it will appear, giving it a nice airy effect.
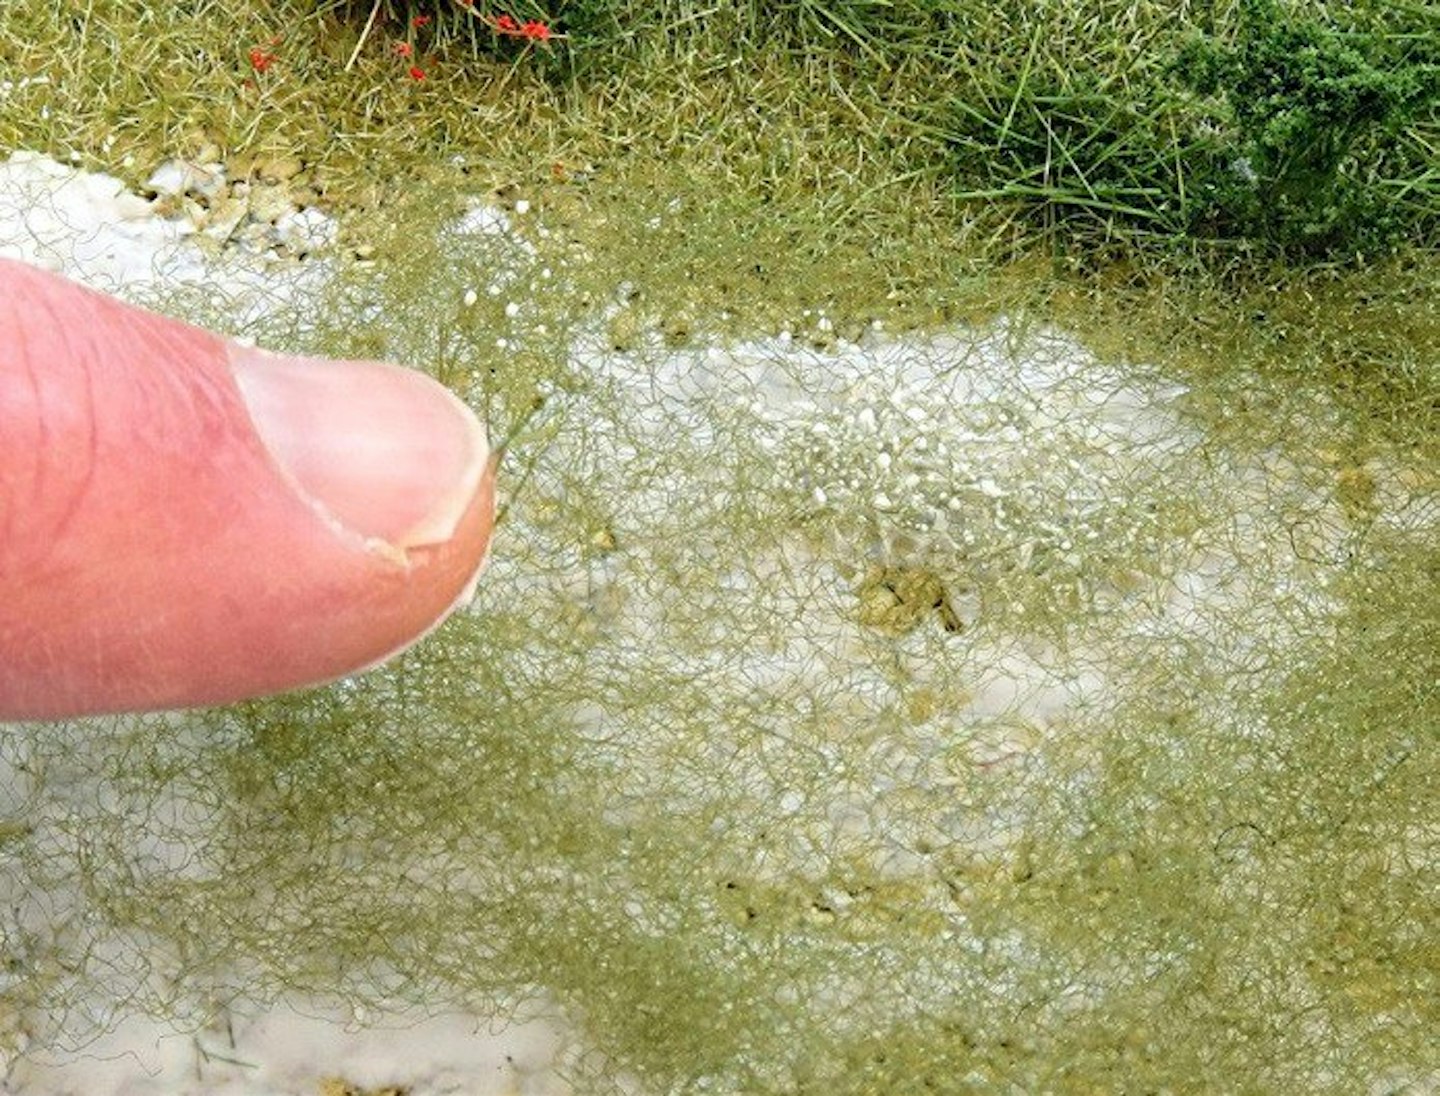
8 After brushing a layer of PVA or scenic cement over the surface of the grass mat, the teased out Poly Fibre can be carefully pressed into position. Resist the urge to press it down too firmly, or you’ll flatten it and lose the ‘body’.
PETER’S TOP TIP
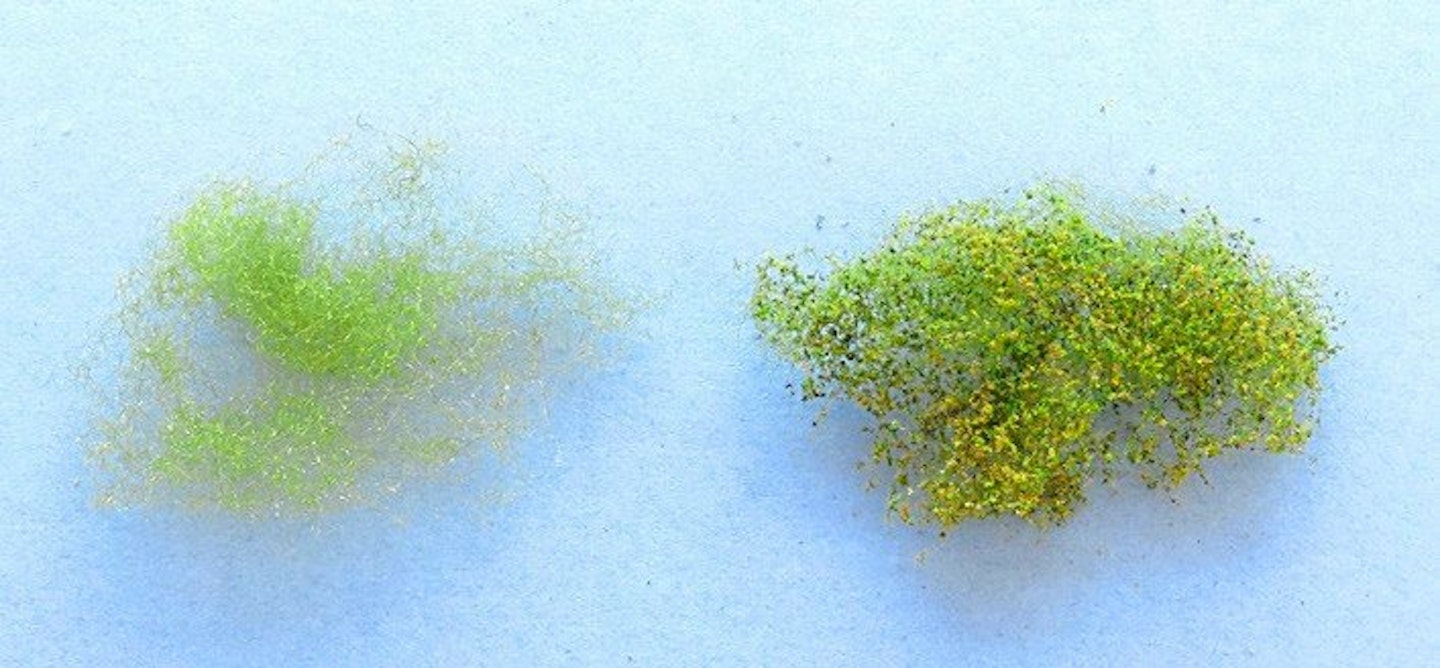
For more subtle leaf effects, tease-out the Poly Fibre material, spray with hairspray and sprinkle fine scatter material before the ‘planting’ into the landscape. Working away from the layout allows you to tailor the effects more carefully.
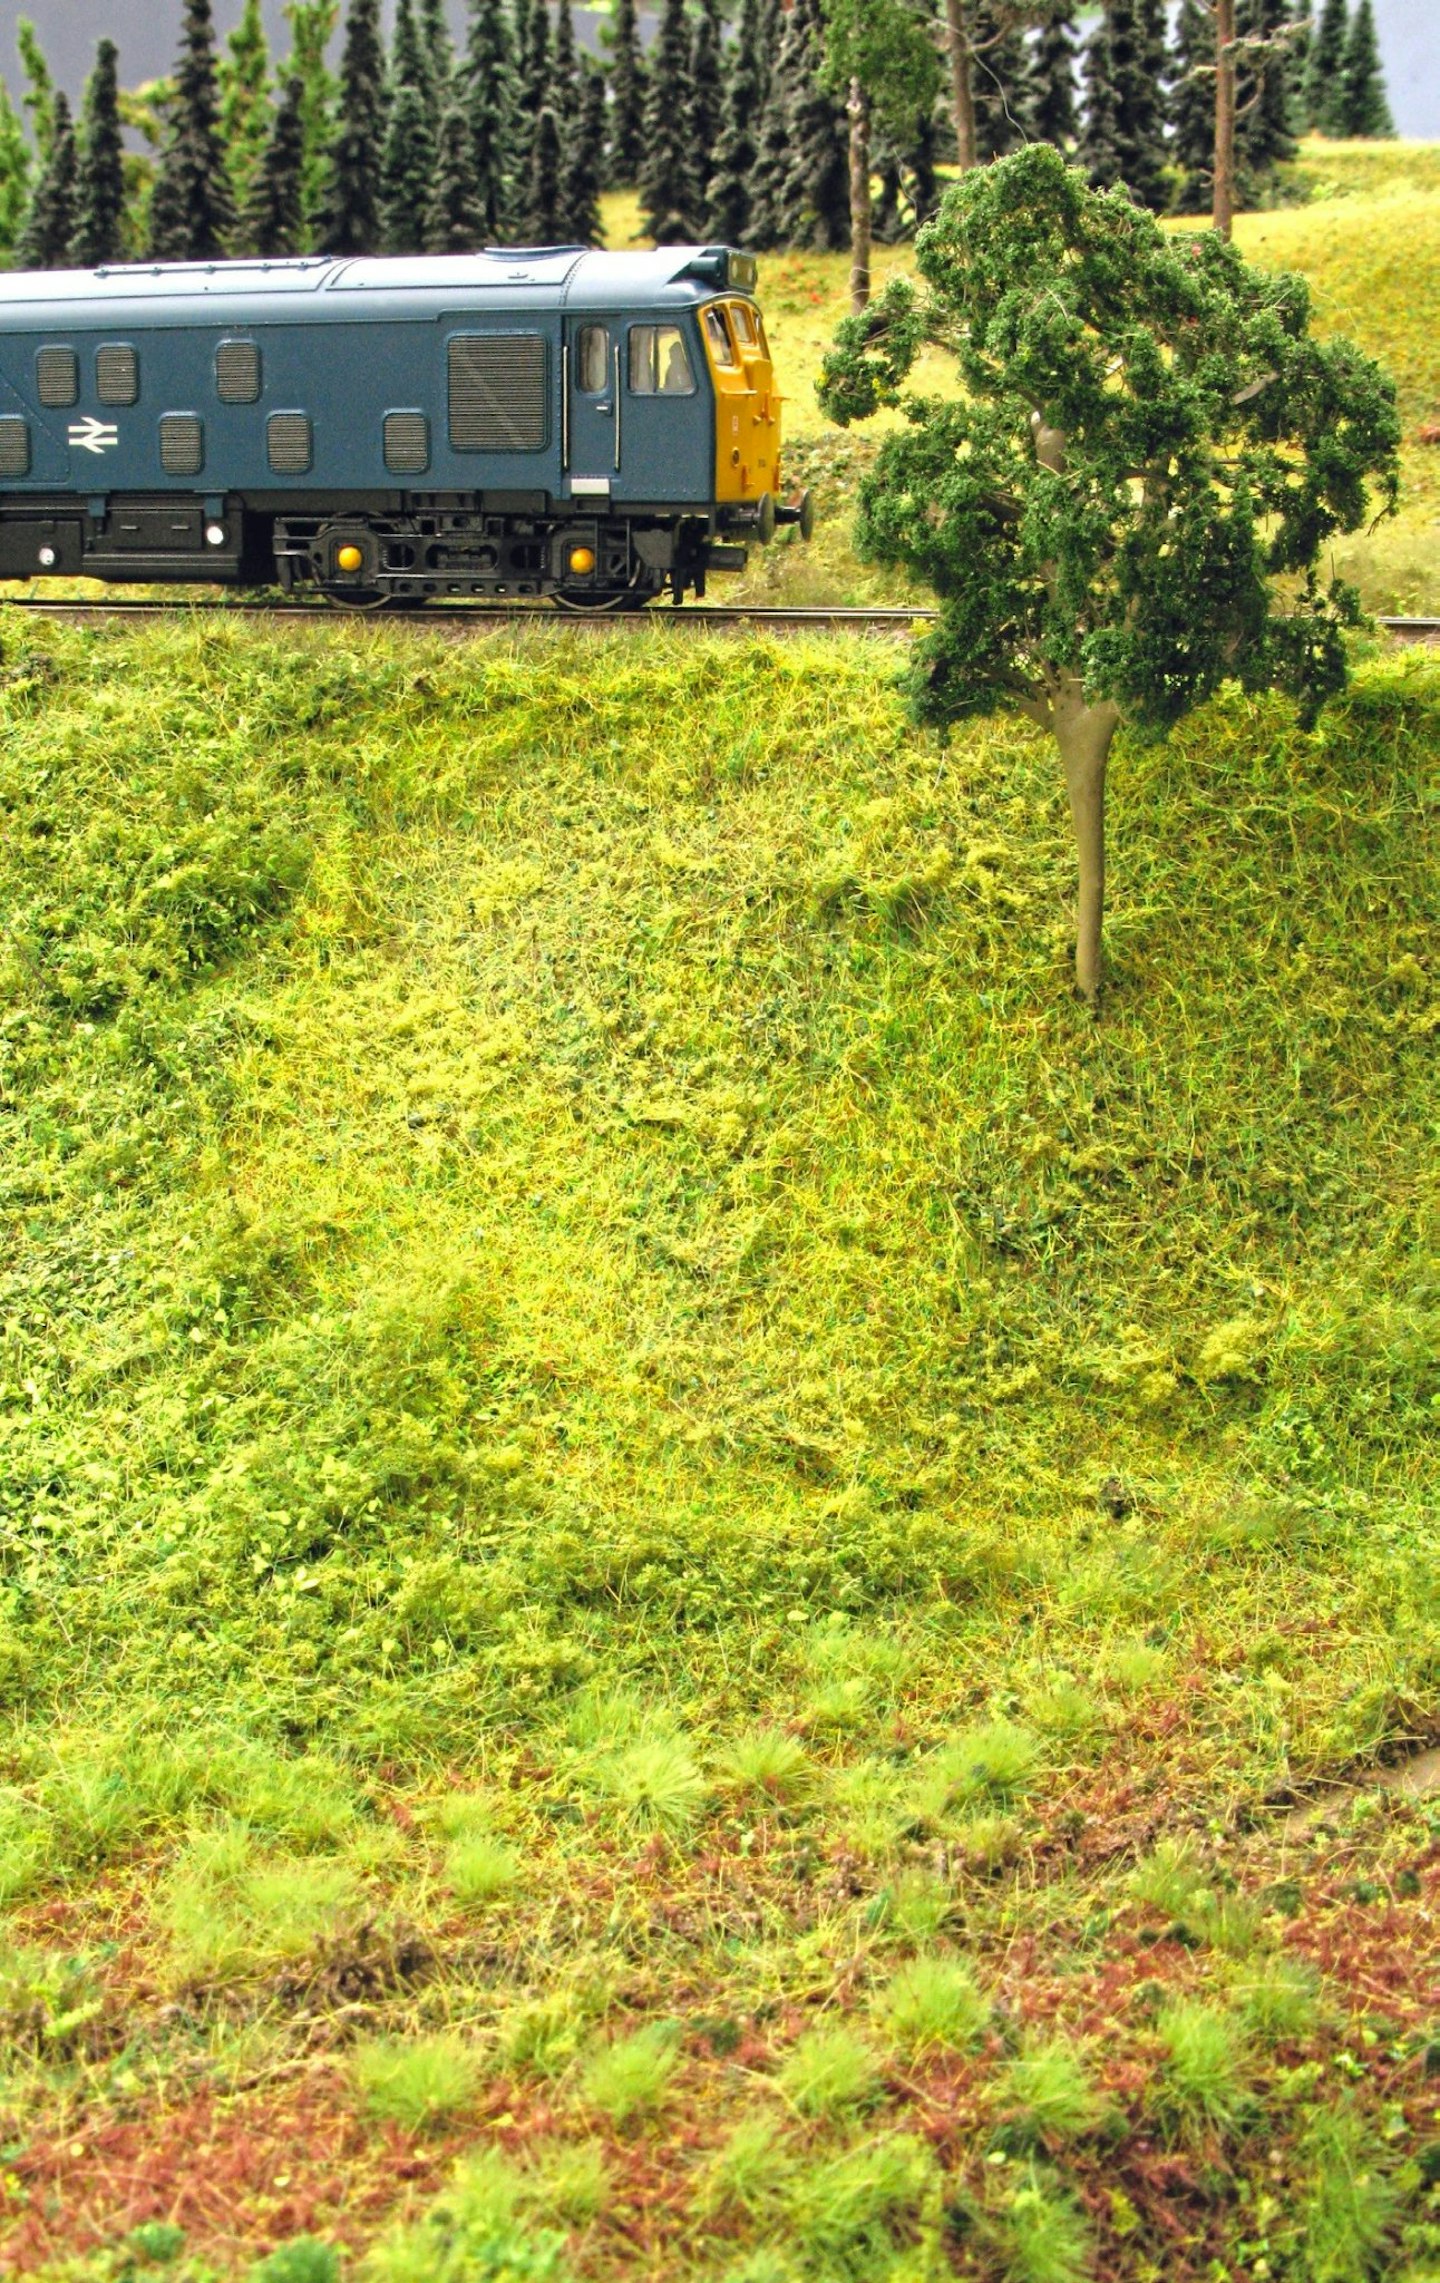
Ready-to-lay grass mats come in different shapes and sizes, with varying degrees of realism. Check out the range in your local model shop or online and choose one to suit your budget – we can use it as a foundation for realistic scenery, so its overall appearance is not overly important.
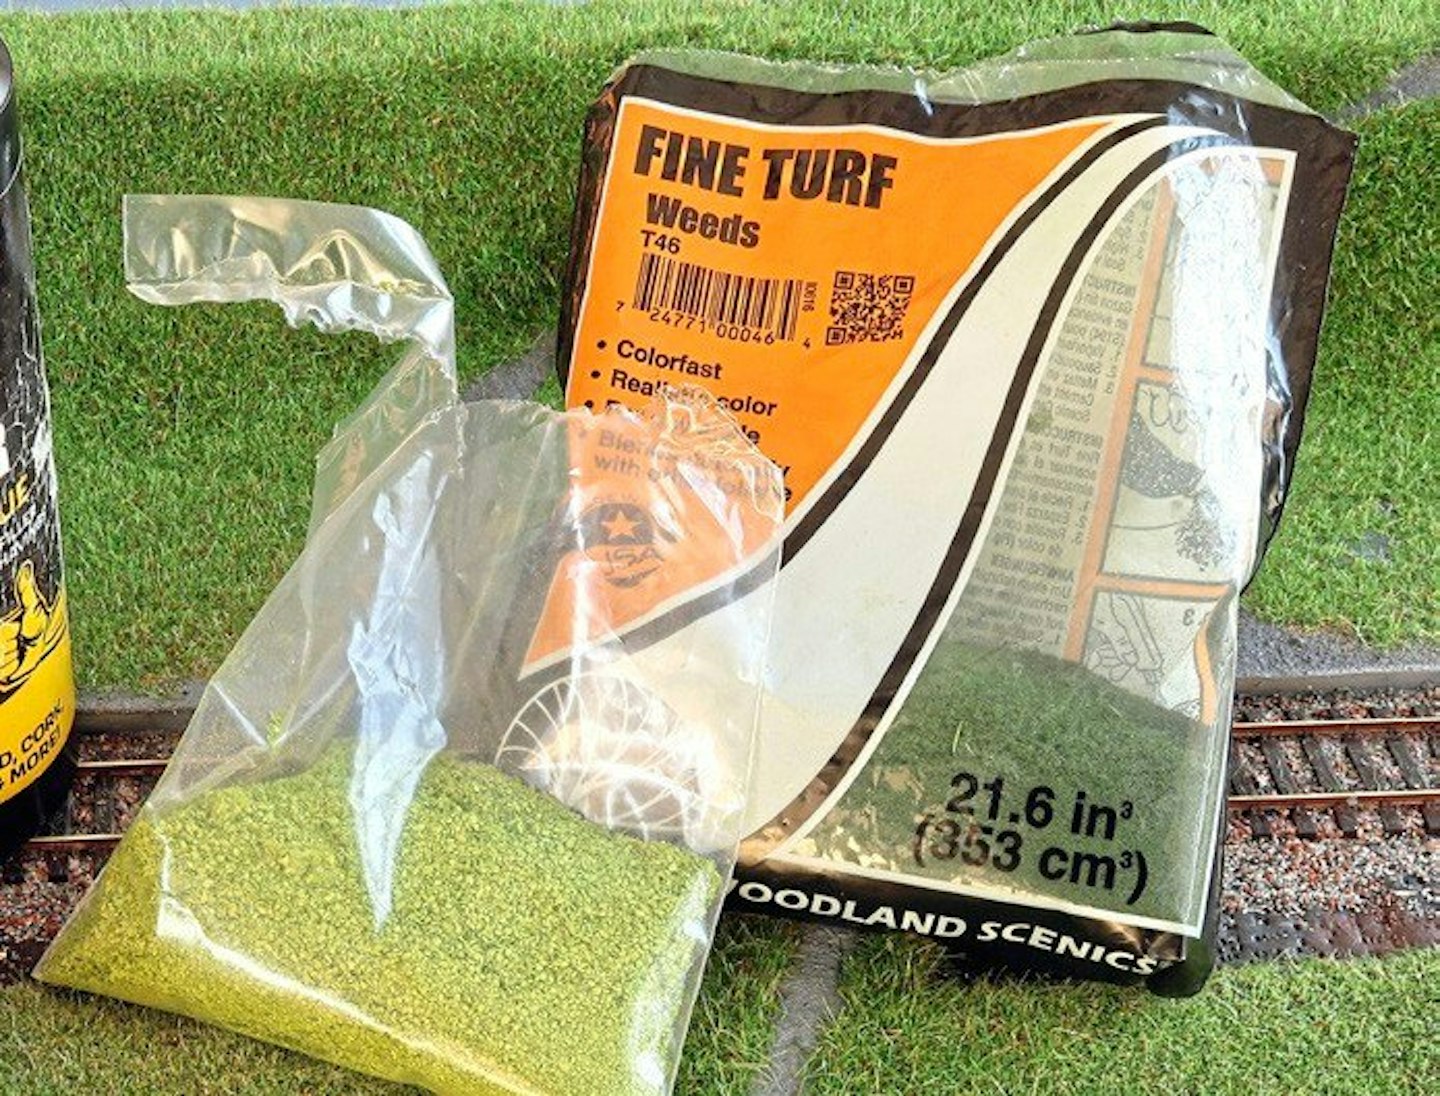
9 Investing in a handful of different scatter materials, in varying colours and textures, will allow us to add a ‘leaf’ effect to the Poly Fibre, as well as greater texture to the areas of grass.
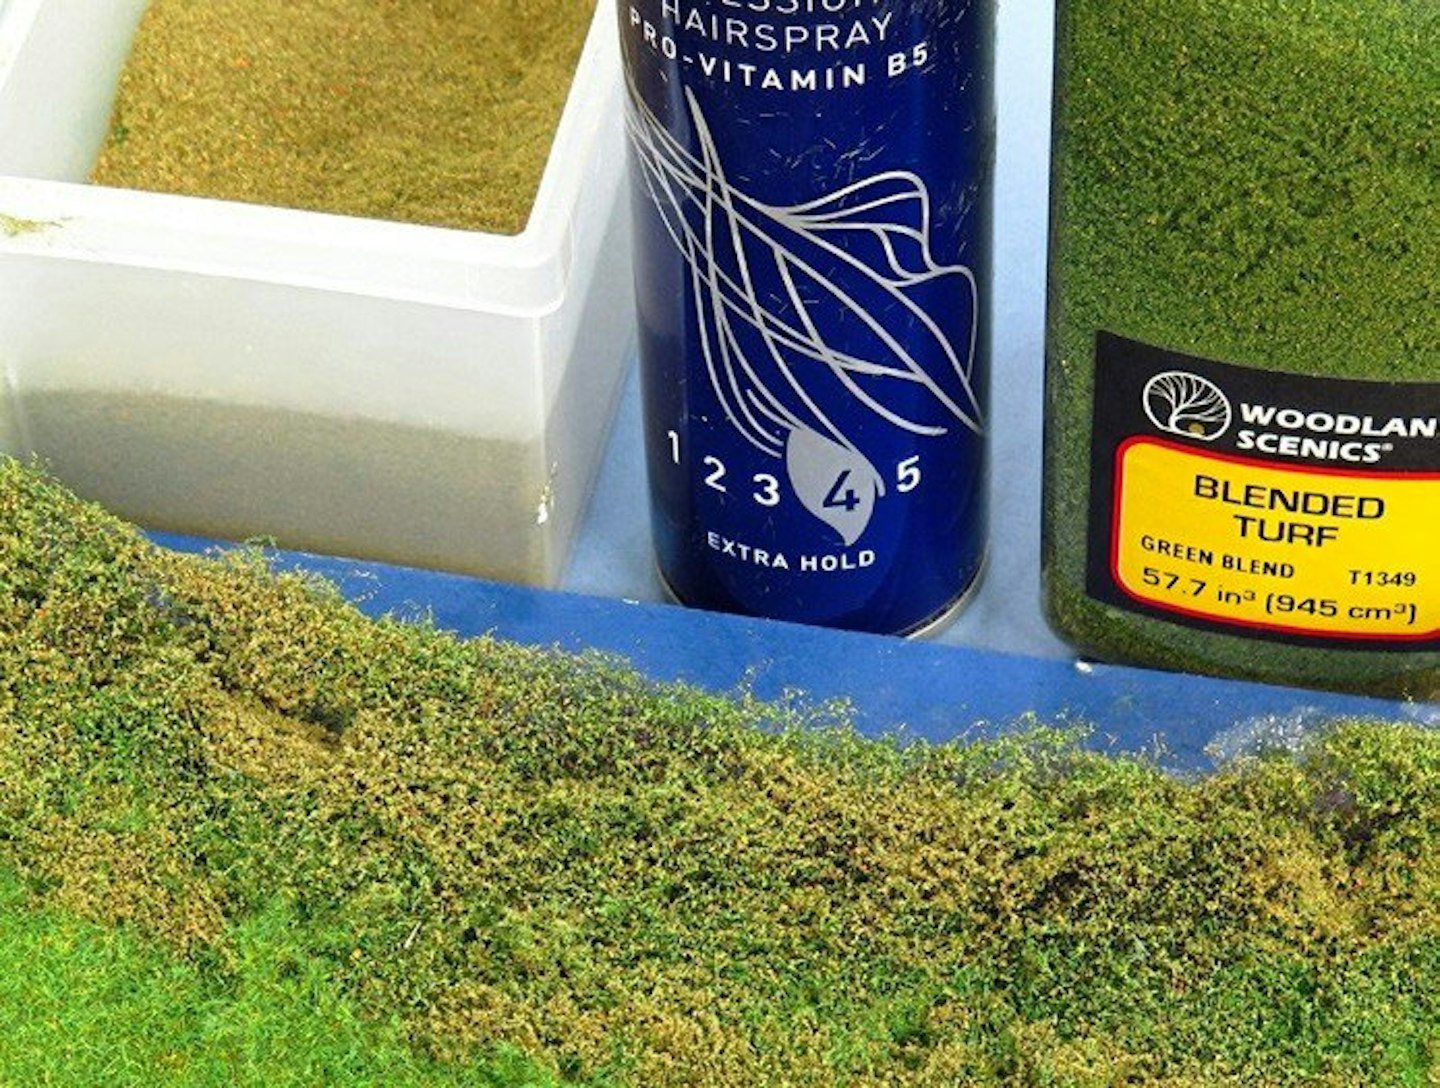
10 Allow the glue to dry before brushing more glue over the fibres or, preferably, employ a spray adhesive or extra-strong hairspray. While the fibres are tacky, sprinkle on a layer of the fine scatter materials.
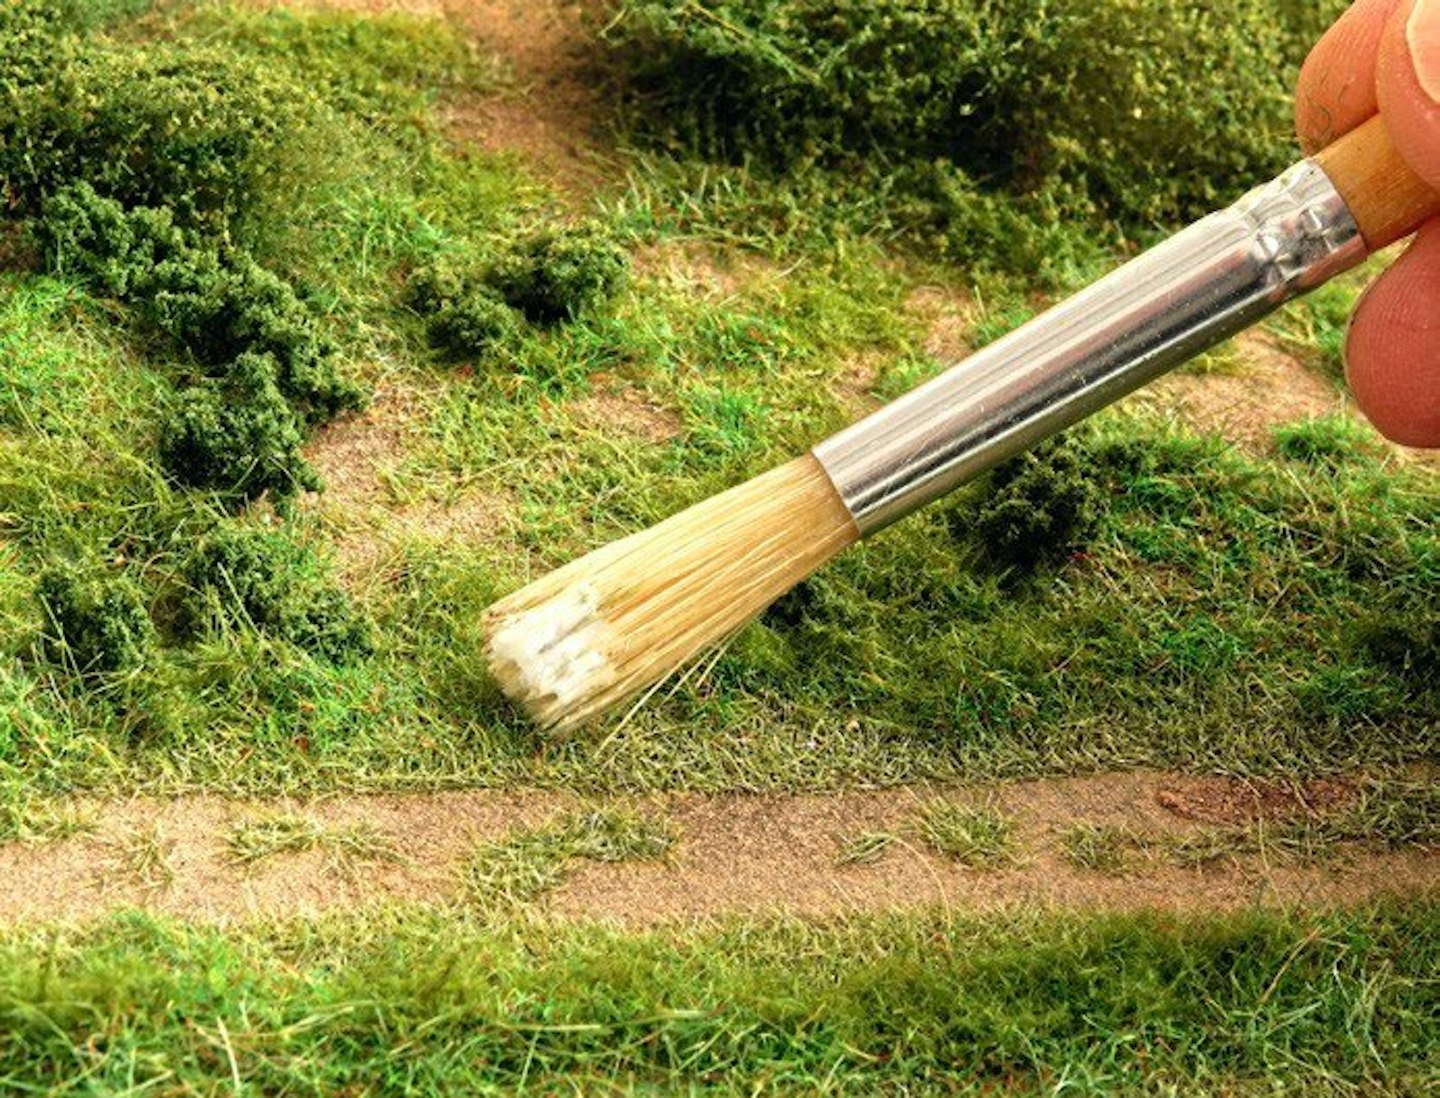
11 Building up layers of grass fibres (perhaps using a static grass applicator), fine scatters and small foam bushes helps create a more natural appearance. Allow each layer to dry before gently brushing or spraying more adhesive.
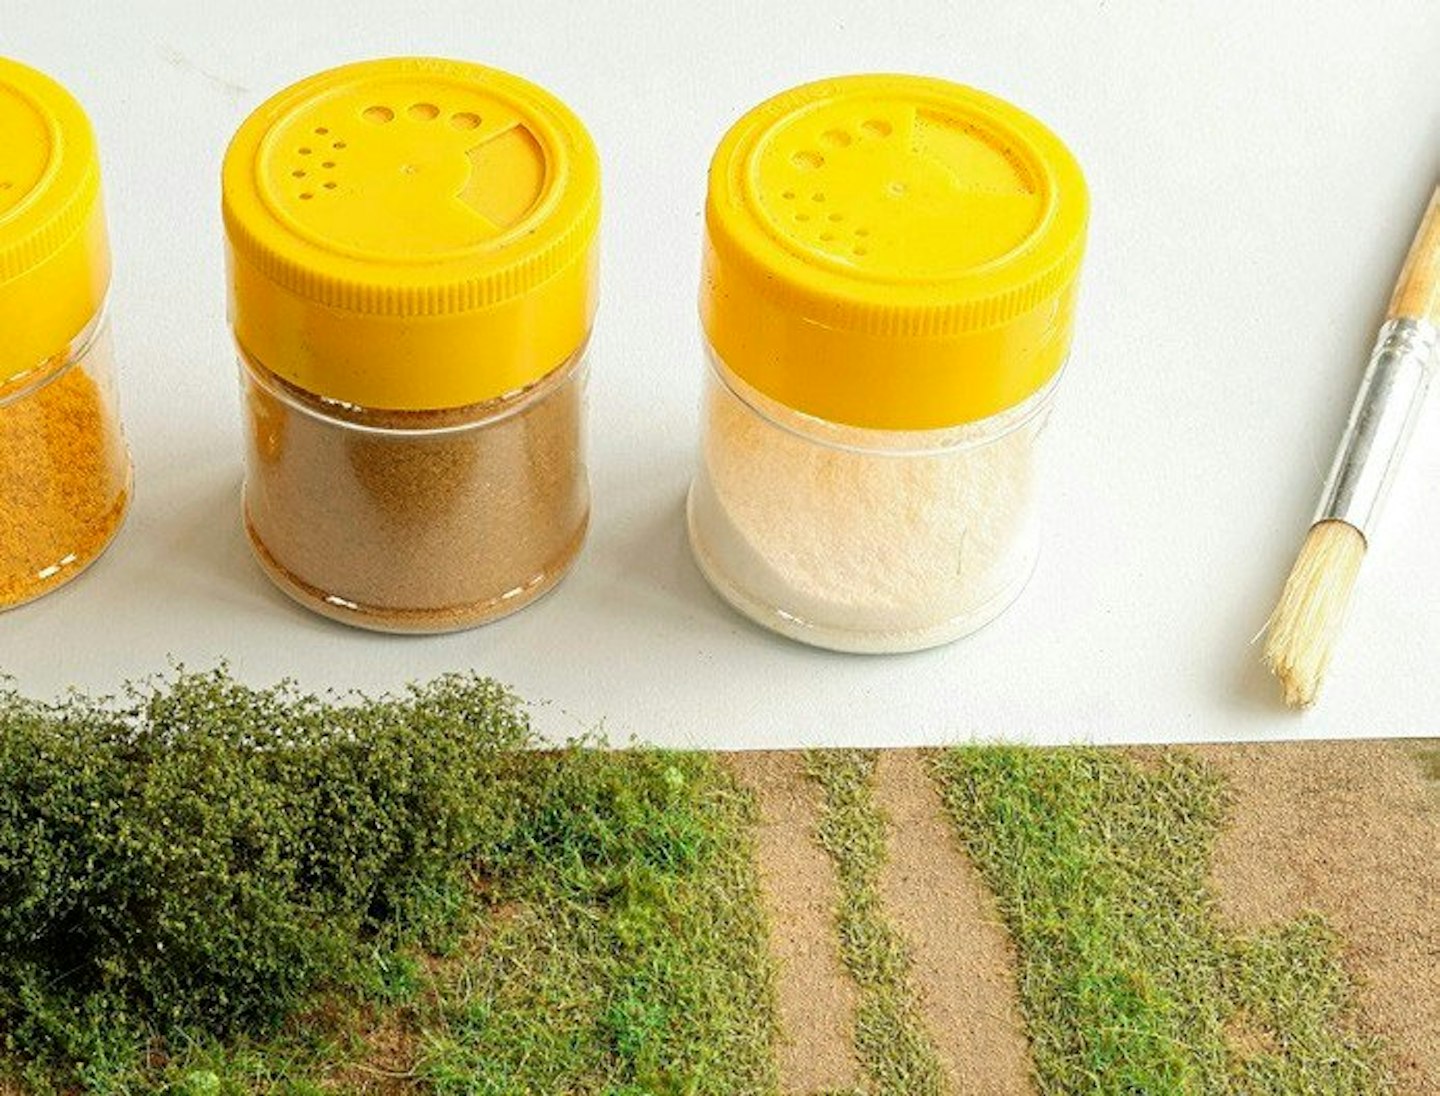
12 Even greater colour variety can be added using brighter scatters, mimicking blossom and wild flowers. These Woodland Scenics Accent pots feature adjustable applicator lids to regulate the flow of the scatter materials.
