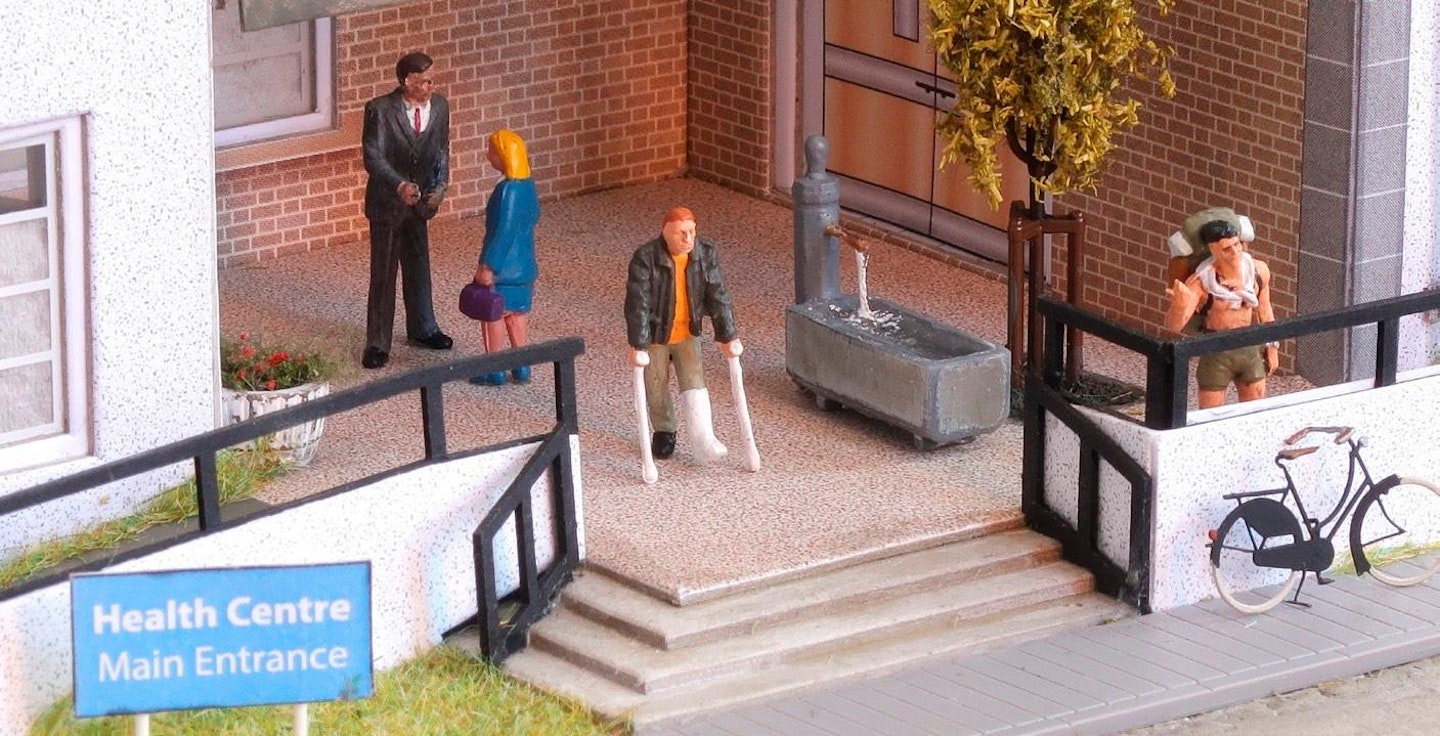
Peter Marriott shows how the family cat helped add flowing water to his fountain!
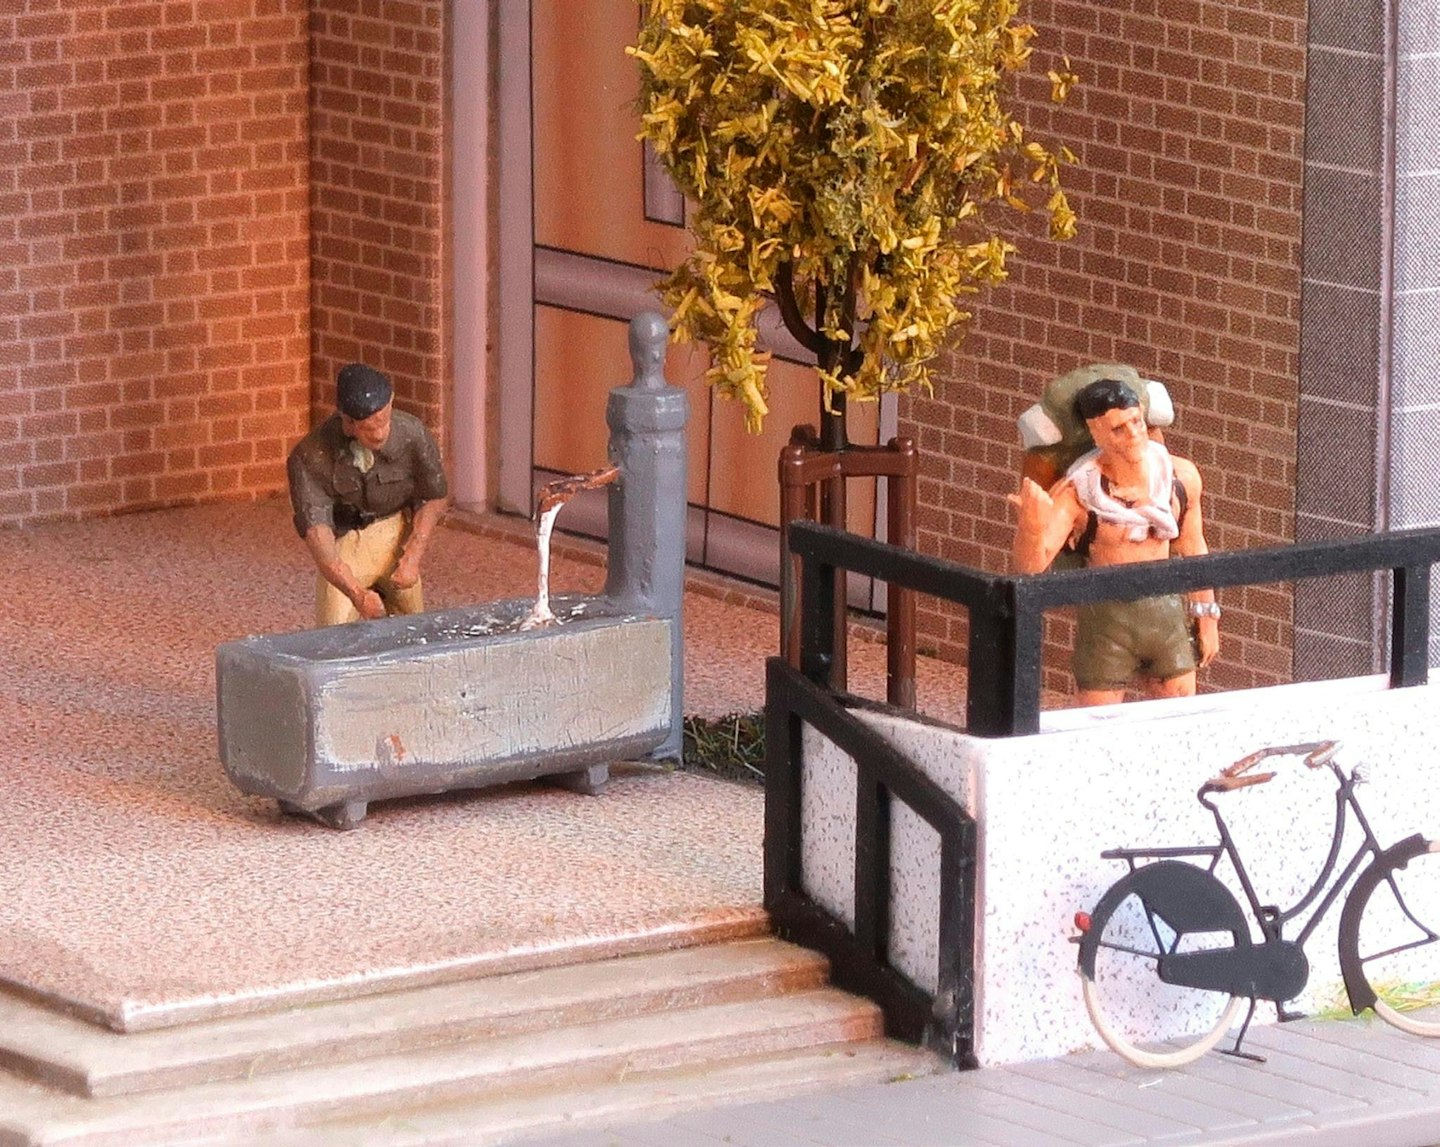

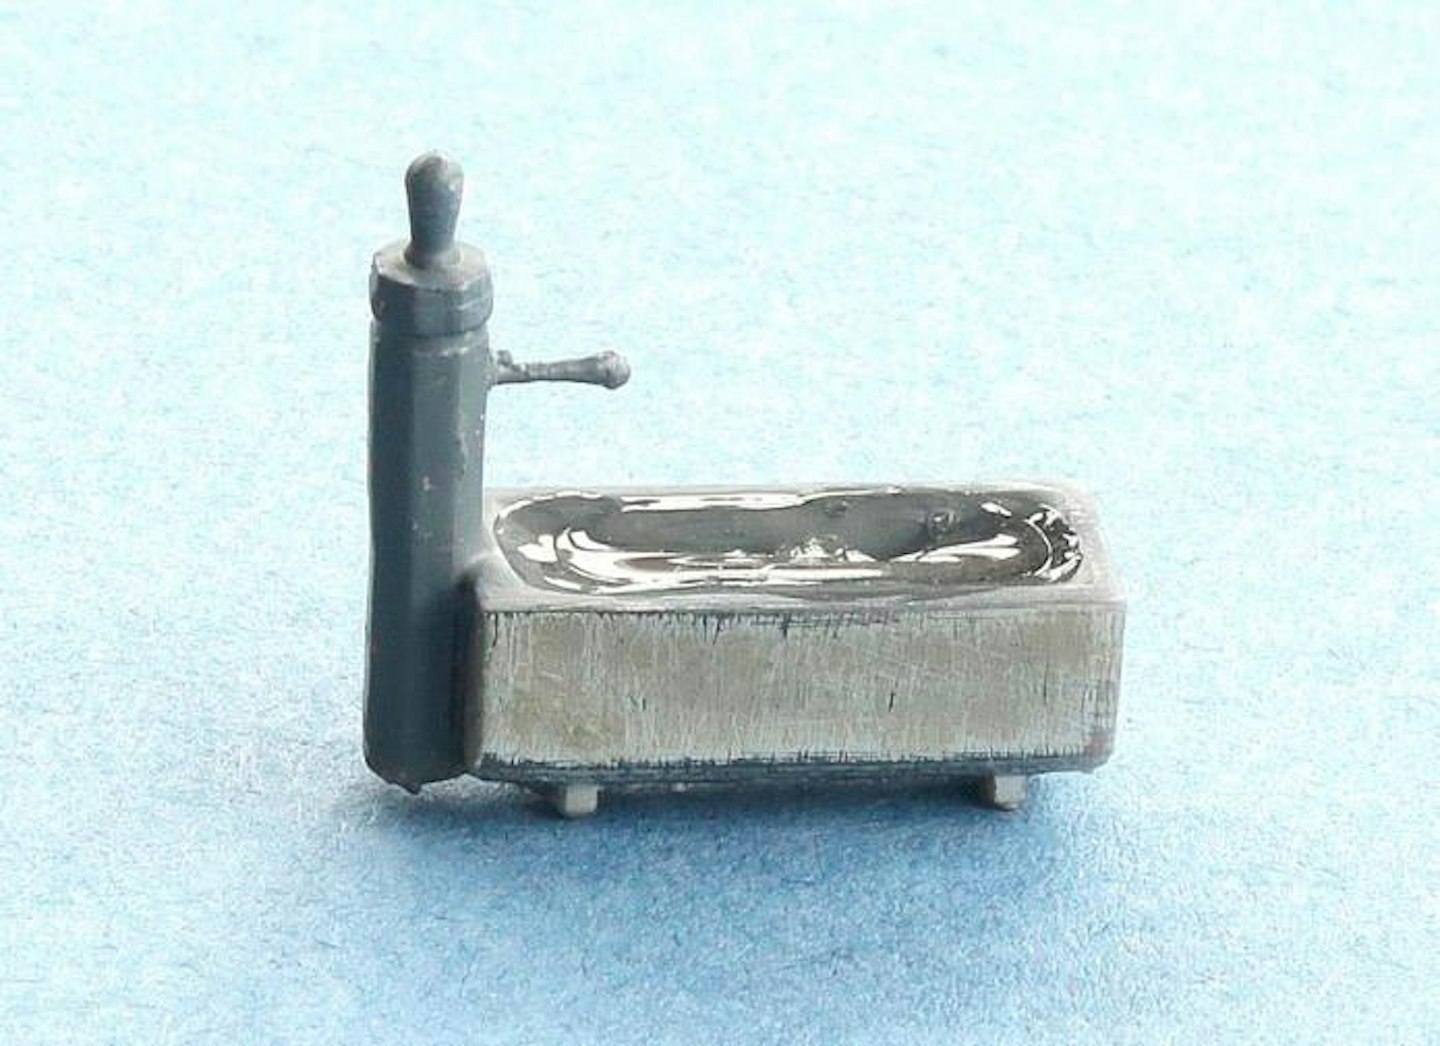
Every time I attend a model railway show, I look for detailing parts that can add something to my layout. In 2023 I was fortunate to attend the Kleinserie event at Bauma, Switzerland, and there I picked up a model water fountain from the Swiss Model Rail stand (CHF 15, www.swissmodelrail.ch). This measures just 22mm x 7mm x 2mm and it was crying out for some water to be added and a water flow into the trough. I set myself the challenge of attempting to make the water flow, and that is when one of our pets gave me the answer to how to do it.
Although not a feature you would likely find in the UK these days, water troughs like this are still common throughout Switzerland, both in rural and urban locations. Many of them are converted livestock drinking troughs, and provide a source of flowing water for people and animals. Most of the time it is safe to drink, because the water has originated from springs and, if it’s not, this warning is generally indicated with a sign. Despite not something seen on our streets at home, you could revert one of these models back to its original purpose of a livestock trough and place it in a rural setting on your layout, using exactly the same techniques as outlined opposite.
This small project was a lot of fun to do and didn’t take a lot of time, either – if you don’t take into account the drying time. It’s also made my cameo scene of the Health Centre more realistic. Upon its completion, I showed the finished fountain to our cats, but I’m honestly unsure if they were impressed or not!
What you will need
SHOPPING LIST
-
Deluxe Materials Making Waves
Price: £10.50
Availability: deluxematerials.co.uk -
Busch Modellwasser Aqua
Price: €7.29
Availability: Busch stockists -
Vallejo Still Water
Price: £5.99
Availability: Vallejo stockists
TOOLS
-
Grey and brown acrylic paint
-
1200 grit abrasive paper
-
Small paintbrush
-
Wooden stick
-
One cat’s hair!
STEP BY STEP
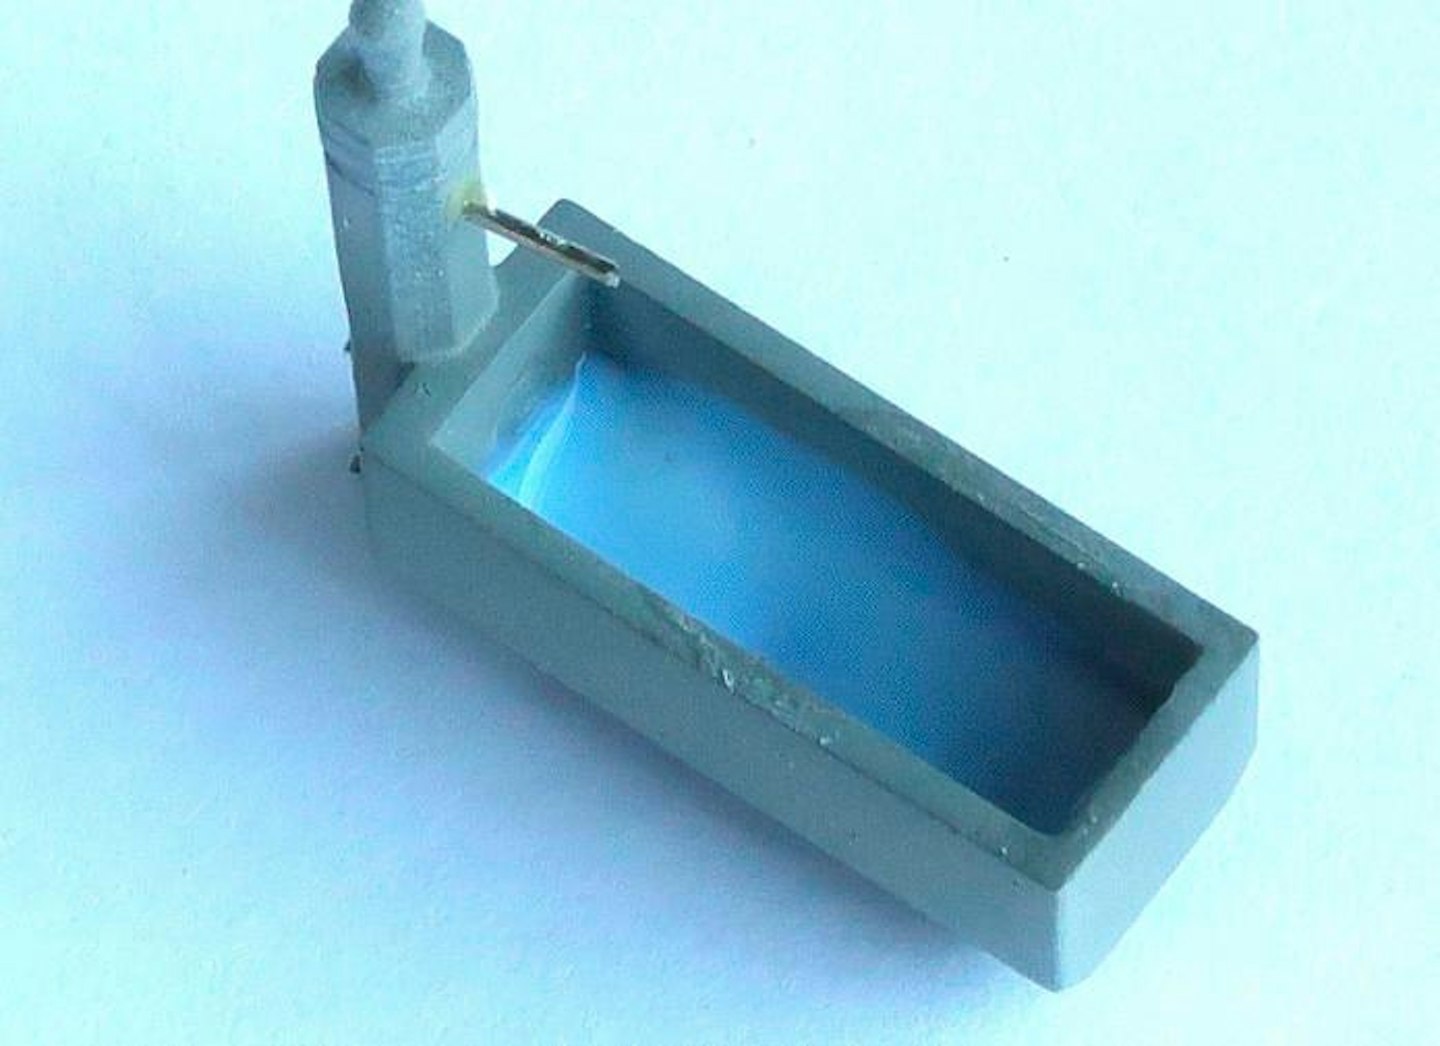
1 The first step was to seal the inside of the water trough with Busch Modellwaser Aqua, which I rubbed around the base and sides of the trough using a wooden coffee stirrer. The thick fluid comes out of the bottle opaque but had dried clear by the next day.
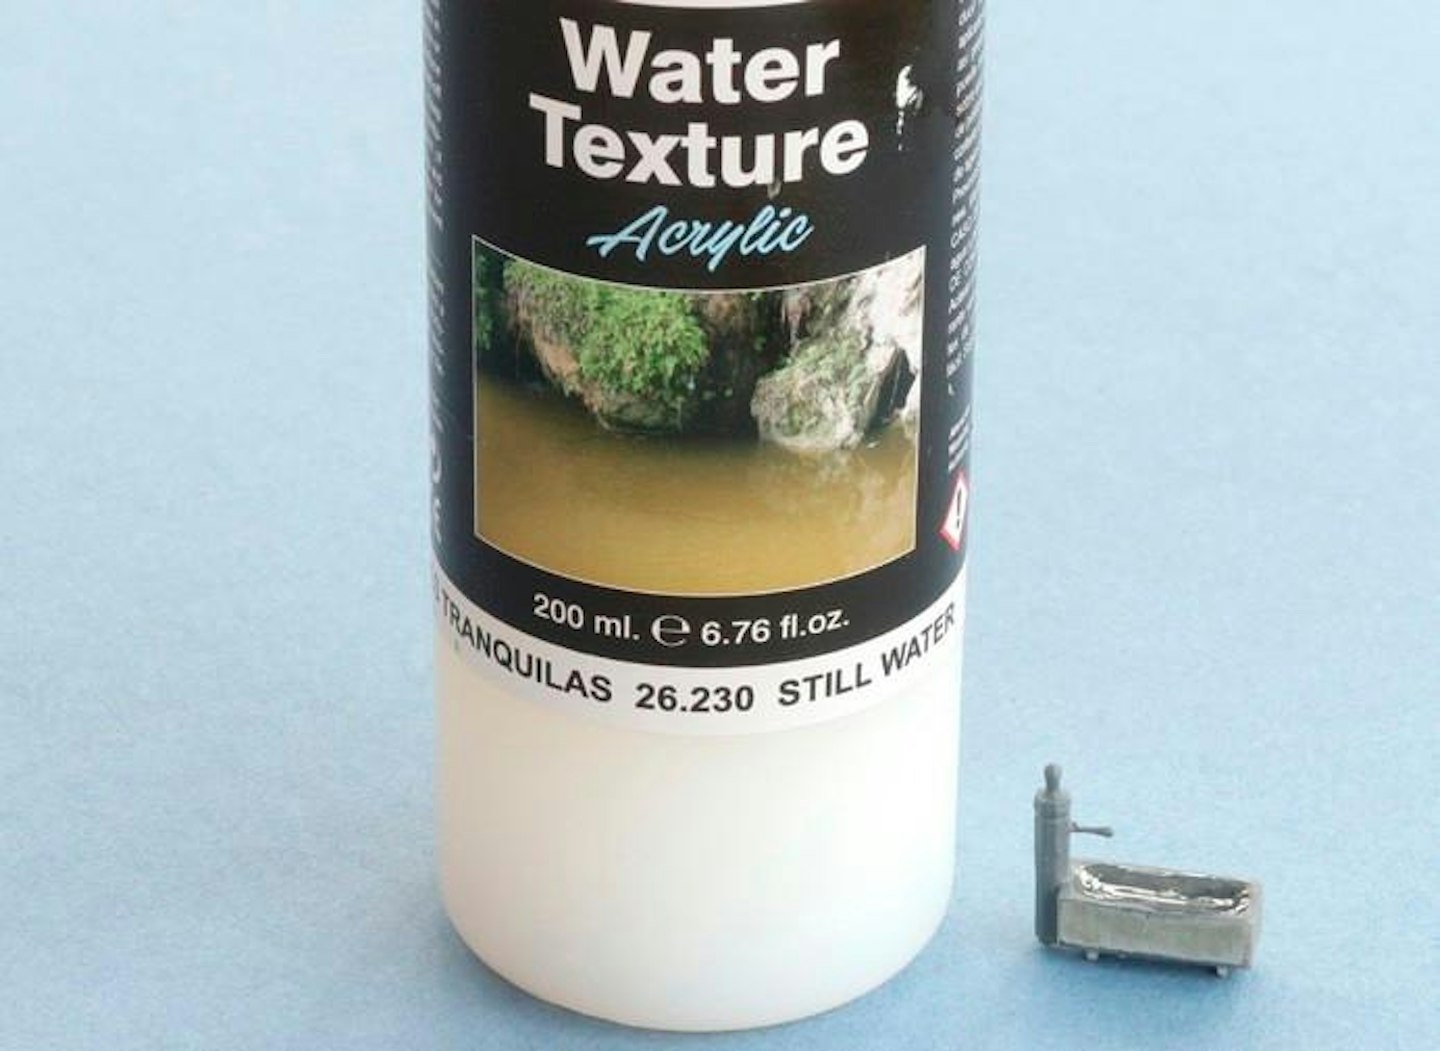
2 Once the first layer of water fluid had fully dried, I used Vallejo Still Water which I knew would dry nice and clear and shiny, to add the second and third layers of water. I poured on just a few drops at a time to ensure that I did not overfill the trough.
3 The first layer of Still Water fluid by Vallejo dried well overnight but still needed an extra layer to bring it nearer to the top of the stone sides of the trough. As is the case with all water, going slow and steady will yield the best results.
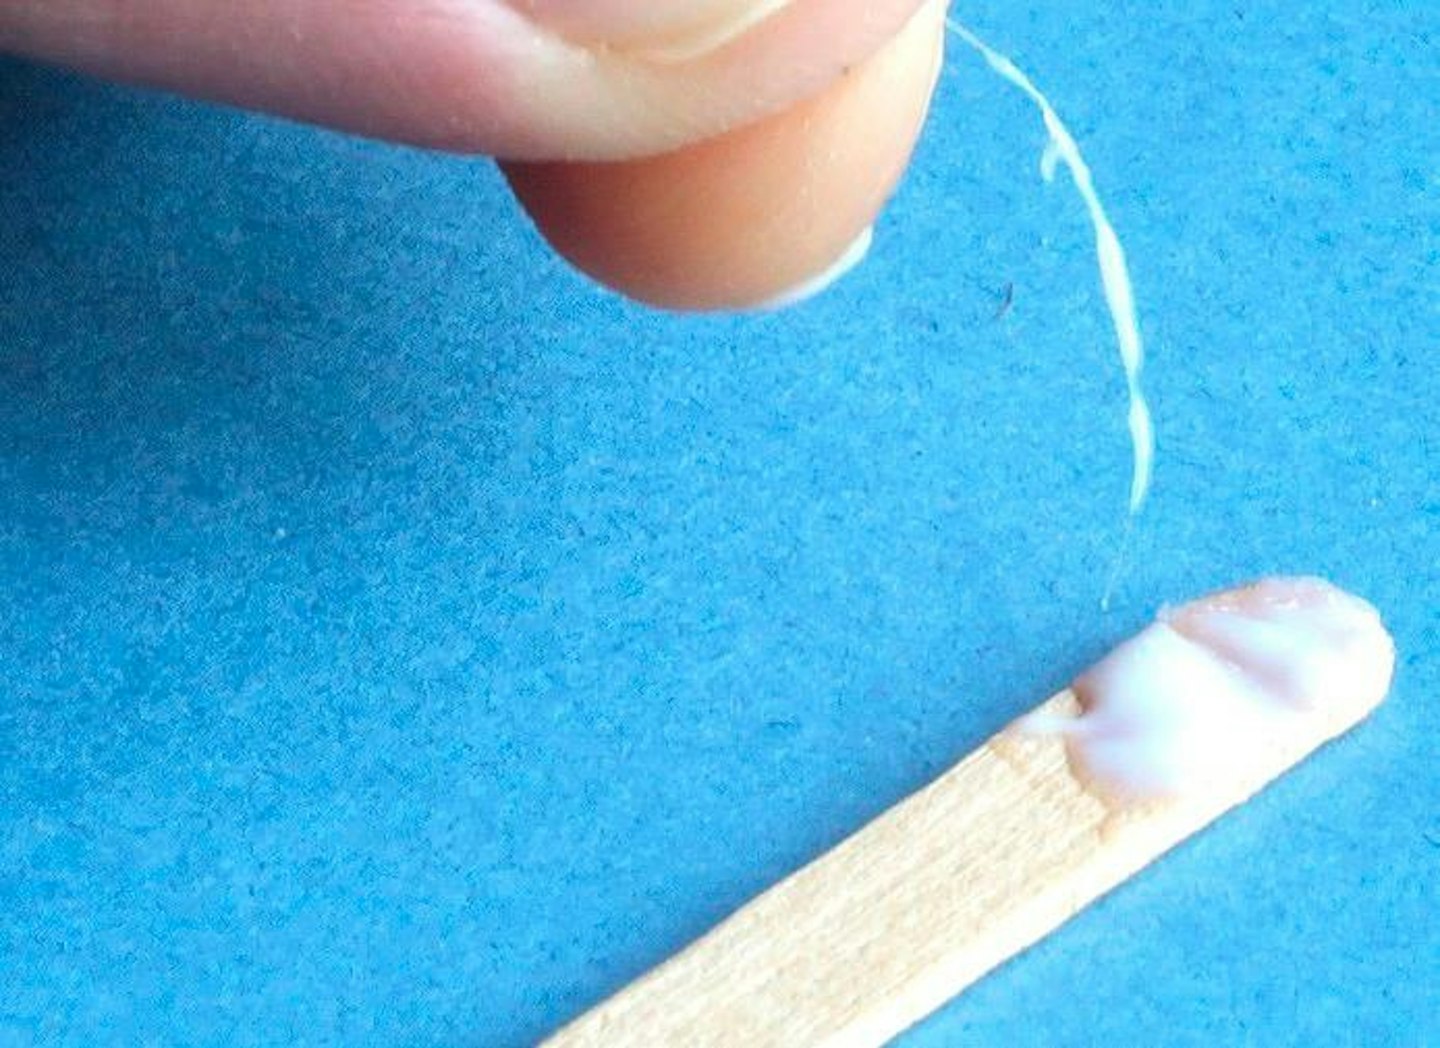
4 I experimented with several methods of making a flow of water from fountain to trough as the stream needed to be thin. I found one of our cat’s hairs on my iPad case, and tried various water fluid products to produce a steady but thin trickle that would fall into the water.
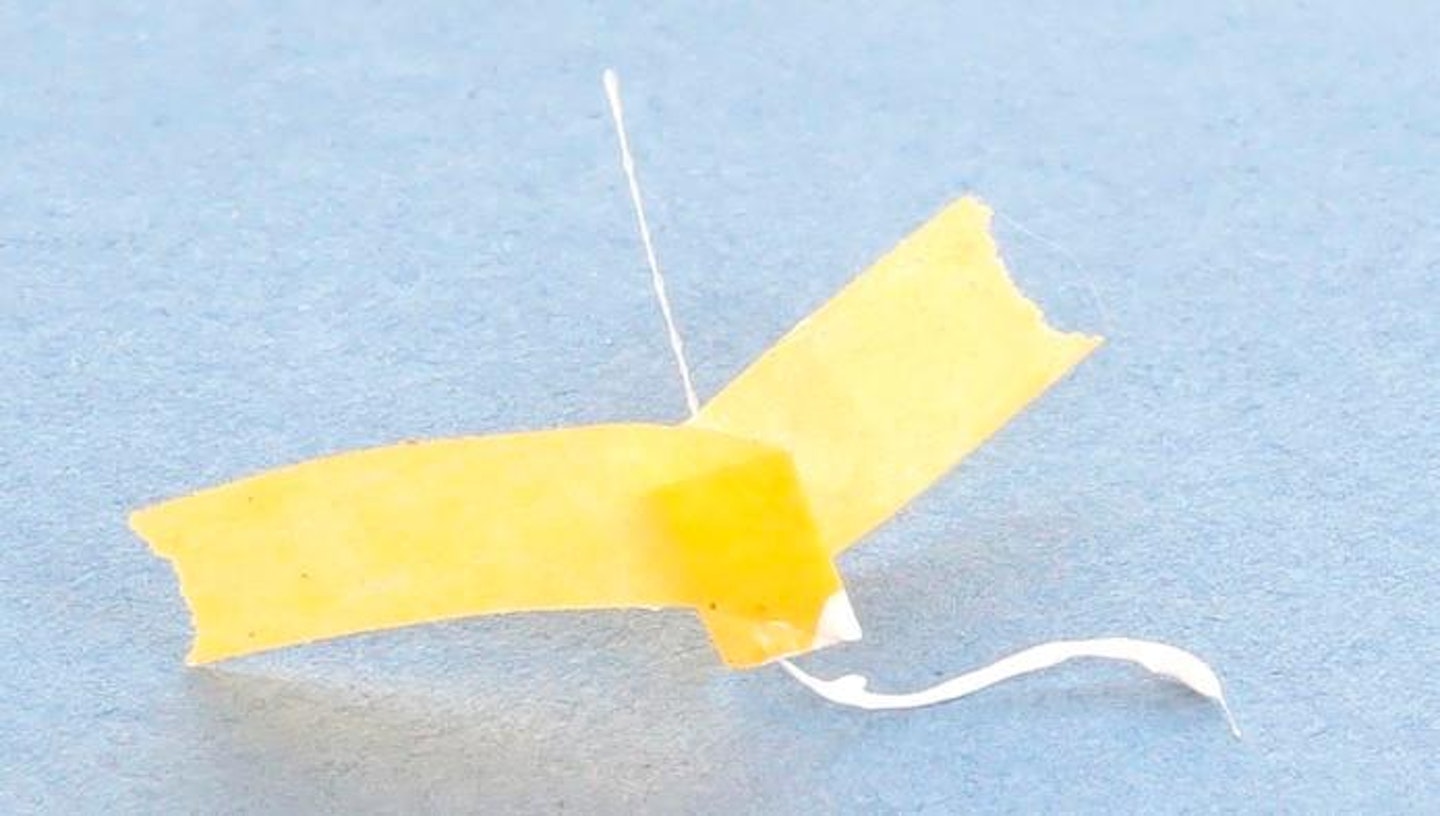
5 Here I experimented with two water fluids. At the top is Still Water by Vallejo and below is a little Vallejo Foam Effect. I chose to use the top portion of the cat’s hair, which captured the appearance of water a lot better – the water flow in the lower portion was too thick.
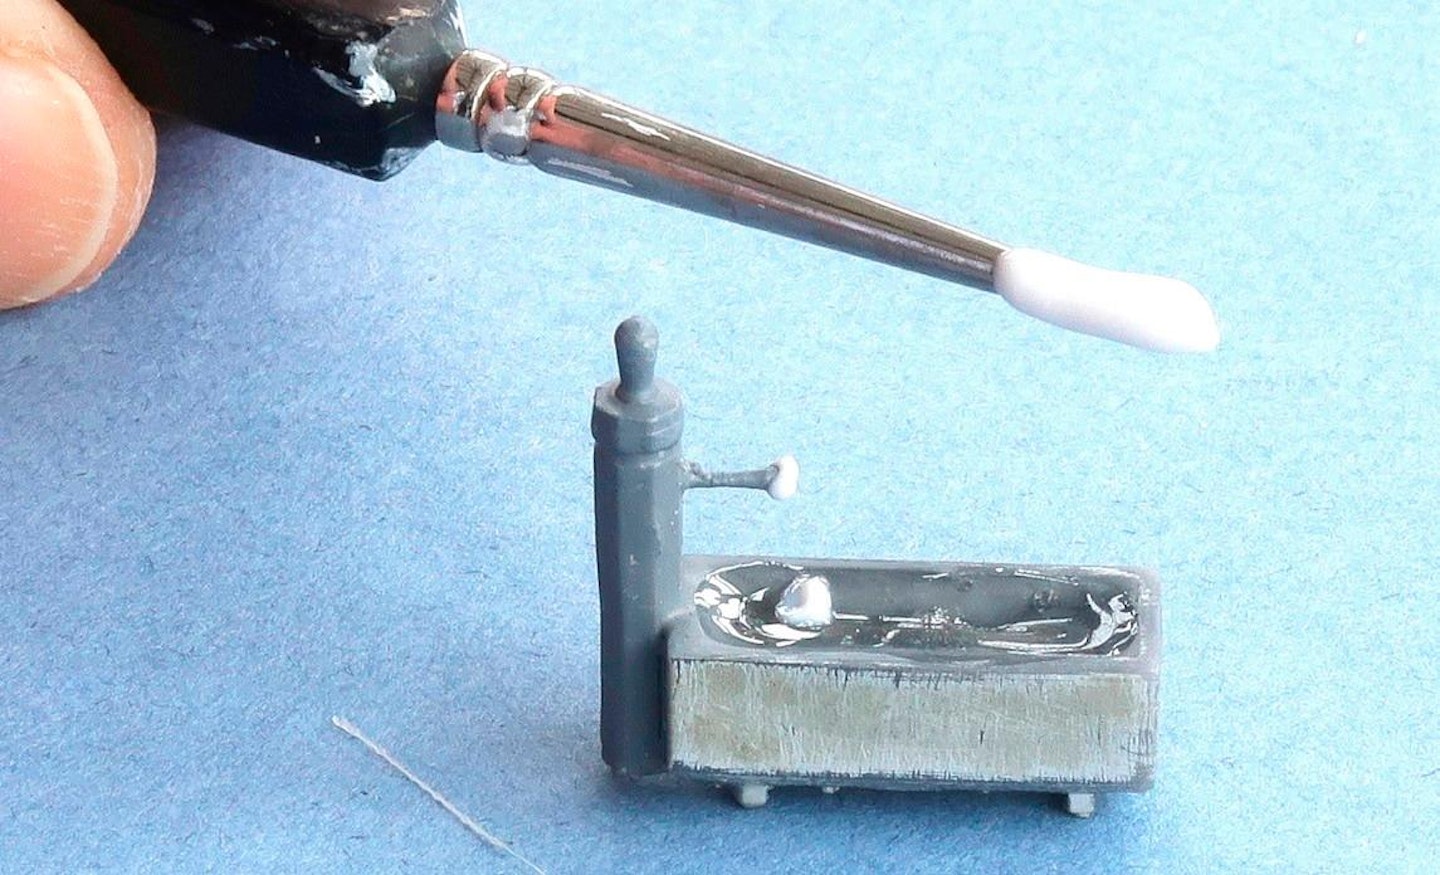
6 To fix the hair in place I used Deluxe Materials Making Waves, a milky, sticky fluid that dries clear and is good for making a variety of water effects. I applied it with a thin brush and a wooden stick, add a little of the fluid to the fountain and the trough.
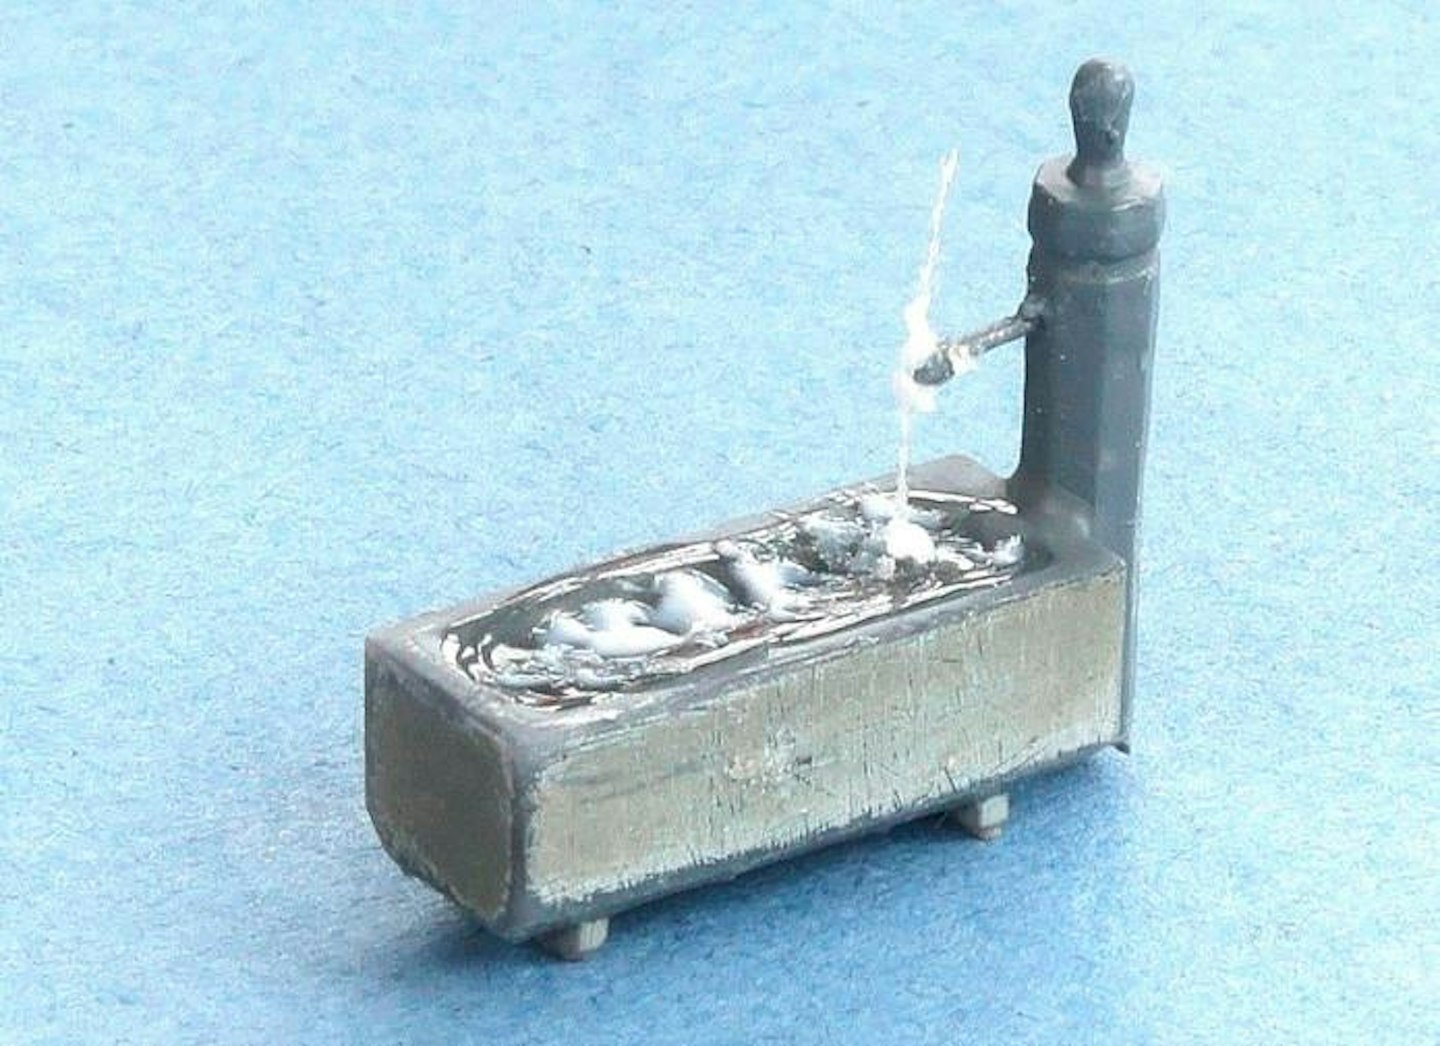
7 As the Making Waves was drying this is what the cat’s hair looked like before it was cut to the required length. The Making Waves dried clear including the small ripples on the water in the trough, which gave an effect of moving water.
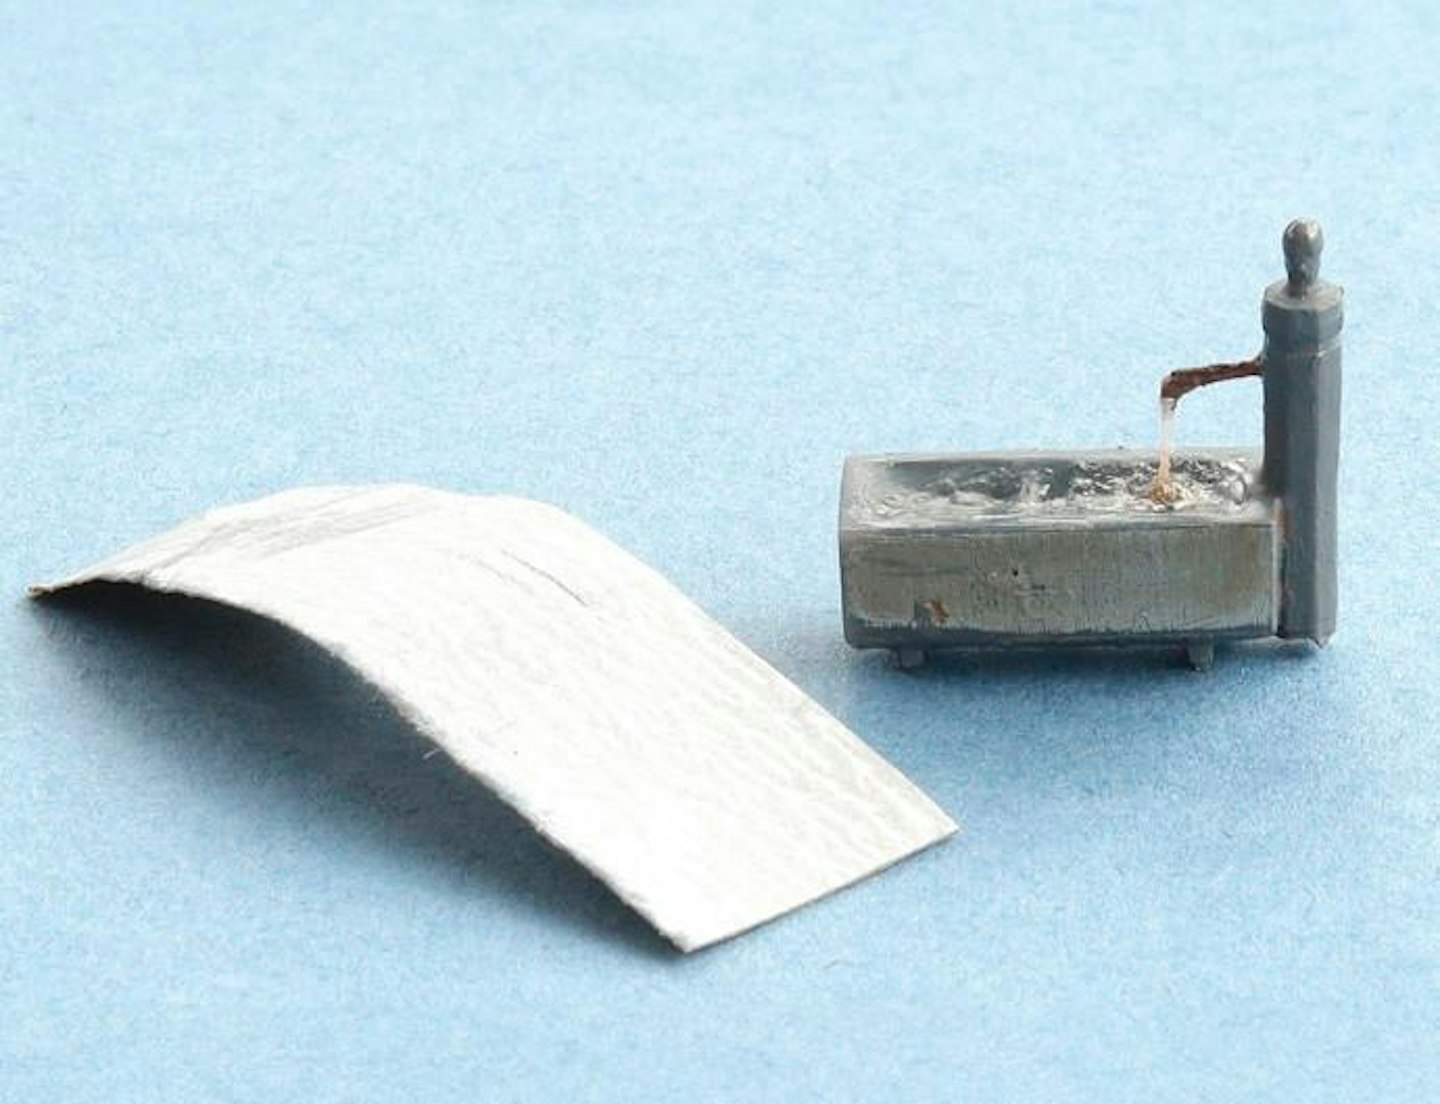
8 To add a more time-worn effect to the sides of the water trough I used a small piece of 1200 grit finishing paper. I also painted the tap using rusty brown acrylic paint to represent a pipe and tap that was in need of a replacement.
